android 仿微信demo——微信启动界面实现
微信启动界面
创建项目
android studio创建移动端项目


微信启动界面实现
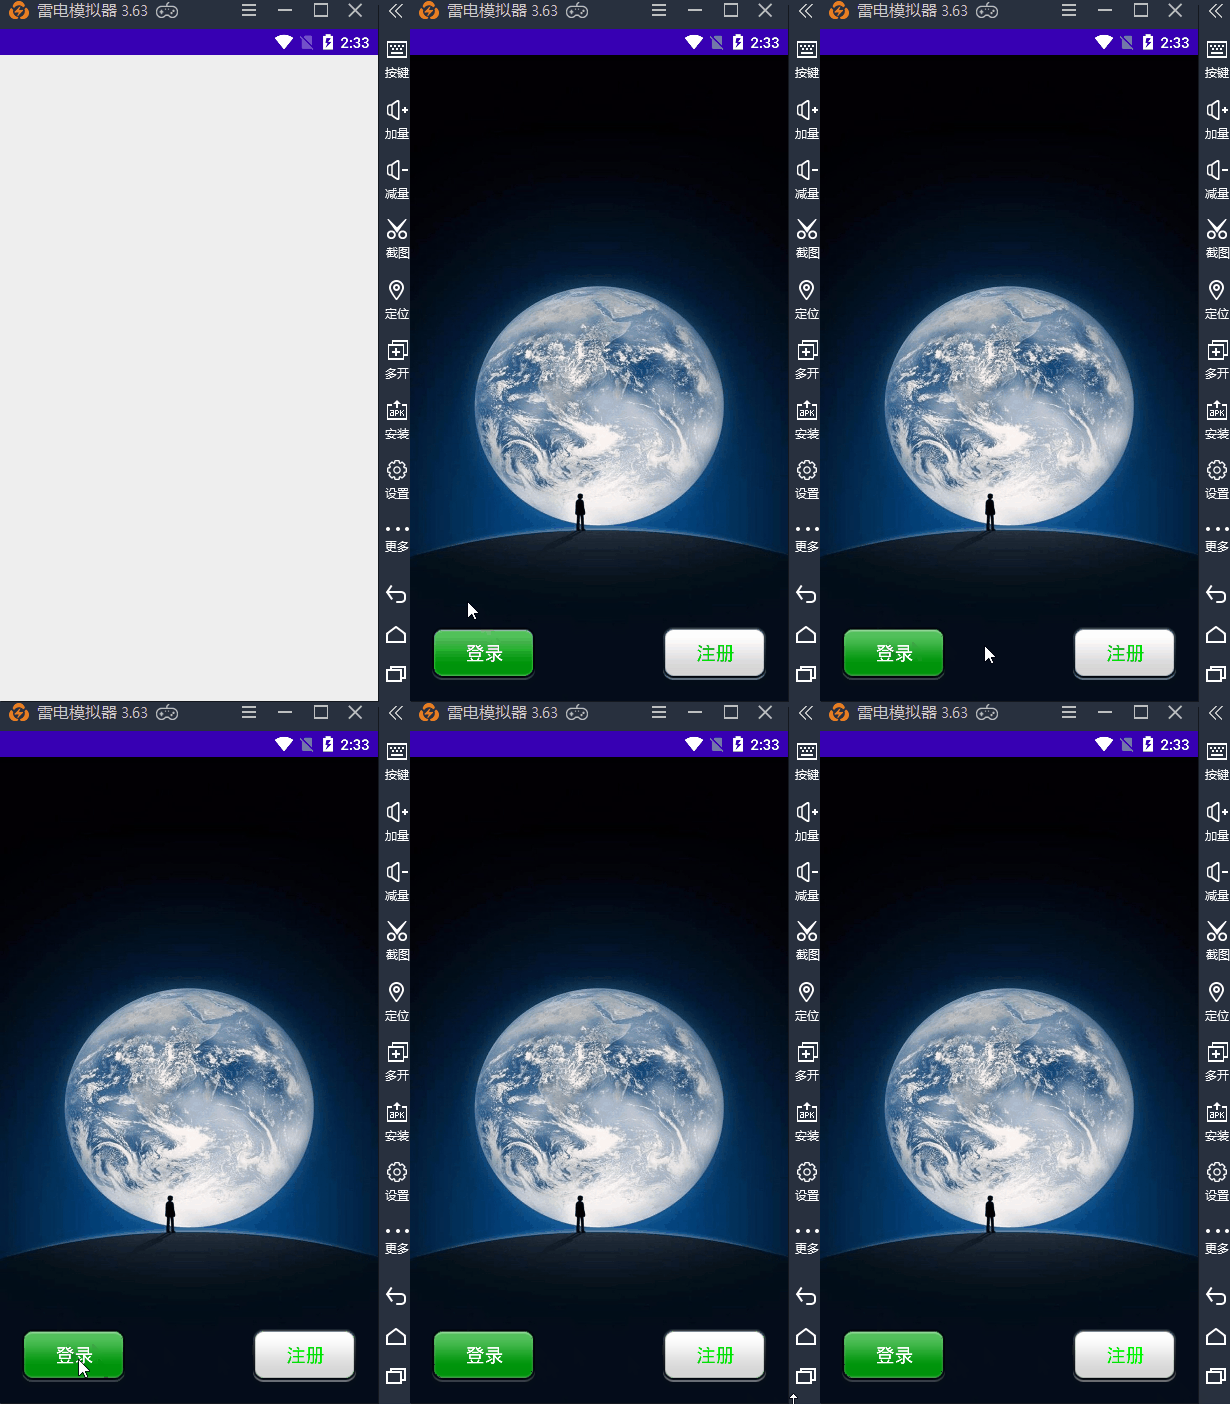
当第一次点击微信时会看到微信出现启动界面(不包括两个按钮)停留大概一秒的时间,然后才进入包括两个按钮的启动界面。按钮在没有获取和获取焦点时都有不同的图片显示,所以下面要实现这些功能
创建两个activity其对应的布局,一个activity显示停留的界面(布局就是一张图片),另一个activity显示真正的启动界面(布局包括图片及两个按钮),创建两个selector文件实现按钮在没有获取和获取焦点时显示不同图片。
创建activity AppStart.java, 实现页面延迟跳转

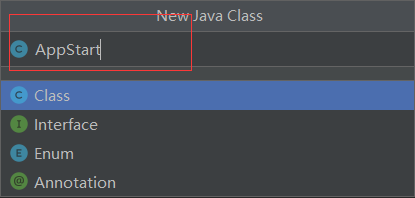
AppStart.java
package com.example.wxchatdemo;
import android.app.Activity;
import android.content.Intent;
import android.os.Bundle;
import android.os.Handler;
public class AppStart extends Activity {
    @Override
    public void onCreate(Bundle savedInstanceState) {
        super.onCreate(savedInstanceState);
        setContentView(R.layout.app_start); //设置布局
        //延迟一秒后跳转页面
        new Handler().postDelayed(new Runnable() {
            @Override
            public void run() {
                /*页面跳转到微信包括按钮的启动页面*/
                Intent intent = new Intent(com.example.wxchatdemo.AppStart.this, com.example.wxchatdemo.Welcome.class);
                startActivity(intent);
                com.example.wxchatdemo.AppStart.this.finish(); //结束当前activity
            }
        }, 1000);
    }
}
上面代码设置布局(一张图片),通过new Handler().postDelayed(new Runnable(){})并重写Runnable()接口的run()抽象方法实现页面延迟后跳转activity(通过Intent),Handler().postDelayed是运行在主线程里的,这个开启的Runnable()接口会在这个Handler所依附线程中运行,而这个Handler是在UI线程中创建的,所以自然地依附在主线程中了,且new Handler().postDelayed(new Runnable())没有重新生成新的 New Thread()

app_start.xml
<?xml version="1.0" encoding="utf-8"?>
<LinearLayout xmlns:android="http://schemas.android.com/apk/res/android"
    android:layout_width="fill_parent"
    android:layout_height="fill_parent"
    android:background="@drawable/welcome" >
</LinearLayout>
上面代码就是把线性布局(覆盖屏幕)的背景换成一张图片,相对简单
创建activity Welcome.java, 实现跳转后的页面
Welcome.java
package com.example.wxchatdemo;
import android.app.Activity;
import android.content.Intent;
import android.os.Bundle;
import android.view.View;
public class Welcome extends Activity {
    @Override
    public void onCreate(Bundle savedInstanceState) {
        super.onCreate(savedInstanceState);
        setContentView(R.layout.welcome); //设置布局
    }
    //登录按钮点击事件处理方法
    public void welcome_login(View v) {
        Intent intent = new Intent();
        /* 页面跳转到登录界面*/
        intent.setClass(com.example.wxchatdemo.Welcome.this, LoginUser.class);
        startActivity(intent);
        this.finish(); //结束当前activity
    }
    //注册按钮点击事件处理方法
    public void welcome_register(View v) {
        Intent intent = new Intent();
        /*页面跳转到注册界面*/
        intent.setClass(com.example.wxchatdemo.Welcome.this, com.example.wxchatdemo.Reigister.class);
        startActivity(intent);
        this.finish(); //结束当前activity
    }
}
因为微信启动界面的两个按钮点击会跳转相应界面(登录,注册,后面会实现这个功能),所以上面代码除了设置布局(包含图片及两个按钮),还有两个按钮的点击事件处理方法(页面跳转,通过Itent实现)
创建activity Welcome.java对应的布局文件welcome.xml
welcome.xml
<?xml version="1.0" encoding="utf-8"?>
<LinearLayout xmlns:android="http://schemas.android.com/apk/res/android"
    android:id="@+id/linearLayout1"
    android:layout_width="fill_parent"
    android:layout_height="fill_parent"
    android:background="#eee"
    android:gravity="center"
    android:orientation="vertical">
    <RelativeLayout xmlns:android="http://schemas.android.com/apk/res/android"
        android:layout_width="match_parent"
        android:layout_height="match_parent">
        <ImageView
            android:id="@+id/photoImageView"
            android:layout_width="match_parent"
            android:layout_height="match_parent"
            android:background="@android:color/white"
            android:scaleType="fitXY"
            android:src="@drawable/wx_login_reigister" />
        <Button
            android:id="@+id/main_login_btn"
            android:layout_width="100dp"
            android:layout_height="50dp"
            android:layout_alignLeft="@id/photoImageView"
            android:layout_alignBottom="@id/photoImageView"
            android:layout_marginLeft="20dp"
            android:layout_marginBottom="20dp"
            android:background="@drawable/btn_style_green"
            android:onClick="welcome_login"
            android:text="登录"
            android:textColor="#ffffff"
            android:textSize="18sp" />
        <Button
            android:id="@+id/main_regist_btn"
            android:layout_width="100dp"
            android:layout_height="50dp"
            android:layout_alignRight="@id/photoImageView"
            android:layout_alignBottom="@id/photoImageView"
            android:layout_marginRight="20dp"
            android:layout_marginBottom="20dp"
            android:background="@drawable/btn_style_white"
            android:onClick="welcome_register"
            android:text="注册"
            android:textColor="#00FF00"
            android:textSize="18sp" />
    </RelativeLayout>
</LinearLayout>
上面代码主要内容,就是在线性布局里内嵌一个相对布局且相对布局的宽高都是继承父类(线性布局)的即充满屏幕,而ImageView宽高也是继承父类(相对布局),也是充满屏幕,所以要使按钮在底部且离底部和左右两边有一点的距离,就要通过layout_align(相对布局用的属性,参数为id,即以id的组件为参照物)和layout_margin(页边距,即离边上的距离)实现,然后给两个按钮的背景设置自定义的selector文件,实现按钮在获取和没有获取焦点时显示不同的图片
创建控制welcome.xml布局的两个按钮的两个selector.文件,实现按钮没有获取或获取焦点时的显示不同的图片
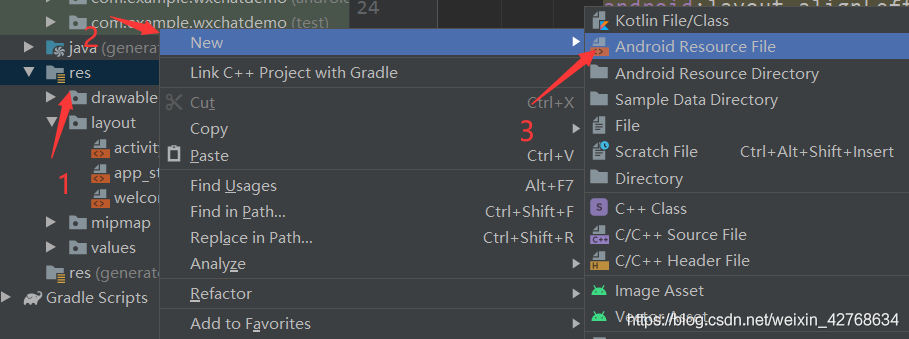

登录按钮的selector文件
btn_style_green.xml
<?xml version="1.0" encoding="UTF-8"?>
<selector xmlns:android="http://schemas.android.com/apk/res/android">
    <item android:drawable="@drawable/btn_style_one_pressed" android:state_focused="false" android:state_pressed="true" />
    <item android:drawable="@drawable/btn_style_one_normal" android:state_focused="false" />
</selector>
注册按钮的selector文件
btn_style_white.xml
<?xml version="1.0" encoding="UTF-8"?>
<selector xmlns:android="http://schemas.android.com/apk/res/android">
    <item android:drawable="@drawable/btn_style_two_pressed" android:state_focused="false" android:state_pressed="true" />
    <item android:drawable="@drawable/btn_style_two_normal" android:state_focused="false" />
</selector>
在AndroidMainfest.xml文件中声明创建的activity
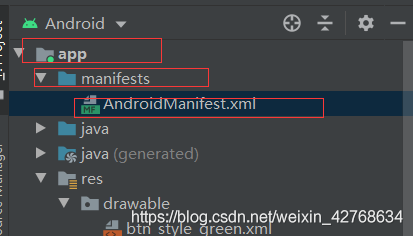
AndroidMainfest.xml
<?xml version="1.0" encoding="utf-8"?>
<manifest xmlns:android="http://schemas.android.com/apk/res/android"
    package="com.example.wxchatdemo">
    <application
        android:icon="@drawable/wx_logo_icon"
        android:label="@string/app_name"
        android:theme="@style/Theme.WxChatDemo">
        <activity android:name=".AppStart">
            <intent-filter>
                <action android:name="android.intent.action.MAIN" />
                <category android:name="android.intent.category.LAUNCHER" />
            </intent-filter>
        </activity>
        <activity android:name=".Welcome" />
    </application>
</manifest>

测试
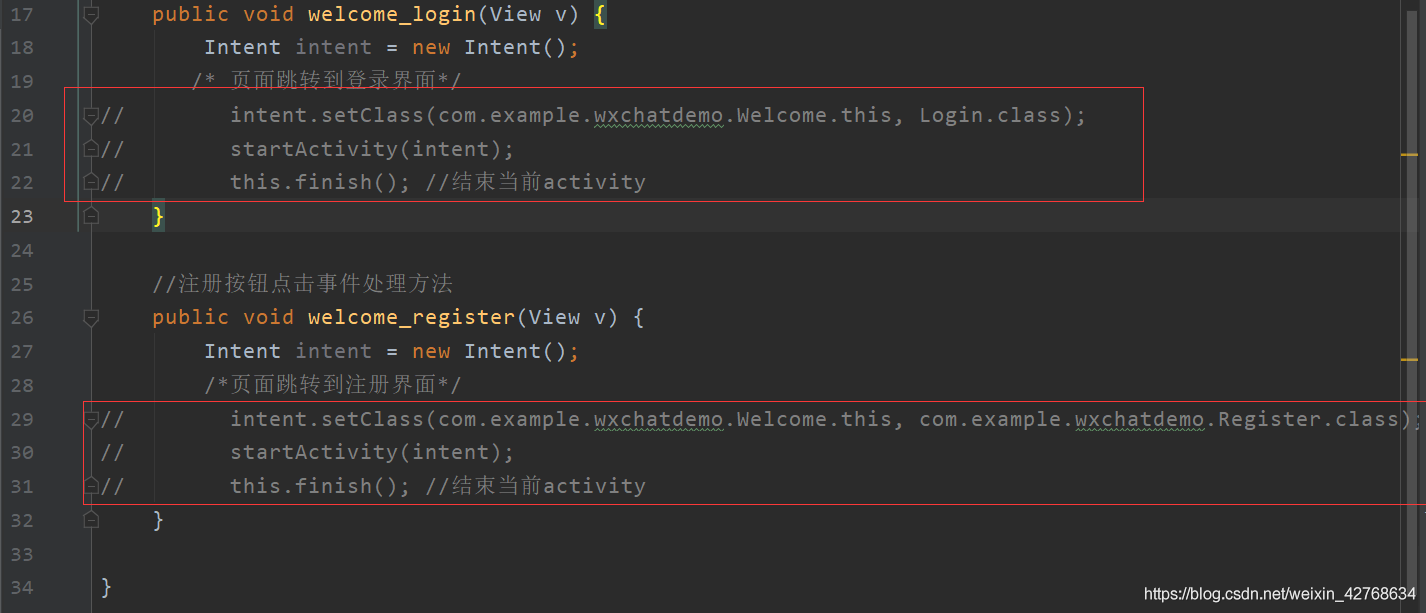
由于登录,注册跳转的activity还没有写,所以运行项目测试前,要把这两个跳转的activity注释掉,然后启动项目测试。
总结
这篇关于微信demo的文章就到这里了,希望大家可以多多关注我们的更多精彩内容!

