基于域名的方式访问Istio服务网格中的多个应用程序的方法详解
目录
- 1.为什么要使用域名访问部署在Istio中的程序
- 2.通过域名的方式访问Istio网格中的应用程序
- 2.1.配置Gateway和VirtualService资源
- 2.1.1.修改httpbin程序的Gateway和VirtualService资源
- 2.1.2.修改bookinfo程序的Gateway和VirtualService资源
- 2.1.3.修改nginx程序的Gateway和VirtualService资源
- 2.2.配置LB代理Istio的IngressGateway
- 3.基于域名来访问Istio中的各个程序
1.为什么要使用域名访问部署在Istio中的程序
我们在Istio中部署的程序一定不止有一个,前面我们已经在Istio中部署了Httpbin、Bookinfo、Nginx这三个应用程序,但是我们使用节点IP加NodePort端口的方式永远只是请求到了一个应用程序,就好比我们已经实现了Nginx的基于端口的访问模式,不过每个应用程序都是用的是80端口,才导致只访问到了一个应用程序,在实际生产中,Istio中一定会部署很多个应用程序,我们需要实现基于域名来访问不同的应用程序。
应用部署在Istio之后,将程序对外发布,会创建Gateway以及VirtualService资源,我们只需要在这两个资源中声明程序使用的域名,就可以接受来自LB的请求转发,LB的请求中会携带主机头,从而转发到对应的应用程序。
当然也可以不额外占用服务器去搭建LB产品,我们可以在K8S集群中搭建一个Nginx服务,由K8S中的Nginx服务接收80端口流量请求转发至IngressGateway,为什么不使用Ingress呢,Ingress需要为每一个网站创建资源编排文件,如果域名很多的情况下,配置比较繁琐。
如下图所示:用户请求bookinfo的项目,在浏览器中输入bookinfo.jiangxl.com域名,由DNS解析到LB负载均衡器,LB负载均衡器会将请求转发到IngressGateway中,IngressGateway根据请求头中的域名,将请求转发到对应的Gateway中,然后在将请求转发到应用程序的Service资源,最后由应用程序的Pod资源提供应用程序的服务。

2.通过域名的方式访问Istio网格中的应用程序
2.1.配置Gateway和VirtualService资源
配置每个应用程序的Gateway以及VirtualService资源,为应用程序绑定使用的域名,绑定后只有这个域名的流量请求才会被转发到这个Gateway以及VirtualService资源上。
2.1.1.修改httpbin程序的Gateway和VirtualService资源
1)配置Gateway以及VirtualService资源绑定域名
[root@k8s-master istio-1.8.2]# vim samples/httpbin/httpbin-gateway.yaml
apiVersion: networking.istio.io/v1alpha3
kind: Gateway
metadata:
  name: httpbin-gateway
spec:
  selector:
    istio: ingressgateway
  servers:
  - port:
      number: 80
      name: http
      protocol: HTTP
    hosts:
    - "httpbin.jiangxl.com"				#在hosts中绑定程序的域名
---
apiVersion: networking.istio.io/v1alpha3
kind: VirtualService
metadata:
  name: httpbin
spec:
  hosts:
  - "httpbin.jiangxl.com"				#同样在hosts中管理程序的域名
  gateways:
  - httpbin-gateway
  http:
  - route:
    - destination:
        host: httpbin
        port:
          number: 8000
2)更新httpbin程序的GW和VS资源
[root@k8s-master istio-1.8.2]# kubectl apply -f samples/httpbin/httpbin-gateway.yaml
gateway.networking.istio.io/httpbin-gateway created
virtualservice.networking.istio.io/httpbin created
2.1.2.修改bookinfo程序的Gateway和VirtualService资源
1)配置Gateway以及VirtualService资源绑定域名
[root@k8s-master istio-1.8.2]# vim samples/bookinfo/networking/bookinfo-gateway.yaml
apiVersion: networking.istio.io/v1alpha3
kind: Gateway
metadata:
  name: bookinfo-gateway
spec:
  selector:
    istio: ingressgateway # use istio default controller
  servers:
  - port:
      number: 80
      name: http
      protocol: HTTP
    hosts:
    - "bookinfo.jiangxl.com"
---
apiVersion: networking.istio.io/v1alpha3
kind: VirtualService
metadata:
  name: bookinfo
spec:
  hosts:
  - "bookinfo.jiangxl.com"
  gateways:
  - bookinfo-gateway
  http:
  - match:
    - uri:
        exact: /productpage
    - uri:
        prefix: /static
    - uri:
        exact: /login
    - uri:
        exact: /logout
    - uri:
        prefix: /api/v1/products
    route:
    - destination:
        host: productpage
        port:
          number: 9080
2)更新bookinfo程序的GW和VS资源
[root@k8s-master istio-1.8.2]# kubectl apply -f samples/bookinfo/networking/bookinfo-gateway.yaml -n bookinfo
gateway.networking.istio.io/bookinfo-gateway configured
virtualservice.networking.istio.io/bookinfo configured
2.1.3.修改nginx程序的Gateway和VirtualService资源
1)配置Gateway以及VirtualService资源绑定域名
[root@k8s-master istio-1.8.2]# vim samples/myproject/nginx-gateway.yaml
apiVersion: networking.istio.io/v1alpha3
kind: Gateway
metadata:
  name: nginx-gateway
  namespace: istio-project
spec:
  selector:
    istio: ingressgateway
  servers:
  - port:
      number: 80
      name: http
      protocol: HTTP
    hosts:
    - "nginx.jiangxl.com"
[root@k8s-master istio-1.8.2]# vim samples/myproject/nginx-virtualservice.yaml
apiVersion: networking.istio.io/v1alpha3
kind: VirtualService
metadata:
  name: nginx-vs
  namespace: istio-project
spec:
  hosts:
  - "nginx.jiangxl.com"
  gateways:
  - nginx-gateway
  http:
  - route:
    - destination:
        host: nginx-svc
        subset: v1
      weight: 100
    mirror:
      host: nginx-svc
      subset: v2
    mirror_percent: 100
2)创建nginx程序的GW和VS资源
[root@k8s-master istio-1.8.2]# kubectl apply -f samples/myproject/nginx-gateway.yaml
gateway.networking.istio.io/nginx-gateway configured
[root@k8s-master istio-1.8.2]# kubectl apply -f samples/myproject/nginx-virtualservice.yaml
virtualservice.networking.istio.io/nginx-vs configured
2.2.配置LB代理Istio的IngressGateway
LB负载均衡我们采用Nginx来实现,由Nginx去反向代理IngressGateway的NodePort端口来实现基于域名去访问Istio中的程序。
1.安装Nginx
[root@lb~]# yum -y install nginx
2.配置Nginx反向代理Istio的IngressGateway
[root@lb~]# vim /etc/nginx/conf.d/istio-ingressgateway.conf
server {
        listen 80;
        server_name _;

        location / {
                proxy_http_version 1.1;			#开启http的1.1版本协议,istio是1.1版本,nginx默认1.0版本
                proxy_set_header Host $host;			#代理转发时携带请求的主机头
                proxy_pass http://192.168.20.10:31105;		#代理到istio的IngressGateway
        }
}
3.启动Nginx
[root@lb~]# systemctl restart nginx
3.基于域名来访问Istio中的各个程序
测试之前先将域名解析写入本地hosts文件。
192.168.20.13 httpbin.jiangxl.com bookinfo.jiangxl.com nginx.jiangxl.com
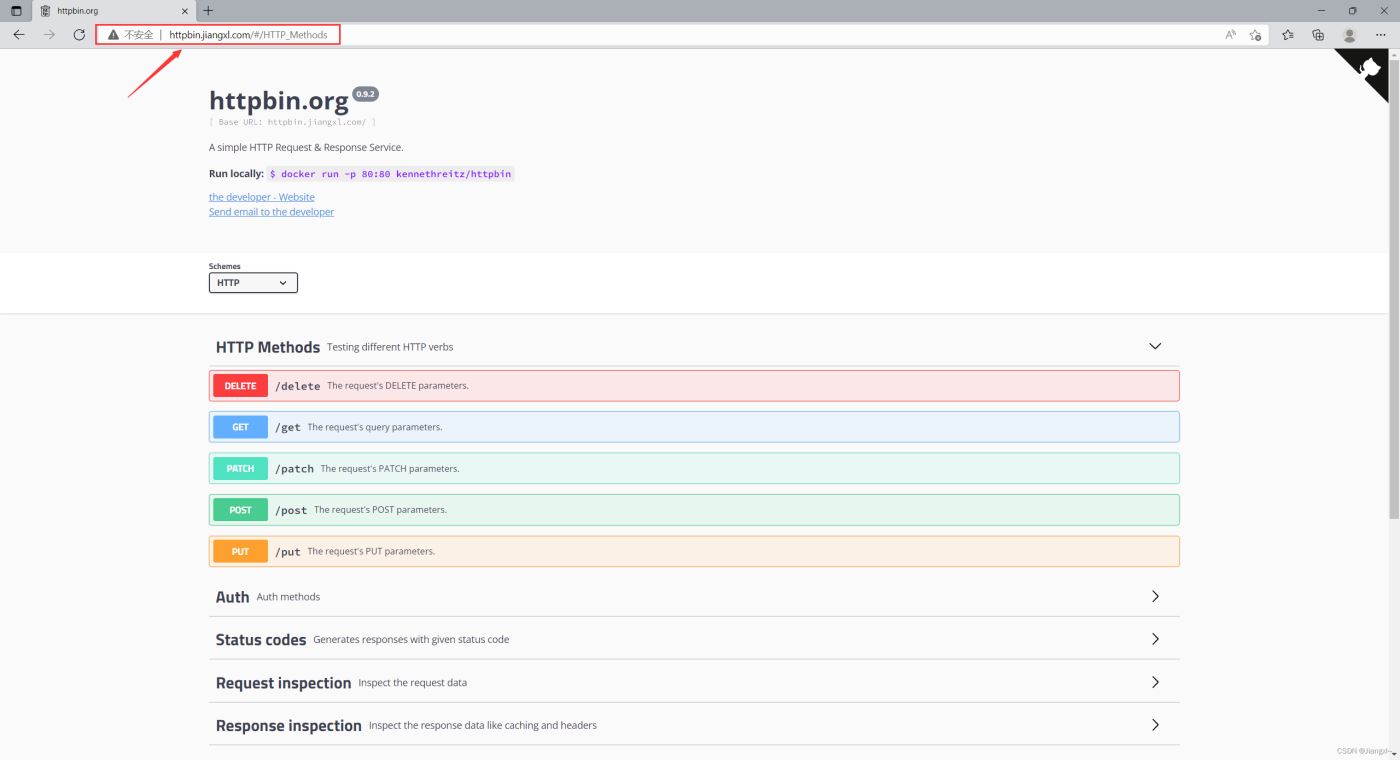
1)httpbin程序的访问
2)bookinfo程序的访问

3)nginx程序的访问

到此这篇关于基于域名的方式访问Istio服务网格中的多个应用程序的文章就介绍到这了,更多相关Istio服务网格内容请搜索我们以前的文章或继续浏览下面的相关文章希望大家以后多多支持我们!
相关推荐
-

在Kubernetes集群中搭建Istio微服务网格的过程详解
目录 1.使用sealos部署快速部署K8S集群 1.1.基本环境配置 1.2.部署K8S集群 2.在K8S集群中部署Istio网格服务 2.1.下载Istio安装包 2.2.查看Istio可用的配置列表 2.3.展示Istio配置档的配置信息 2.4.查看Istio在k8s集群部署使用的YAML文件内容 1.使用sealos部署快速部署K8S集群 1.1.基本环境配置 1.设置主机名 hostnamectl set-hostname k8s-master hostnamectl set-hos
-
基于域名的方式访问Istio服务网格中的多个应用程序的方法详解
目录 1.为什么要使用域名访问部署在Istio中的程序 2.通过域名的方式访问Istio网格中的应用程序 2.1.配置Gateway和VirtualService资源 2.1.1.修改httpbin程序的Gateway和VirtualService资源 2.1.2.修改bookinfo程序的Gateway和VirtualService资源 2.1.3.修改nginx程序的Gateway和VirtualService资源 2.2.配置LB代理Istio的IngressGateway 3.基于域名来
-
C#通过创建Windows服务启动程序的方法详解
本文实例讲述了C#通过创建Windows服务启动程序的方法.分享给大家供大家参考,具体如下: 1. 新建一个Windows服务应用程序 创建项目-->Visual C# 左侧的"+"-->Windows -->Windows 服务(右侧模板)-->输入名称,确定创建项目 2. 设置Windows服务的属性(Windows服务里没有窗体,所以点击左侧设计器里空白的地方即可在右侧属性栏里看到属性) 这里属性是控制服务器是否可以停止,暂停,继续等等的操作.根据需要选择
-
基于JAVA中使用Axis发布/调用Webservice的方法详解
本示例和参考文章的差别在于: 1)deploy.wsdd定义的更详细(对于server端定义了接口:ICalculate): 复制代码 代码如下: <deployment xmlns="http://xml.apache.org/axis/wsdd/" xmlns:java="http://xml.apache.org/axis/wsdd/providers/java"> <service name="Calculate&qu
-
Ingress七层路由机制实现域名的方式访问k8s
Ingress概念: 通俗来讲:Ingress和之前说的Service.Deployment一样,也是一个k8s的资源类型:Ingress用于实现域名的方式访问k8s的内部应用,Service可能更适于服务间访问. 这东西我们使用的k8s官方维护的本版,另外nginx官方也有一个版本,怎么用看个人. Ingress支持多种方案:包括 Nginx.Haproxy.Traefik.istio等:在实际中Ingress上面可能还有一层公司的硬件层代理. 大概的流程图如下: 创建一个Ingress: 这
-
PHP7扩展开发之基于函数方式使用lib库的方法详解
本文实例讲述了PHP7扩展开发之基于函数方式使用lib库的方法.分享给大家供大家参考,具体如下: 前言 首先说下什么是lib库.lib库就是一个提供特定功能的一个文件.可以把它看成是PHP的一个文件,这个文件提供一些函数方法.只是这个lib库是用c或者c++写的. 使用lib库的场景.一些软件已经提供了lib库,我们就没必要再重复实现一次.如,原先的mysql扩展,就是使用mysql官方的lib库进行的封装. 在本文,我们将建立一个简单的lib库,并在扩展中进行封装调用. 代码 基础代码 这个扩
-
.NET 6实现基于JWT的Identity功能方法详解
目录 需求 目标 原理与思路 实现 引入Identity组件 添加认证服务 使用JWT认证和定义授权方式 引入认证授权中间件 添加JWT配置 增加认证用户Model 实现认证服务CreateToken方法 添加认证接口 保护API资源 验证 验证1: 验证直接访问创建TodoList接口 验证2: 获取Token 验证3: 携带Token访问创建TodoList接口 验证4: 更换Policy 一点扩展 总结 参考资料 需求 在.NET Web API开发中还有一个很重要的需求是关于身份认证和授
-
基于HashMap遍历和使用方法(详解)
map的几种遍历方式: Map< String, String> map = new HashMap<>(); map.put("aa", "@sohu.com"); map.put("bb","@163.com"); map.put("cc", "@sina.com"); System.out.println("普通的遍历方法,通过Map.keySet
-
基于js对象,操作属性、方法详解
一,概述 在Java语言中,我们可以定义自己的类,并根据这些类创建对象来使用,在Javascript中,我们也可以定义自己的类,例如定义User类.Hashtable类等等. 目前在Javascript中,已经存在一些标准的类,例如Date.Array.RegExp.String.Math.Number等等,这为我们编程提供了许多方便.但对于复杂的客户端程序而言,这些还远远不够. 与Java不同,Java2提供给我们的标准类很多,基本上满足了我们的编程需求,但是Javascript提供的标准类很
-
基于Spring中各个jar包的作用及依赖(详解)
先附spring各版本jar包下载链接http://repo.spring.io/release/org/springframework/spring/ spring.jar 是包含有完整发布模块的单个jar 包.但是不包括mock.jar, aspects.jar, spring-portlet.jar, and spring-hibernate2.jar 示例图片为Spring-2.5.6.jar的包目录 下面讲解各个jar包的作用: 1.org.springframework.aop或sp
-
基于PHP7错误处理与异常处理方法(详解)
PHP7错误处理 PHP 7 改变了大多数错误的报告方式.不同于传统(PHP 5)的错误报告机制,现在大多数错误被作为 Error 异常抛出. 这种 Error 异常可以像 Exception 异常一样被第一个匹配的 try / catch 块所捕获.如果没有匹配的 catch 块,则调用异常处理函数(事先通过 set_exception_handler() 注册)进行处理. 如果尚未注册异常处理函数,则按照传统方式处理:被报告为一个致命错误(Fatal Error). Error 类并非继承自