springmvc+spring+mybatis实现用户登录功能(下)
昨天介绍了mybatis与spring的整合,今天我们完成剩下的springmvc的整合工作。
要整合springmvc首先得在web.xml中配置springmvc的前端控制器DispatcherServlet,它是springmvc的核心,为springmvc提供集中访问点,springmvc对页面的分派与调度功能主要靠它完成。
在我们之前配置的web.xml中加入以下springmvc的配置:
web.xml
<!-- Spring MVC 核心控制器 DispatcherServlet 配置 -->
 <servlet>
  <servlet-name>dispatcher</servlet-name>
  <servlet-class>org.springframework.web.servlet.DispatcherServlet</servlet-class>
  <init-param>
   <!--用于标明spring-mvc.xml配置的位置,我是存放在config文件夹下-->
   <param-name>contextConfigLocation</param-name>
   <param-value>classpath*:config/spring-mvc.xml</param-value>
  </init-param>
  <load-on-startup>1</load-on-startup>
 </servlet>
 <servlet-mapping>
  <servlet-name>dispatcher</servlet-name>
  <!-- 拦截所有*.do 的请求,交给DispatcherServlet处理,性能最好 -->
  <url-pattern>*.do</url-pattern>
 </servlet-mapping>
  <!--用于设定默认首页-->
 <welcome-file-list>
  <welcome-file>login.jsp</welcome-file>
 </welcome-file-list>
配置完后,我们需要在对springmvc框架进行配置,配置文件名为spring-mvc.xml,也是存放在config文件夹下:
<beans xmlns="http://www.springframework.org/schema/beans"
  xmlns:context="http://www.springframework.org/schema/context"
  xmlns:mvc="http://www.springframework.org/schema/mvc" xmlns:xsi="http://www.w3.org/2001/XMLSchema-instance"
  xsi:schemaLocation="
  http://www.springframework.org/schema/beans
  http://www.springframework.org/schema/beans/spring-beans-3.0.xsd
  http://www.springframework.org/schema/context
  http://www.springframework.org/schema/context/spring-context-3.0.xsd
  http://www.springframework.org/schema/mvc
  http://www.springframework.org/schema/mvc/spring-mvc-3.0.xsd">

 <!--扫描控制器,当配置了它后,Spring会自动的到com.mjl.controller
 下扫描带有@controller @service @component等注解等类,将他们自动实例化-->
 <context:component-scan base-package="com.mjl.controller" />

 <!--<mvc:annotation-driven /> 会自动注册DefaultAnnotationHandlerMapping与
 AnnotationMethodHandlerAdapter 两个bean,它解决了一些@controllerz注解使用时的提前配置-->
 <mvc:annotation-driven />

 <!--配置 页面控制器-->
 <bean class="org.springframework.web.servlet.view.InternalResourceViewResolver">
  <property name="prefix" value="/"/>
  <property name="suffix" value=".jsp" />

 </bean>

</beans>
当springmvc配置完成后,就需要编写业务啦,也就是service包下的东西,首先编写一个接口类userservice,里面存放了我们抽象出来的登录方法login
package com.mjl.service;

import org.springframework.ui.Model;

/**
 * Created by alvin on 15/9/7.
 */
public interface UserService {
 public boolean login(String username,String password);
}
然后在创建一个userservice的实现类userserviceimpl用于实现我们所抽象出来的登录方法
package com.mjl.service;

import com.mjl.dao.IUserDao;
import com.mjl.model.User;
import org.springframework.beans.factory.annotation.Autowired;
import org.springframework.context.annotation.Scope;
import org.springframework.stereotype.Service;
import org.springframework.ui.Model;

/**
 * Created by alvin on 15/9/7.
 */
//@Service("UserService") 注解用于标示此类为业务层组件,在使用时会被注解的类会自动由
 //spring进行注入,无需我们创建实例
@Service("UserService")
public class UserServiceImpl implements UserService {
 //自动注入iuserdao 用于访问数据库
 @Autowired
 IUserDao Mapper;

 //登录方法的实现,从jsp页面获取username与password
 public boolean login(String username, String password) {
//  System.out.println("输入的账号:" + username + "输入的密码:" + password);
  //对输入账号进行查询,取出数据库中保存对信息
  User user = Mapper.selectByName(username);
  if (user != null) {
//   System.out.println("查询出来的账号:" + user.getUsername() + "密码:" + user.getPassword());
//   System.out.println("---------");
   if (user.getUsername().equals(username) && user.getPassword().equals(password))
    return true;

  }
  return false;

 }
}
编写完业务层代码后,我们就可以写控制层代码啦,控制层的代码用于处理页面提交的业务
package com.mjl.controller;

import com.mjl.model.User;
import com.mjl.service.UserService;
import org.springframework.beans.factory.annotation.Autowired;
import org.springframework.context.annotation.Scope;
import org.springframework.stereotype.Controller;
import org.springframework.web.bind.annotation.RequestMapping;

import javax.servlet.http.HttpServletRequest;

/**
 * Created by alvin on 15/9/7.
 */

//@Controller注解用于标示本类为web层控制组件
@Controller
//@RequestMapping("/user")用于标定访问时对url位置
@RequestMapping("/user")
//在默认情况下springmvc的实例都是单例模式,所以使用scope域将其注解为每次都创建一个新的实例
@Scope("prototype")
public class UserController {
 //自动注入业务层的userService类
 @Autowired
  UserService userService;

 //login业务的访问位置为/user/login
 @RequestMapping("/login")
  public String login(User user,HttpServletRequest request){
  //调用login方法来验证是否是注册用户
  boolean loginType = userService.login(user.getUsername(),user.getPassword());
  if(loginType){
   //如果验证通过,则将用户信息传到前台
   request.setAttribute("user",user);
   //并跳转到success.jsp页面
   return "success";
  }else{
   //若不对,则将错误信息显示到错误页面
   request.setAttribute("message","用户名密码错误");
   return "error";
  }
 }

}
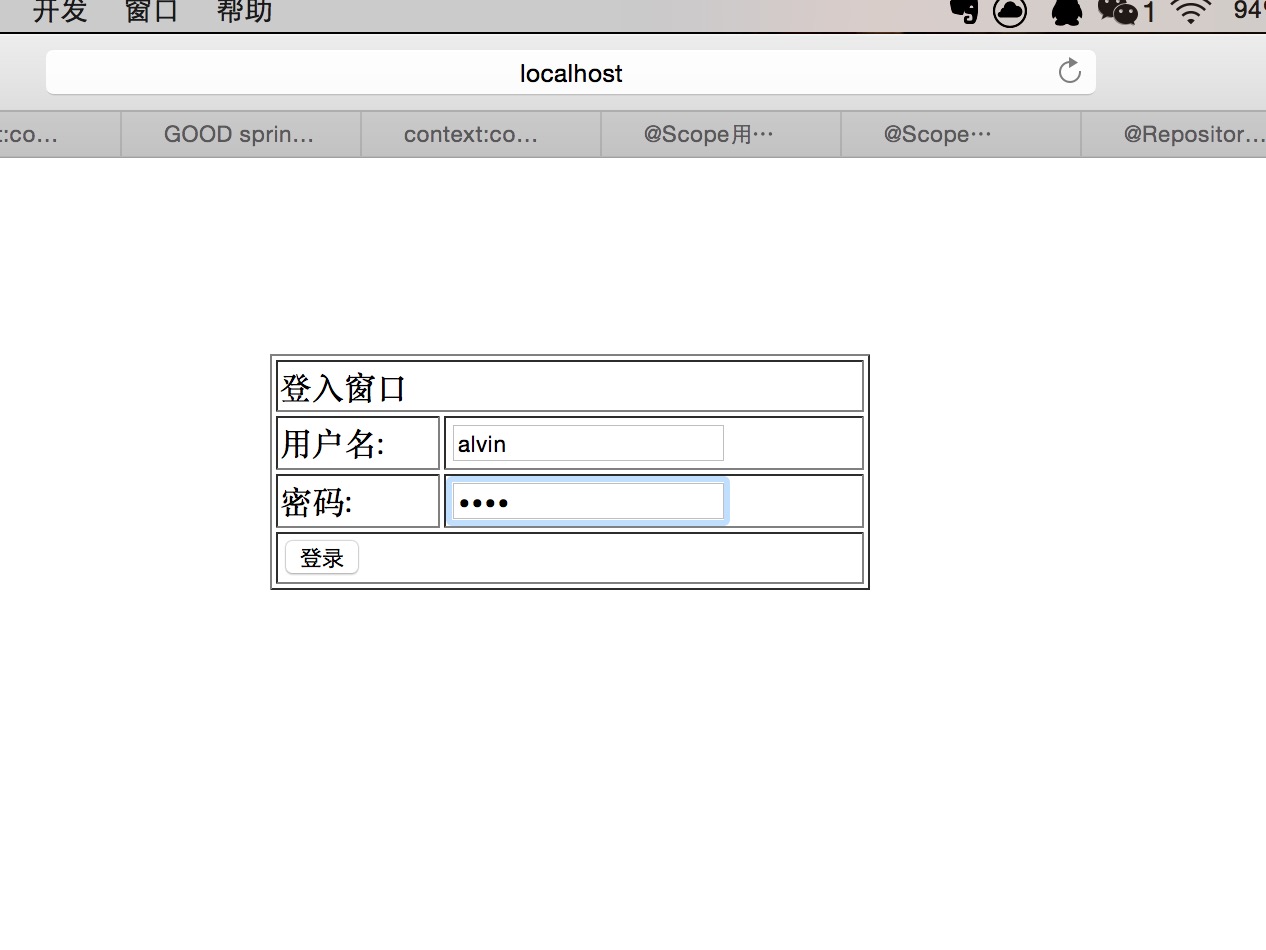
控制层代码写完后,就可以进行前端页面代码编写了,登录代码
<%--
 Created by IntelliJ IDEA.
 User: alvin
 Date: 15/9/7
 Time: 下午10:05
 To change this template use File | Settings | File Templates.
--%>
<%@ page contentType="text/html;charset=UTF-8" language="java" %>
<%
 String path = request.getContextPath();
 String basePath = request.getScheme()+"://"+request.getServerName()+":"+request.getServerPort()+path+"/";
%>
<html>
<head>
 <title></title>
</head>
<body>
<br>
<br>
<br>
<br>
<br>
<form name="form1" action="/user/login.do" method="post" >
 <table width="300" border="1" align="center">
 <tr>
 <td colspan="2">登入窗口</td>
 </tr>
 <tr>
  <td>用户名:</td>
  <td><input type="text" name="username">
  </td>
 </tr>
 <tr>
  <td>密码:</td>
  <td><input type="password" name="password"/>
  </td>
 </tr>
 <tr>
 <td colspan="2">
  <input type="submit" name="submit" value="登录"/>
 </td>

 </tr>
 </table>
</form>
</body>
</html>
登入成功代码
<%--
 Created by IntelliJ IDEA.
 User: alvin
 Date: 15/9/8
 Time: 下午6:21
 To change this template use File | Settings | File Templates.
--%>
<%@ page contentType="text/html;charset=UTF-8" language="java" %>
<%
 String path = request.getContextPath();
 String basePath = request.getScheme()+"://"+request.getServerName()+":"+request.getServerPort()+path+"/";
%>
<html>
<head>
 <title></title>
</head>
<body>

登入成功!
<br>
您好!${user.username}
<br>
<a href="/login.jsp" rel="external nofollow" >返回</a>
</body>
</html>
登入失败代码
<%--
 Created by IntelliJ IDEA.
 User: alvin
 Date: 15/9/8
 Time: 下午6:22
 To change this template use File | Settings | File Templates.
--%>
<%@ page contentType="text/html;charset=UTF-8" language="java" %>
<%
 String path = request.getContextPath();
 String basePath = request.getScheme()+"://"+request.getServerName()+":"+request.getServerPort()+path+"/";
%>
<html>
<head>
 <title></title>
</head>
<body>
登入失败!
${message}
<br>
<a href="<%=path%>/login.jsp" rel="external nofollow" >返回</a>
</body>
</html>
OK,已经大功告成,跑一遍看看能不能使用吧


若我输入用户名:1234 密码:1234 则会提示登录失败,如下图所示:

到这里,本文已经全部结束,希望能对在整合springmvc,spring,my baits框架时有困惑的同学有所帮助,本文的代码已经上传github,以后我也会慢慢的增加功能,也会上传相关代码,希望大家能够共同进步!
以上就是本文的全部内容,希望对大家的学习有所帮助,也希望大家多多支持我们。
赞 (0)

