zabbix自定义监控nginx状态实现过程
目录
- 1. 开启状态界面
- 2. 写监控脚本
- 3. 配置监控项
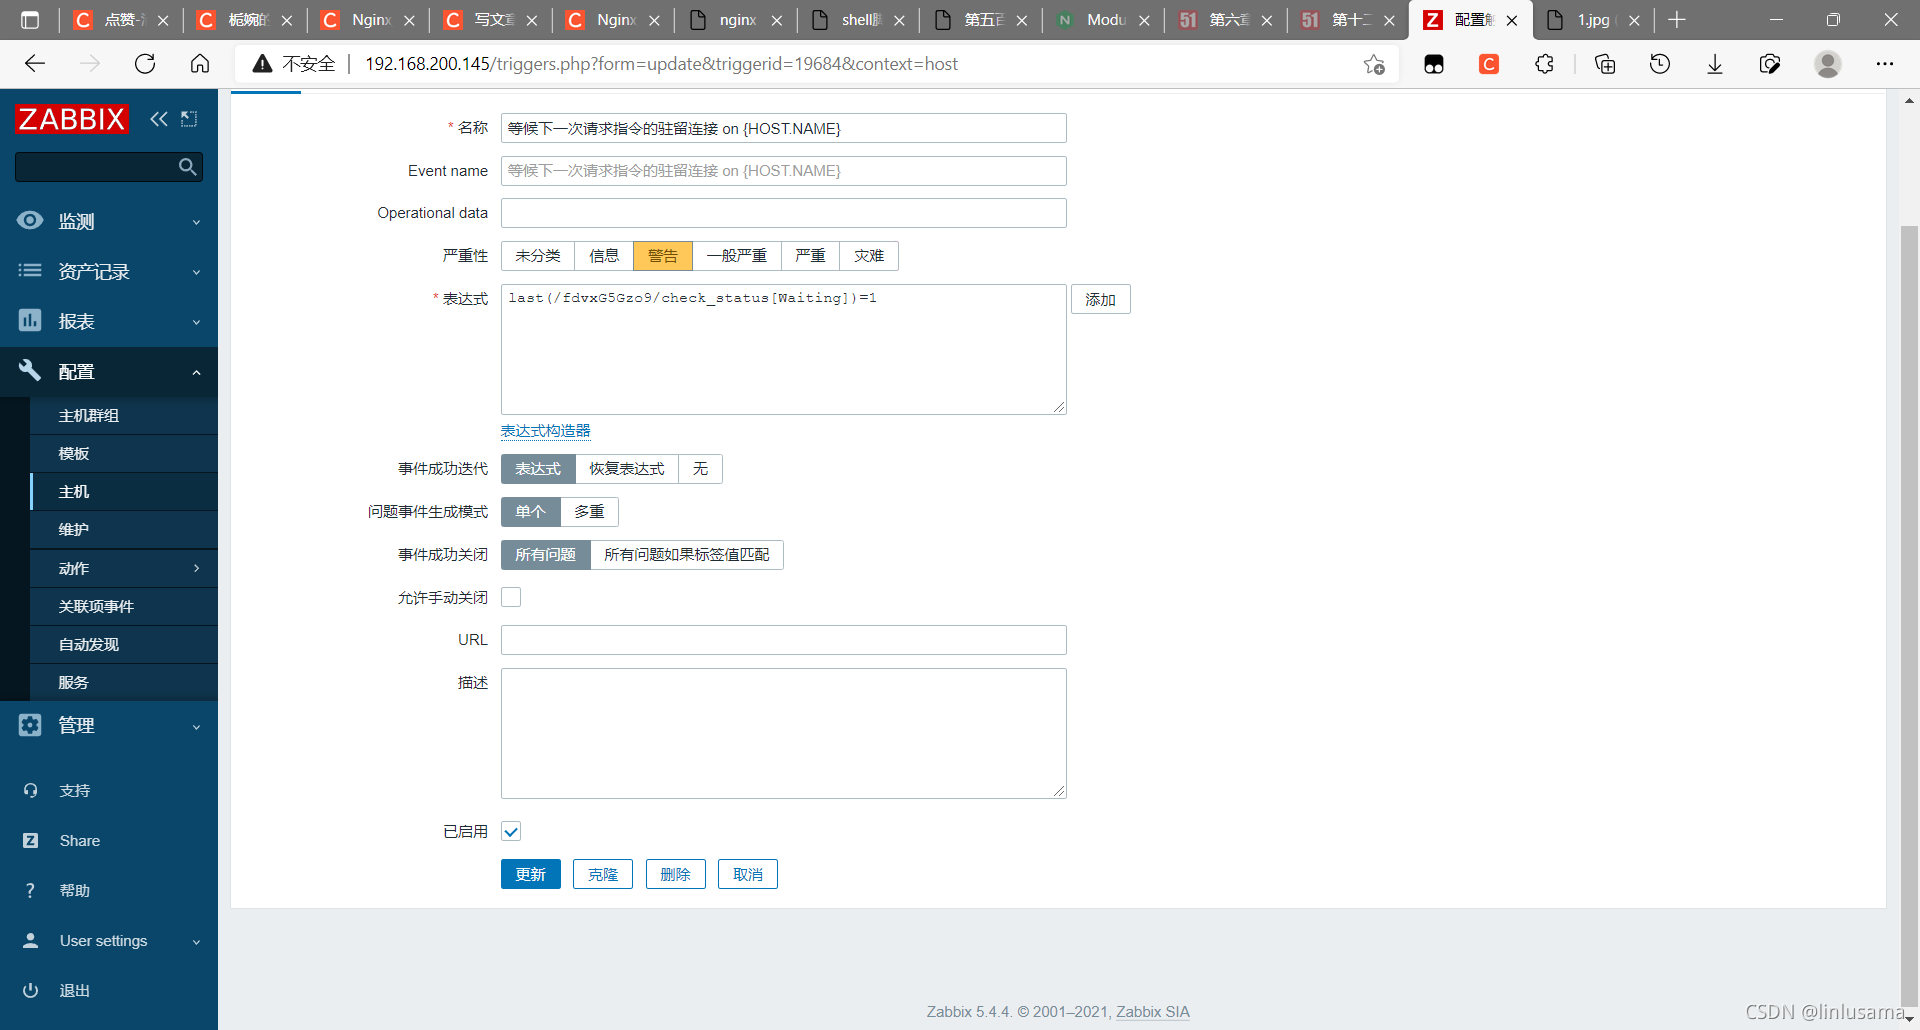
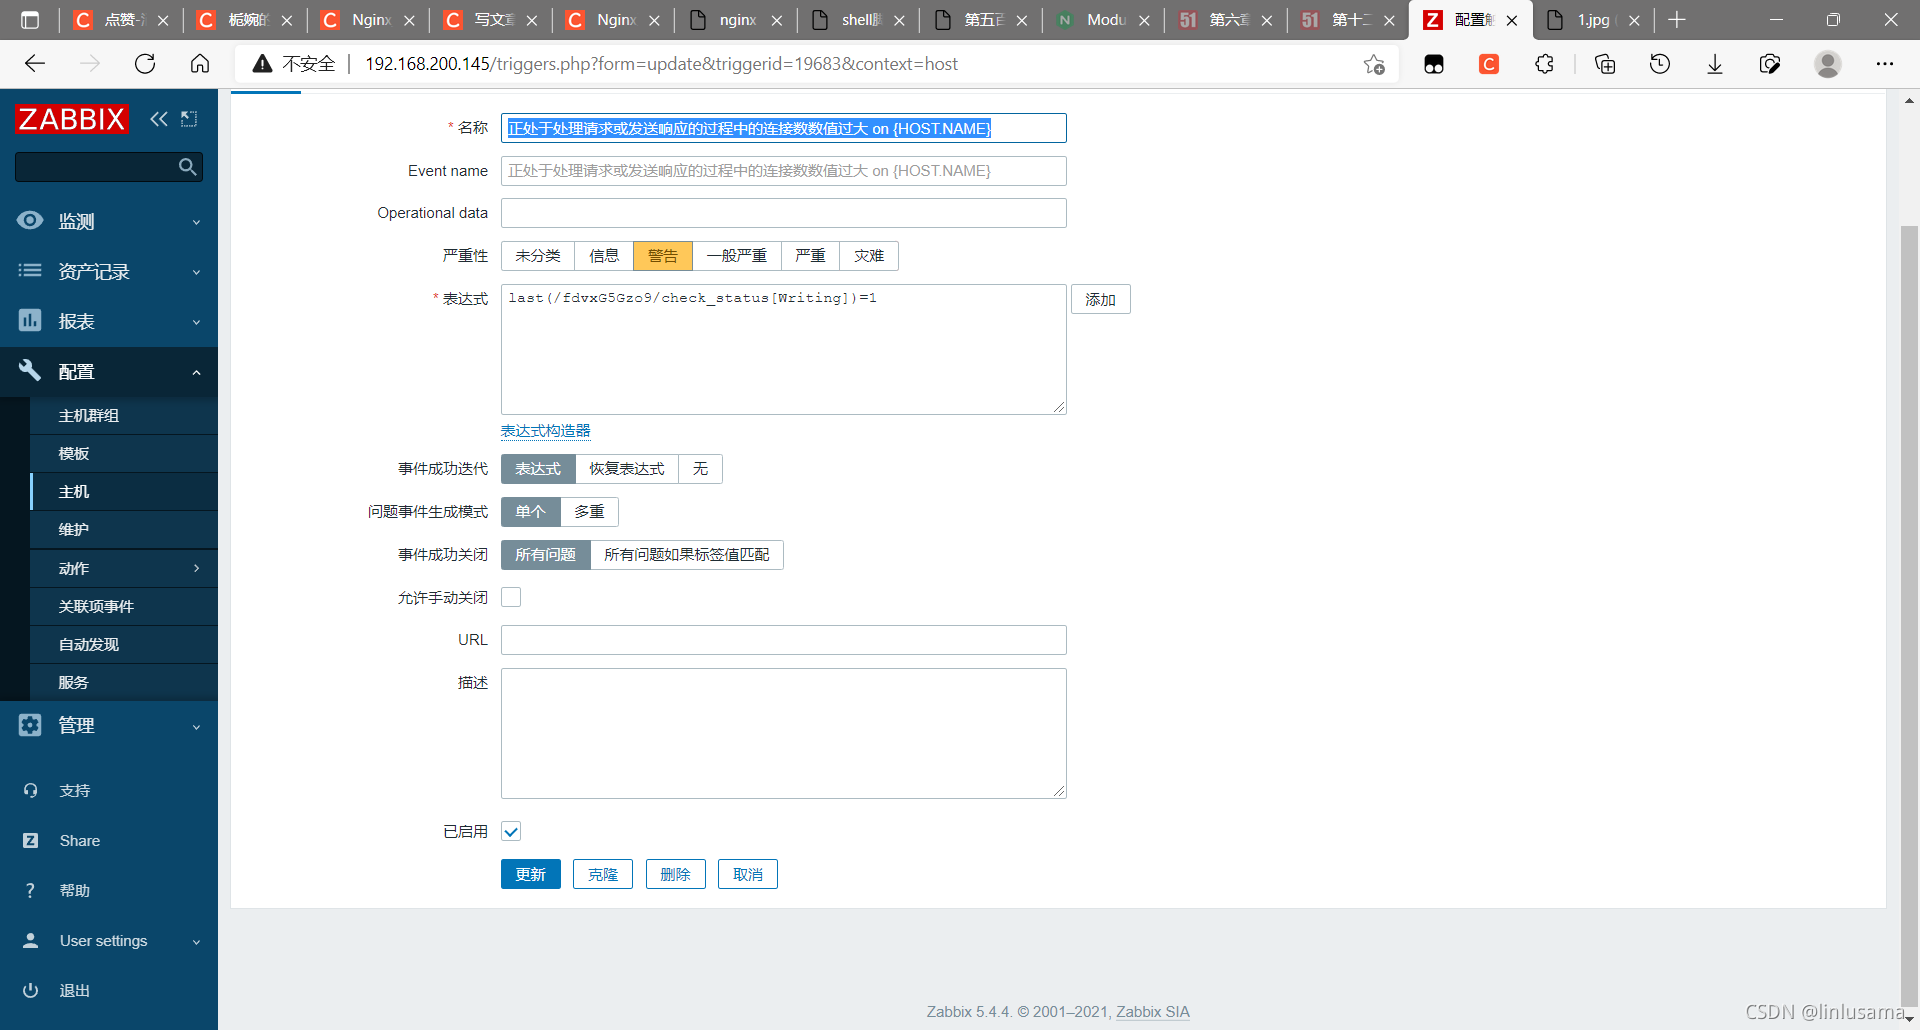
- 4. 配置触发器
- 5. 测试
zabbix自定义监控nginx状态
| zabbix_server | 192.168.200.145 |
|---|---|
| zabbix_agentd ,nginx | 192.168.200.146 |
1. 开启状态界面
开启status:
[root@localhost ~]# vim /usr/local/nginx/conf/nginx.conf
location /status {
     stub_status on;
     allow 192.168.200.146;
     allow 192.168.200.145
     deny all;
}
[root@localhost ~]# nginx -s reload
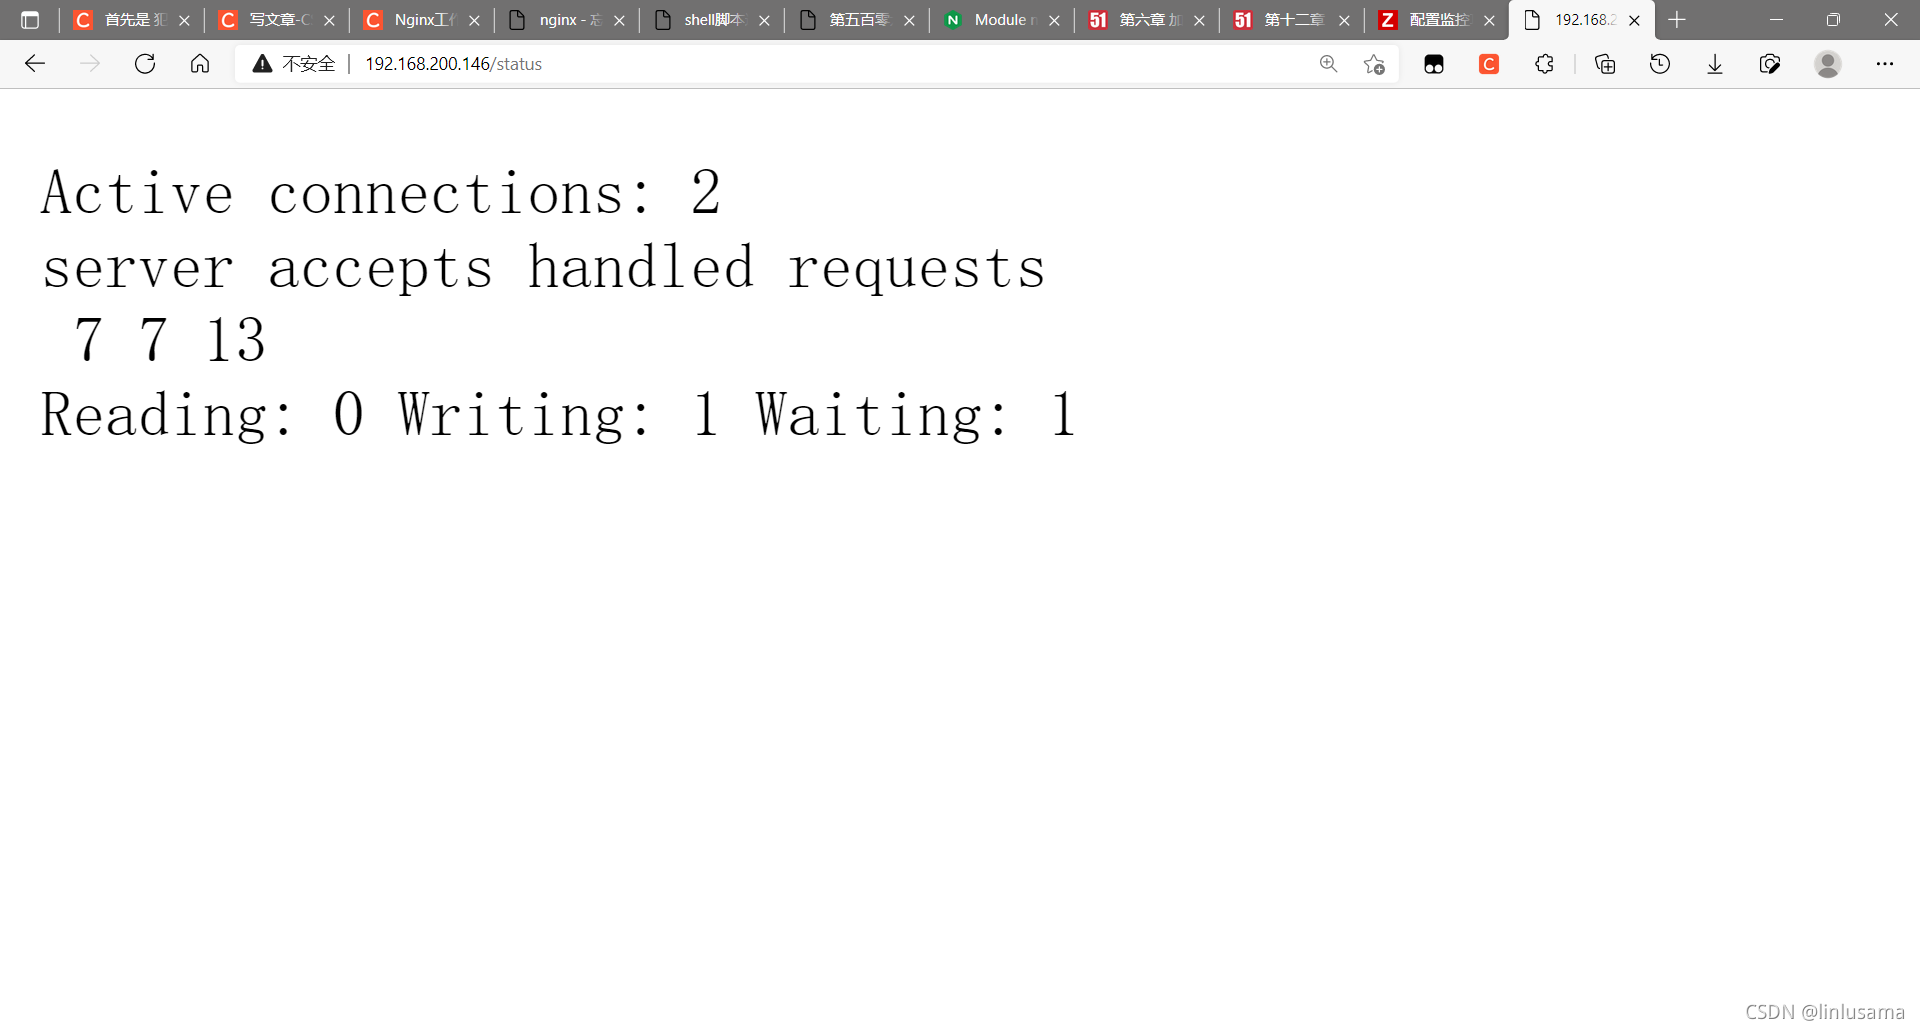
状态页面信息详解:
| 状态码 | 表示的意义 |
|---|---|
| Active connections 2 | 当前所有处于打开状态的连接 |
| accepts | 总共处理了多少个连接 |
| handled | 成功创建多少握手 |
| requests | 总共处理了多少个请求 |
| Reading | nginx读取到客户端的Header信息数,表示正处于接收请求状态的连接数 |
| Writing | nginx返回给客户端的Header信息数,表示请求已经接收完成,且正处于处理请求或发送响应的过程中的连接数 |
| Waiting | 开启keep-alive的情况下,这个值等于active - (reading + writing),意思就是Nginx已处理完正在等候下一次请求指令的驻留连接 |
2. 写监控脚本
[root@localhost scripts]# vim check_status.sh
#! /bin/bash
ip=$(ip a | grep 'inet ' | grep -v '127.0.0.1' | awk -F'[ /]+' '{print $3}')
case $1 in
    "Reading")
    curl -s http://$ip | awk 'NR==4 {print $2}';;
    "Writing")
    curl -s http://$ip | awk 'NR==4 {print $4}';;
    "Waiting")
    curl -s http://$ip | awk 'NR==4 {print $6}'
esac

//添加配置文件
[root@localhost scripts]# vim /usr/local/etc/zabbix_agentd.conf
UnsafeUserParameters=1
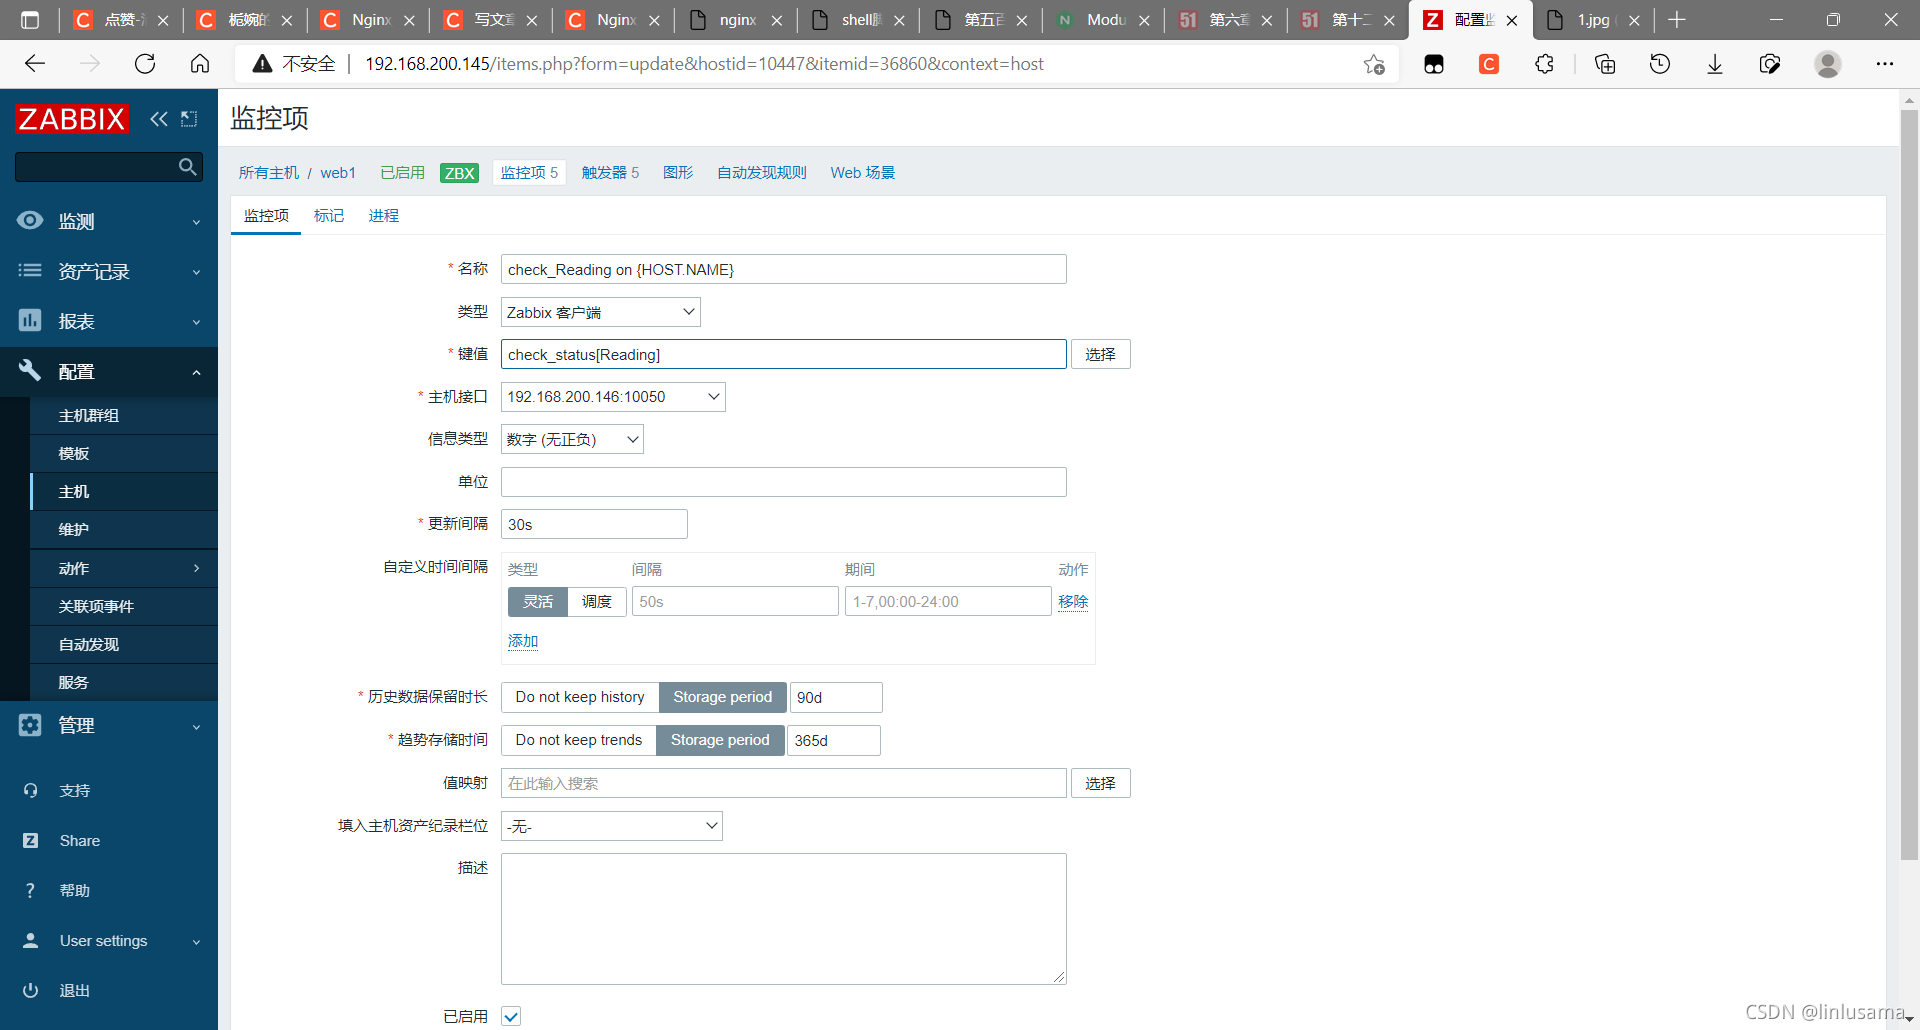
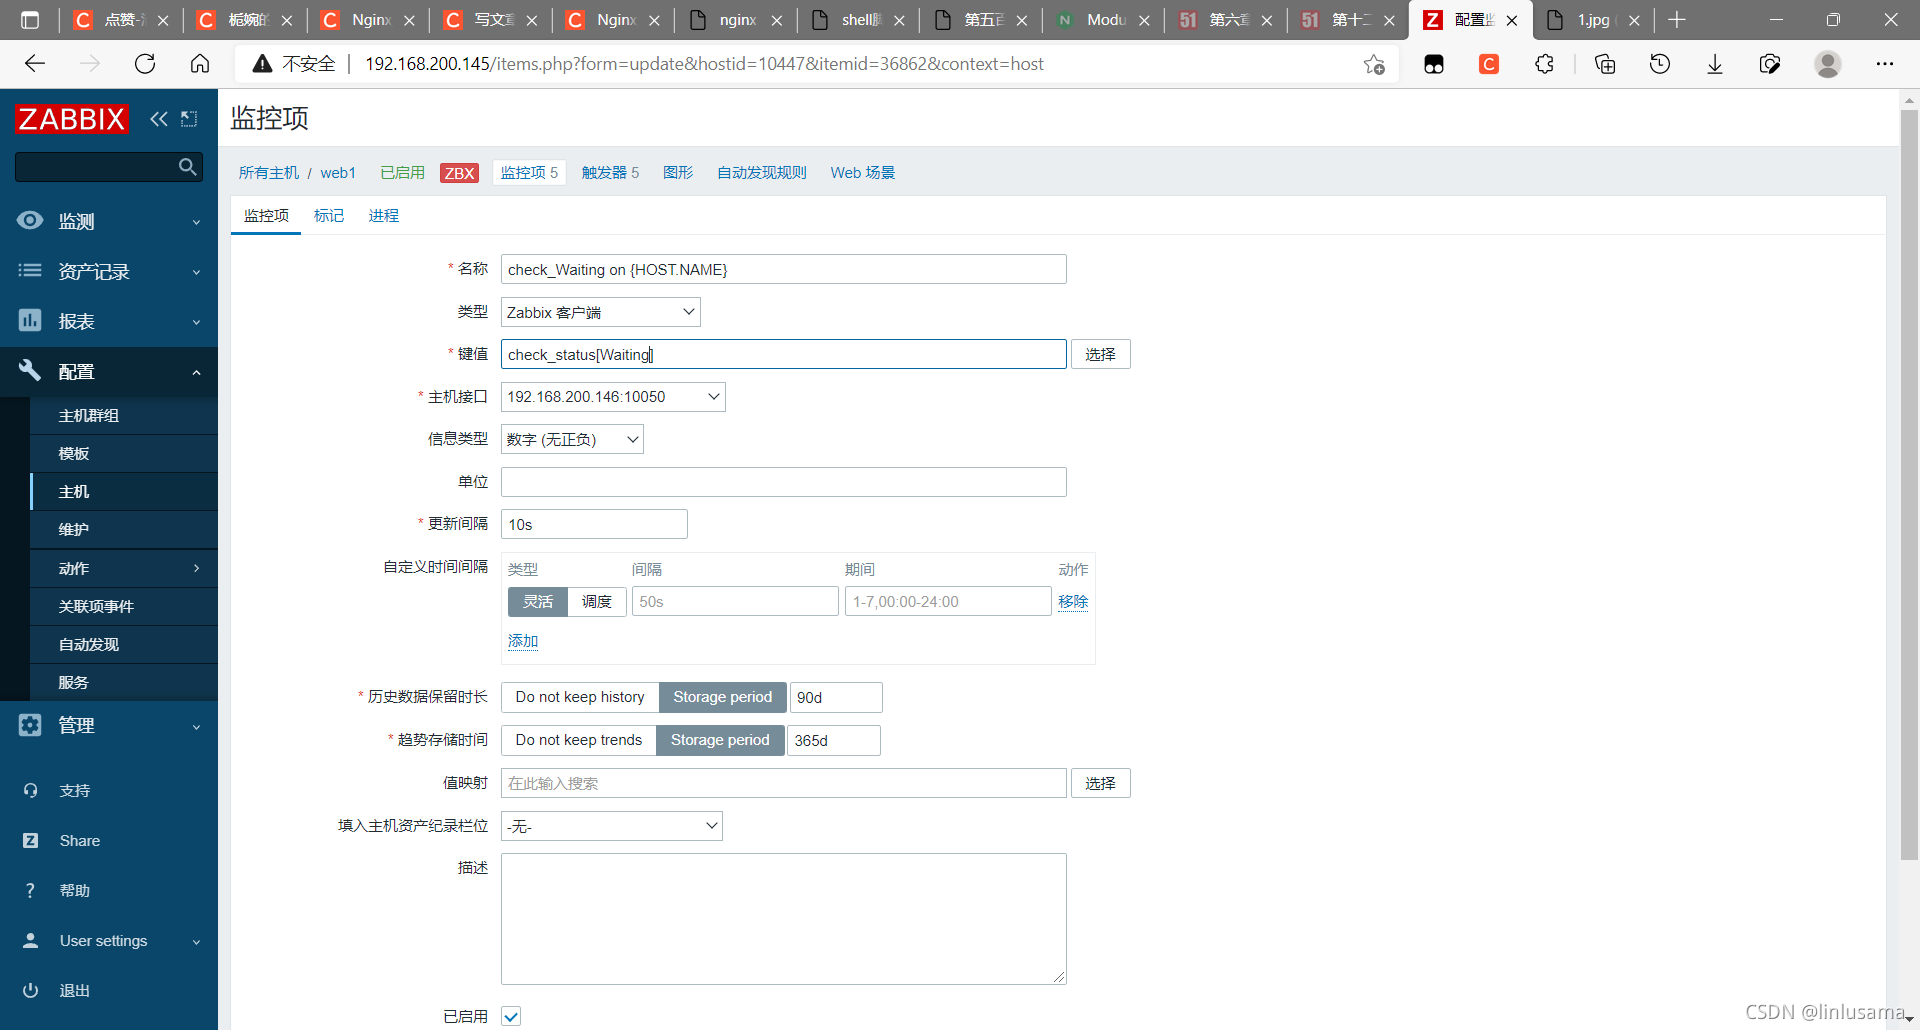
UserParameter=check_status[*],/bin/bash /scripts/check_Reading.sh $1
[root@localhost scripts]# pkill zabbix_agentd
[root@localhost scripts]# zabbix_agentd

//测试
[root@zabbix ~]# zabbix_get -s 192.168.200.146 -k check_status Waiting
1
3. 配置监控项

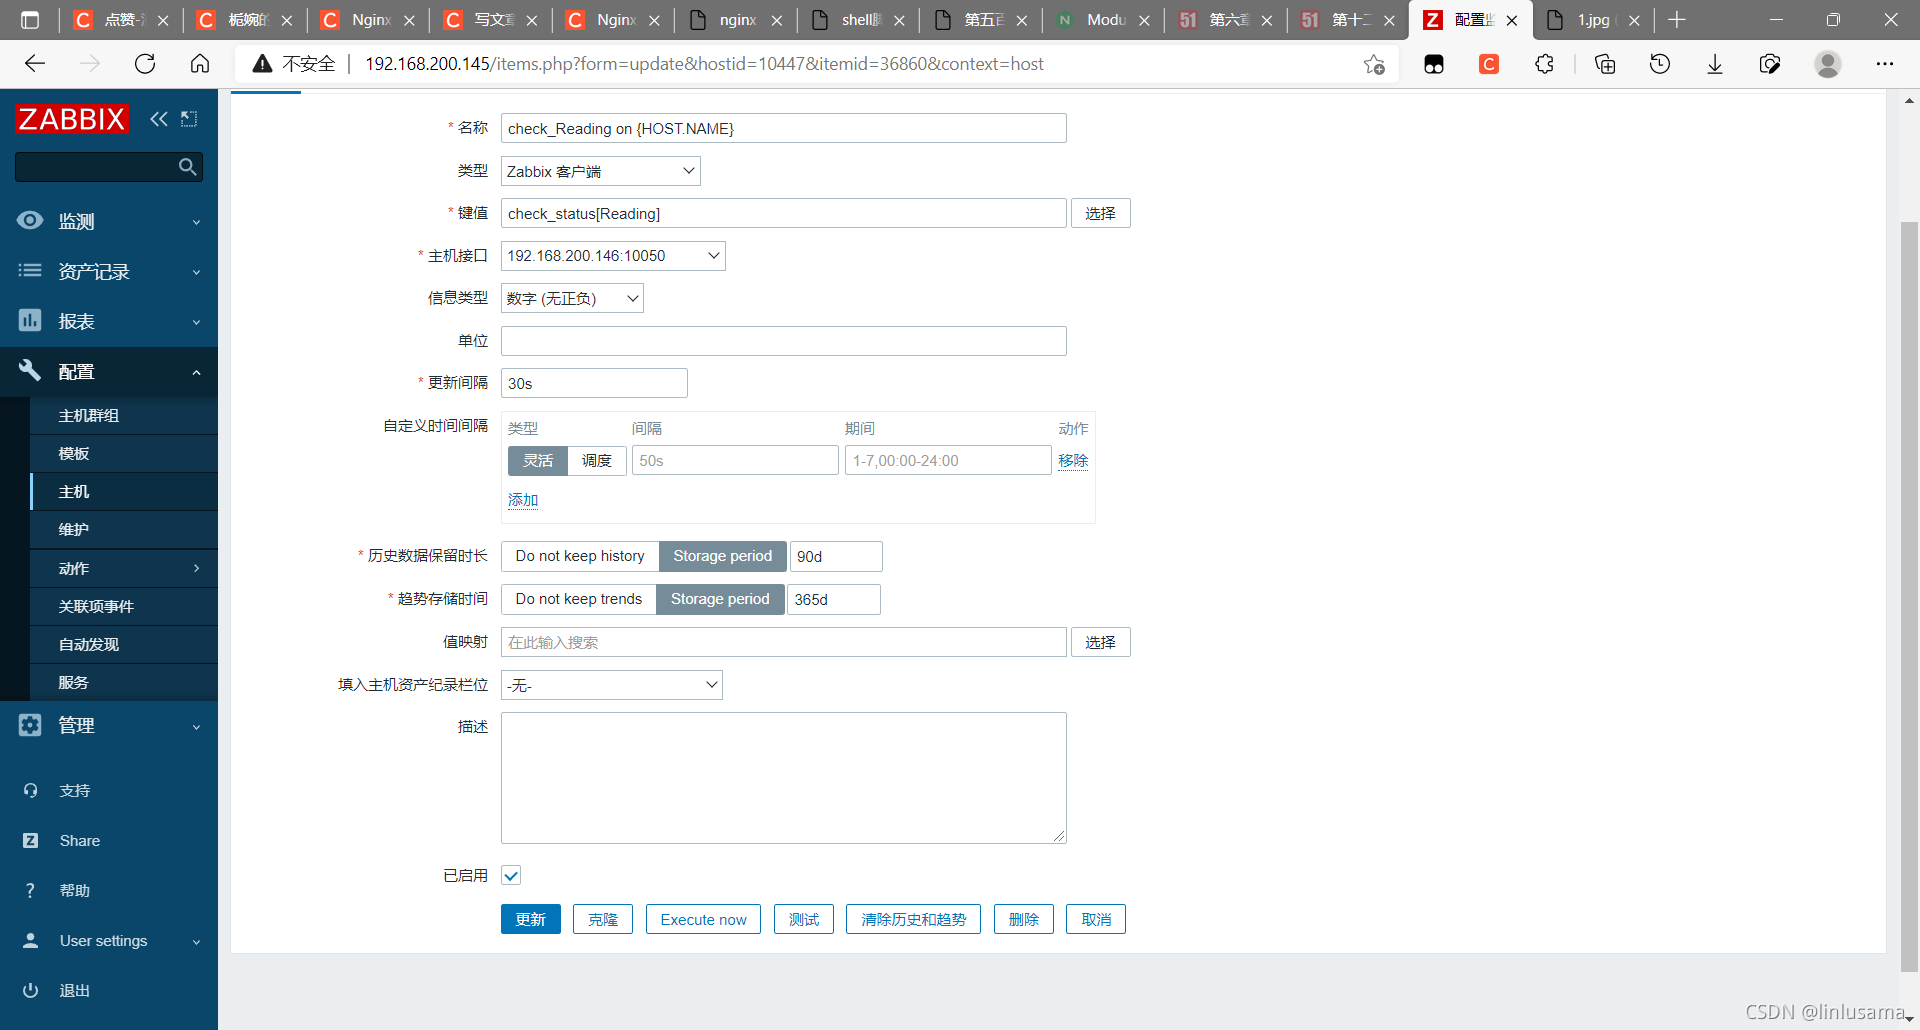
4. 配置触发器
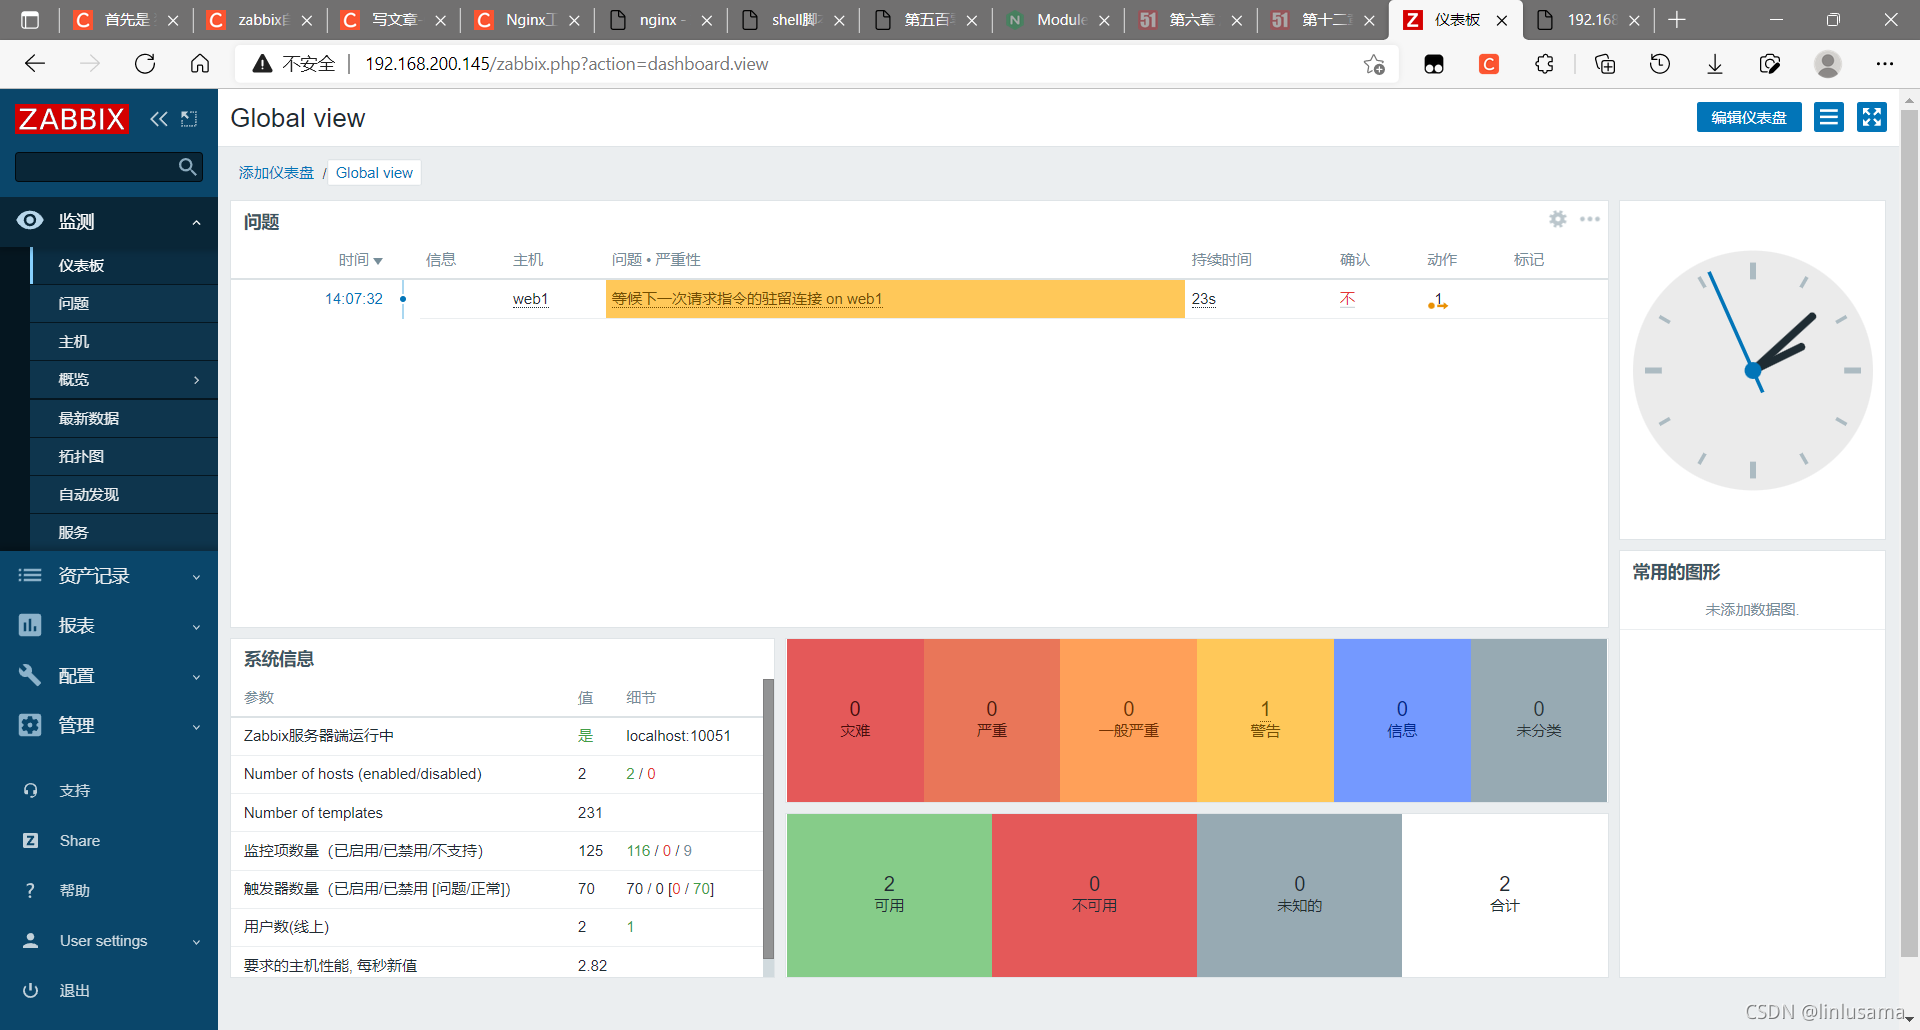
5. 测试
[root@localhost scripts]# ab -n 1500000 http://192.168.200.146/status
以上就是zabbix自定义监控nginx状态实现过程的详细内容,更多关于zabbix自定义监控nginx的资料请关注我们其它相关文章!
赞 (0)

