Vue3+Vite项目使用mockjs随机模拟数据
在vite中使用mockjs进行模拟数据,需要借助新的依赖进行使用
一、安装mockjs
yarn add mockjs -S 或 npm i mockjs -D
二、安装vite-plugin-mock
npm i vite-plugin-mock -D
三、在src/mock/source文件夹下创建user.ts

在index.vue中放入以下内容:
import { MockMethod } from 'vite-plugin-mock'

export default [
  {
    url: '/api/getUserInfo', // 注意,这里只能是string格式
    method: 'get',
    response: () => {
      return {
        menusList: [{
          id: '1',
          title: '南辰',
          subMenuList: [
            {
              id: '11',
              title: '南',
              path: '/user/nan'
            },
            {
              id: '12',
              title: '小',
              path: '/user/xiao'
            },
            {
              id: '13',
              title: '辰',
              path: '/user/chen'
            }
          ]
        }, {
          id: '2',
          title: '希',
          subMenuList: [
            {
              id: '21',
              title: '玩游戏',
              path: '/user/play'
            }
          ]
        }]
      }
    }
  }
] as MockMethod[] // 这里其实就是定义数据格式的,不了解的同学可以参考typescript的官方文档
四、开发环境配置
如果只是本地开发环境时使用,直接看下面即可步骤
在vite.config.ts进行个人配置
import { viteMockServe } from 'vite-plugin-mock'

export default defineConfig({
  plugins: [
    viteMockServe({
      mockPath: "./src/mock/source", // 解析刚刚user.ts的位置
      localEnabled: true // 是否开启开发环境
    })
  ]
})
在页面中引入
<template>
  <div>{{name.name}}</div>
  <div>{{nc}}</div>
</template>

<script lang='ts'>
import { useRoute } from "vue-router"; //引入路由组件
import { onMounted, ref } from "vue";
import axios from "axios";
export default {
  setup() {
    const nc = ref("");
    onMounted(() => {
      axios.get("/api/getUserInfo").then((res) => {
        console.log(res);
        nc.value = res.data.menusList[0].title;
        console.log(nc.value);
      });
    });
    const $route = useRoute();
    const name = $route.query;
    return {
      name,
      nc,
    };
  },
};
</script>
<style scoped>
</style>
打印效果如下:
如果想使用随机数可以看接下来的步骤
如果只要随机数则直接生成即可

想要随机数在return中放入随机条件即可。
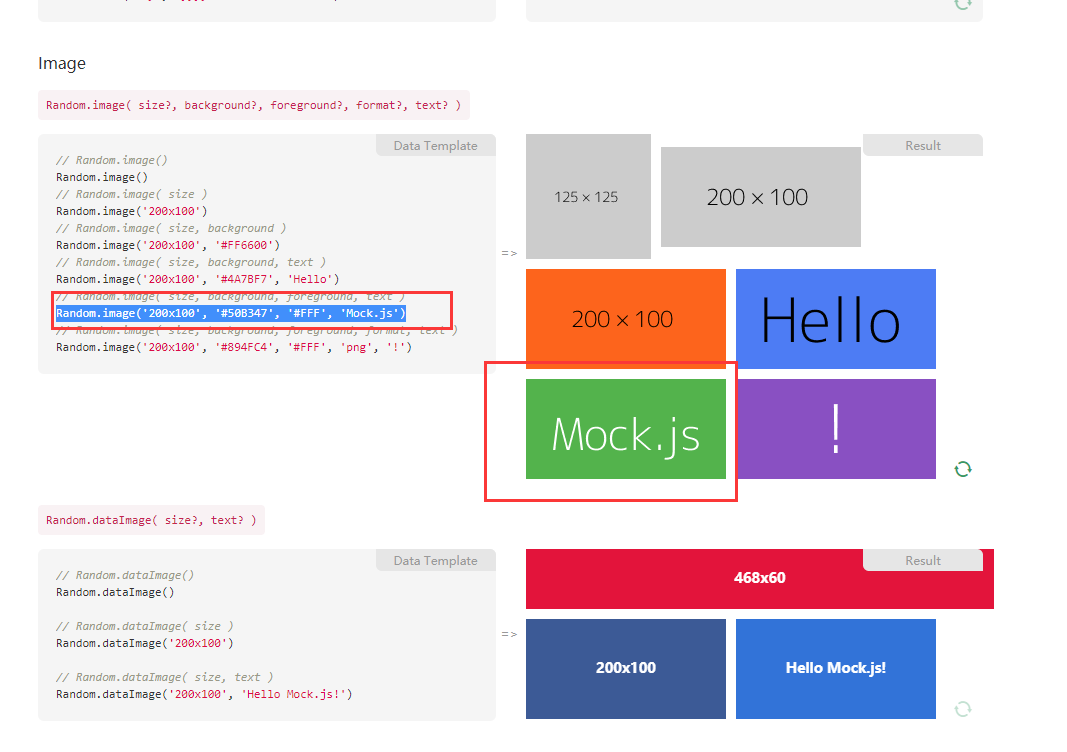
如果想要用随机数中的图片就需要从mockjs中引入一个Random方法
在页面上进行循环:
<template>
  <div v-for="(item,index) in list" :key="index">
   <img :src="item.image" alt="">
   <p>{{item.id}}</p>
  </div>
</template>

<script lang='ts'>
import { useRoute } from "vue-router"; //引入路由组件
import { onMounted, ref } from "vue";
import axios from "axios";
export default {
  setup() {
    const list = ref("");
    onMounted(() => {
      axios.get("/api/getUserInfo").then((res) => {
        console.log(res);
        let lis = res.data.list;
        console.log(list.value =lis);
      });
    });

    return {
      nc,
      list,
    };
  },
};
</script>
<style scoped>
</style>
这里的Random.image()方法是从官网上拿下来用的
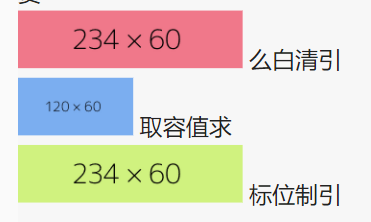
效果如下:
实现随机不同的图片+字段
import { MockMethod } from 'vite-plugin-mock'
export default [
  {
    url: '/api/getUserInfo', // 注意,这里只能是string格式
    method: 'get',
    response: () => {
      return {
        'list|1-10': [{
          // 属性 id 是一个自增数,起始值为 1,每次增 1
          'id|+1': 1,
        /*   image: Random.image() */
        "title": "@ctitle",
        "color":'@color',
        "image":"@image('','@color')"
        }],
      }
    }
  }
] as MockMethod[]
index.vue
<template>
<div v-for="(item,index) in list" :key="index">
 <img :src="item.image" alt="">
 {{item.title}}
 </div>
</template>

<script lang='ts'>
import { useRoute } from "vue-router"; //引入路由组件
import { onMounted, ref } from "vue";
import axios from "axios";

export default {
  setup() {
    const list = ref("");
    onMounted(() => {
      axios.get("/api/getUserInfo").then((res) => {
        console.log(res);
        let lis = res.data.list;
        console.log(lis);
        console.log(list.value = lis);
      });
    });
    return {
      list,
    };
  },
};
</script>
<style scoped>
</style>

效果如下:
到此这篇关于Vue3+Vite项目使用mockjs随机模拟数据的文章就介绍到这了,更多相关Vue3+Vite项目使用mockjs模拟数据内容请搜索我们以前的文章或继续浏览下面的相关文章希望大家以后多多支持我们!
赞 (0)

