springboot如何通过session实现单点登入详解
目录
- 我对于单点的理解
- 效果图走起
- 代码部分
- 总结
我对于单点的理解
正常的登录
进入自己系统的登录页面,输入用户名密码,登录系统。
单点登录
来到一个第三方的登录页面,输入用户名密码,在这个页面登录成功之后,就算成功的登录了应用系统。好处在于这个登录页面不仅仅是登录一个系统,可以同时登录多个系统。即所谓的一次登录,全程畅通。
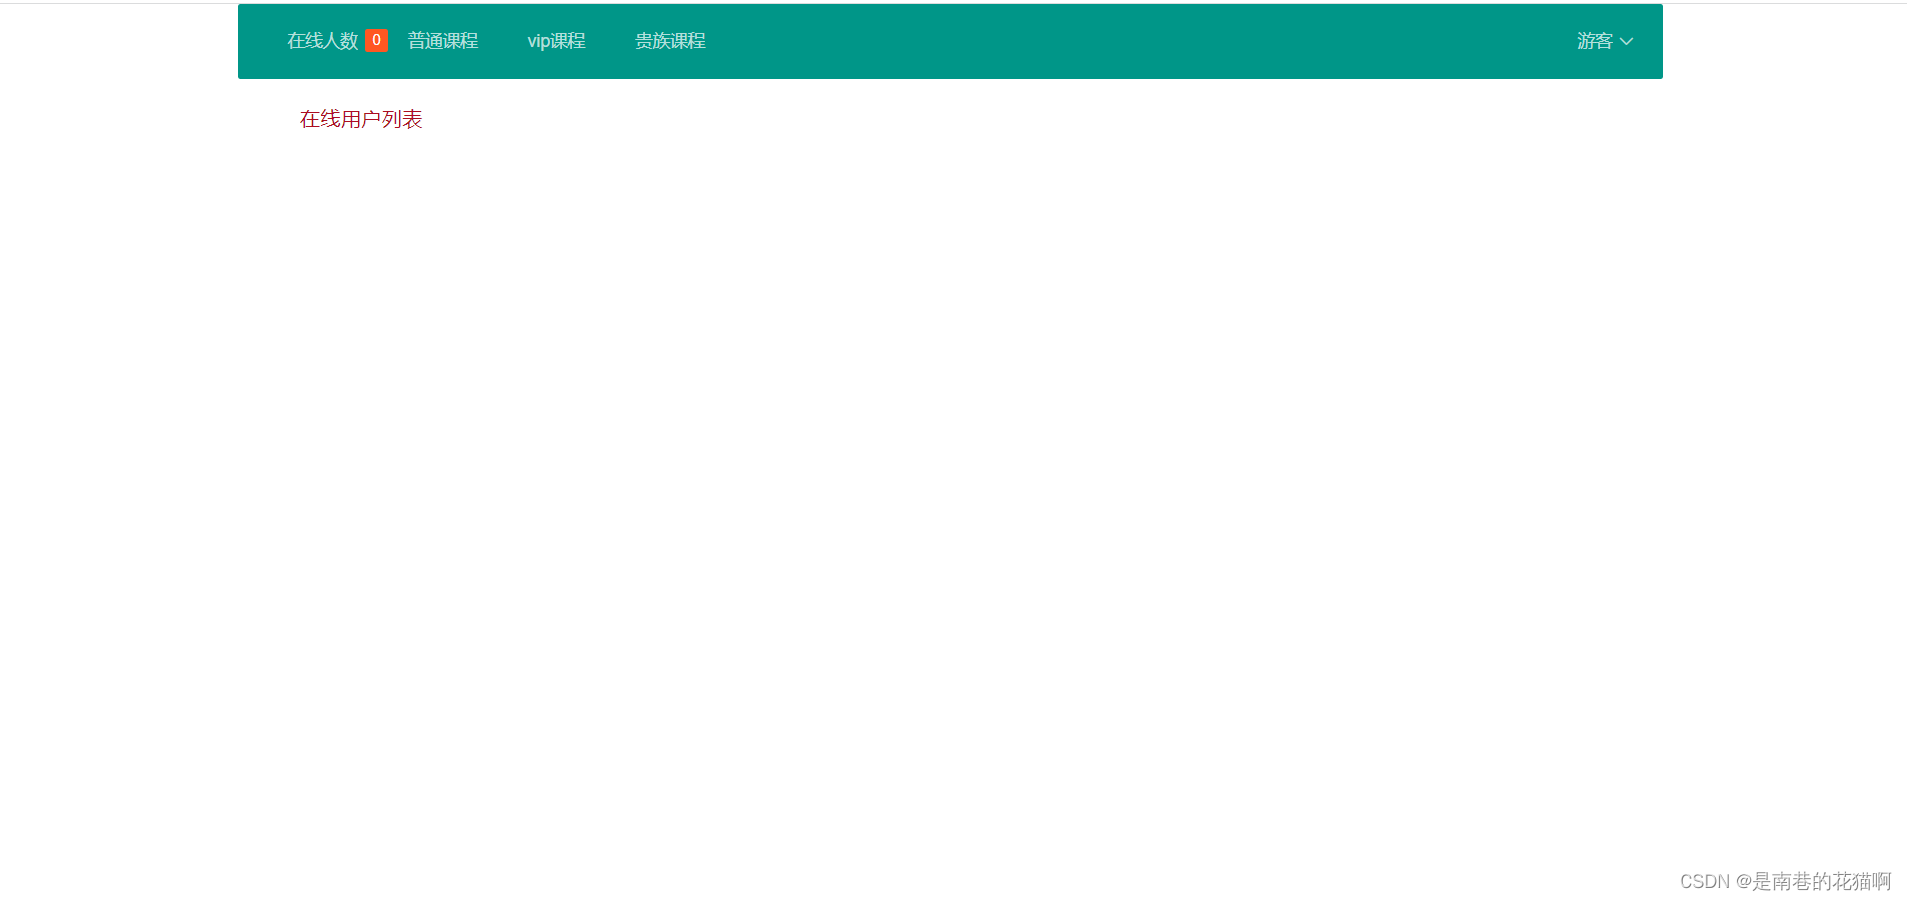
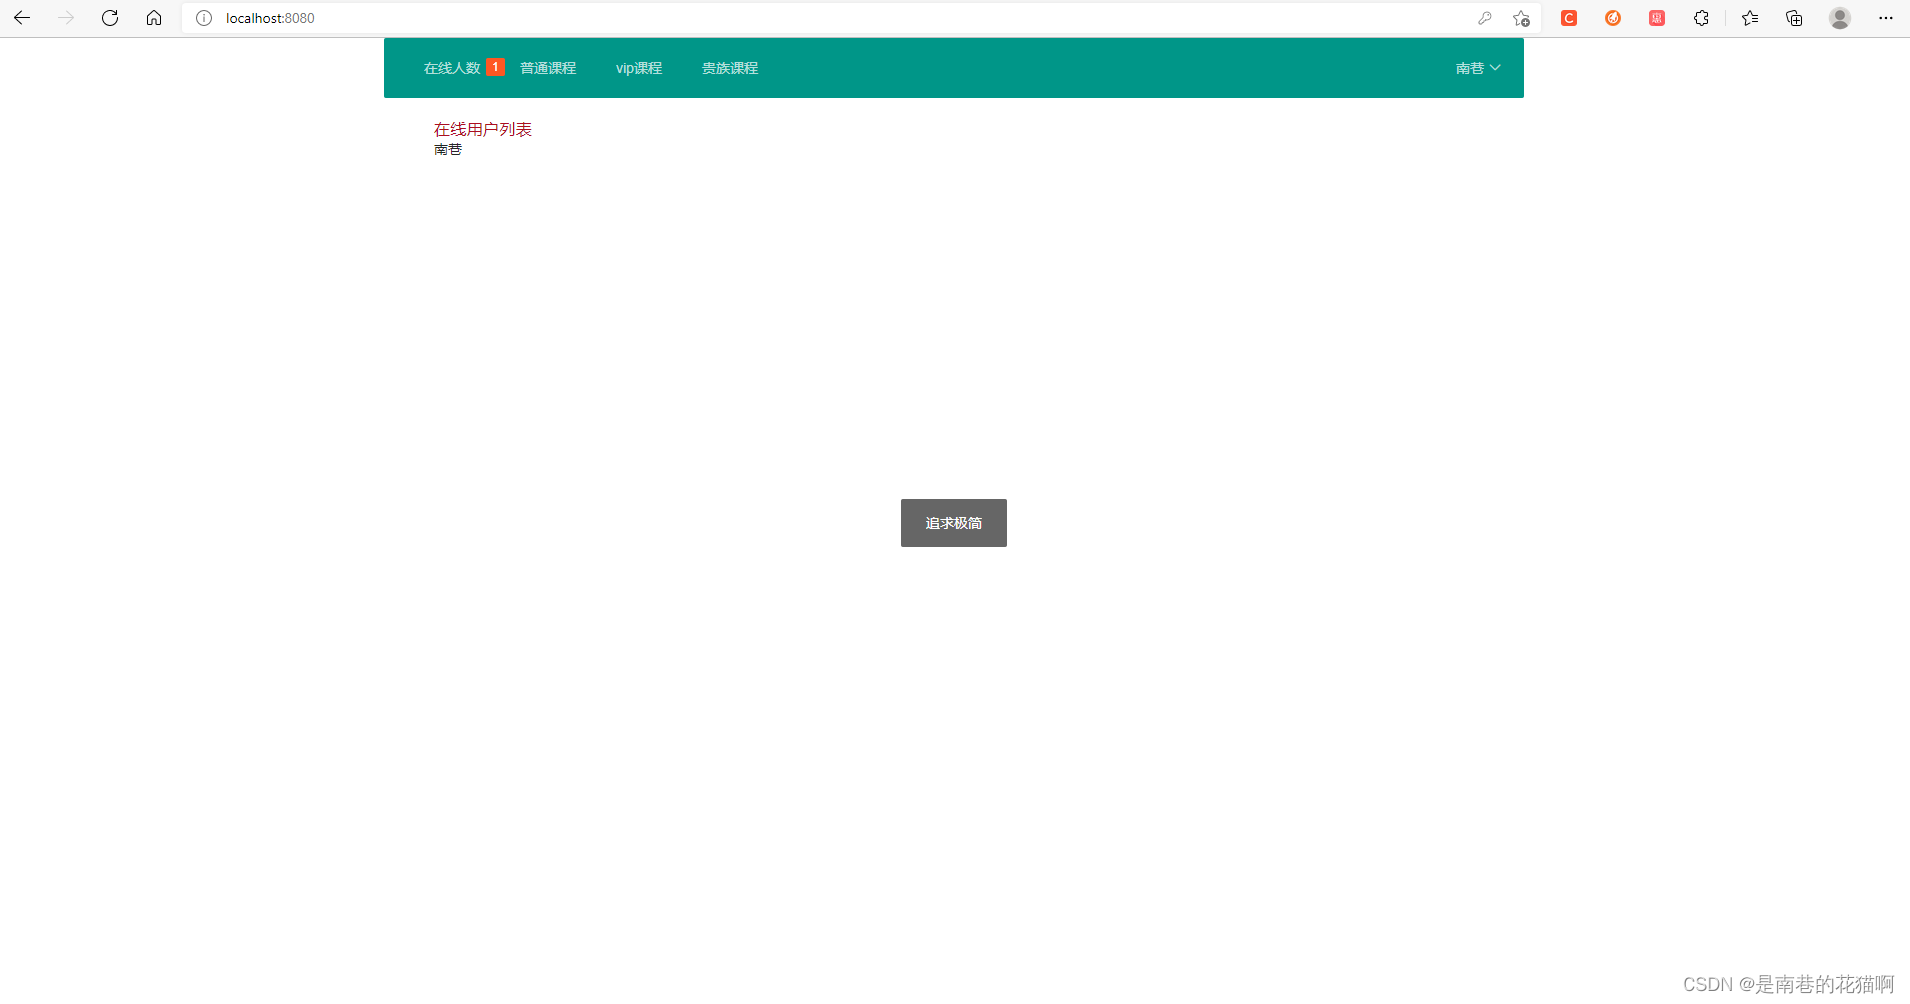
效果图走起


另外开一个浏览器

原来的页面刷新一下

发现他已经被挤下线
代码部分
package com.nx.j2ee.service;

import org.springframework.stereotype.Service;

import javax.servlet.http.HttpSession;
import java.util.HashMap;
import java.util.Map;

@Service
public class OnlineService {
    private Map<String, HttpSession> UserMap = new HashMap<>();

    public HttpSession getUserMap(String name) {
        return UserMap.get(name);
    }

    public void setUserMap(String name, HttpSession httpSession) {
        UserMap.put(name, httpSession);
    }

    public void delectUserMap(String name){
        UserMap.remove(name);
    }

    public int shownum(){
        return UserMap.size();
    }

    public Map<String, HttpSession> showall(){
        return UserMap;
    }
}
登入controller
package com.nx.j2ee.controller;

import com.nx.j2ee.entity.UserEntity;
import com.nx.j2ee.service.OnlineService;
import com.nx.j2ee.service.UserService;
import org.springframework.beans.factory.annotation.Autowired;
import org.springframework.stereotype.Controller;
import org.springframework.ui.Model;
import org.springframework.web.bind.annotation.GetMapping;
import org.springframework.web.bind.annotation.PostMapping;
import org.springframework.web.bind.annotation.RequestParam;

import javax.servlet.http.HttpServletRequest;
import javax.servlet.http.HttpSession;

@Controller
public class User {

    @Autowired
    private UserService userService;

    @Autowired
    private OnlineService onlineService;

    /**
     * @Description : 登入显示
     * @Author : 南巷的花猫
     * @Date : 2021/11/23 14:02
    */
    @GetMapping("/login")
    public String showlogin(){
        return "user/Login";
    }

    /**
     * @Description : 获取登入信息
     * @Author : 南巷的花猫
     * @Date : 2021/11/23 14:03
    */
    @PostMapping("/login")
    public String setlogin(@RequestParam("name") String name,
                           @RequestParam("password") String password, Model model,
                           HttpSession httpSession){

        UserEntity userEntity = userService.login(name, password);

        if (userEntity != null){
            if(onlineService.getUserMap(name) != null){
                onlineService.getUserMap(name).invalidate();
            }
            httpSession.setAttribute("userinfo", userEntity);
            onlineService.setUserMap(name, httpSession);
            return "redirect:/";
        }else {
            model.addAttribute("eroor", "用户名或者密码出错");
            return "user/Login";
        }
    }

    @GetMapping("/downline")
    public String downline(HttpSession httpSession){

        UserEntity userEntity = (UserEntity) httpSession.getAttribute("userinfo");
        onlineService.delectUserMap(userEntity.getName());
        httpSession.invalidate();
        return "redirect:/";
    }
}
首页controller
package com.nx.j2ee.controller;

import com.nx.j2ee.entity.UserEntity;
import com.nx.j2ee.service.OnlineService;
import org.springframework.beans.factory.annotation.Autowired;
import org.springframework.stereotype.Controller;
import org.springframework.ui.Model;
import org.springframework.web.bind.annotation.GetMapping;

import javax.servlet.http.HttpServletRequest;
import javax.servlet.http.HttpSession;
import java.util.Map;
import java.util.Set;

@Controller
public class Index {

    @Autowired
    private OnlineService onlineService;

    private boolean select = false;

    @GetMapping("/")
    public String showindex(Model model, HttpSession httpSession){

        UserEntity userinfo = (UserEntity) httpSession.getAttribute("userinfo");
        if (userinfo != null){
            this.select = true;
        }else {
            this.select = false;
        }
        int onlinenum = onlineService.shownum();
        Set<String> userset = onlineService.showall().keySet();

        model.addAttribute("onlinenum", onlinenum);
        model.addAttribute("userinfo", userinfo);
        model.addAttribute("userset", userset);
        model.addAttribute("select", this.select);
        return "home/index";
    }
}
HTML页面
<!DOCTYPE html>
<html xmlns="http://www.w3.org/1999/xhtml"
xmlns:th="http://www.thymeleaf.org">
<head>
<meta charset="UTF-8">
<link rel="stylesheet" href="/layui/css/layui.css">
<title>首页</title>
</head>
<body>
<div class="layui-container">
<div>
<ul class="layui-nav layui-bg-green" lay-filter="">
<li class="layui-nav-item">
<a href="">在线人数<span class="layui-badge" th:text="${onlinenum}"></span></a>
</li>
<li class="layui-nav-item">
<a th:href="@{/PTcourse}">普通课程</a>
</li>
<li class="layui-nav-item">
<a th:href="@{/VIPcourse}">vip课程</a>
</li>
<li class="layui-nav-item">
<a th:href="@{/GZcourse}">贵族课程</a>
</li>
<li class="layui-nav-item" style="float: right">
<a href="" th:if="${not select}">游客</a>
<a href="" th:if="${userinfo}" th:text="${userinfo.name}"></a>
<dl class="layui-nav-child">
<dd th:if="${select}"><span style="color: #2d6086">等级: </span><span style="color: #0C0C0C" th:text="${userinfo.getTest1()}"></span></dd>
<dd><a href="javascript:;">修改信息</a></dd>
<dd><a href="javascript:;">安全管理</a></dd>
<dd><a th:href="@{/downline}" th:if="${select}">下线</a></dd>
<dd><a th:href="@{/login}" th:if="${not select}">登入</a></dd>
</dl>
</li>
</ul>
</div>
<div style="margin-top: 20px;padding: 0px 50px 0px 50px">
<div>
<h3 style="color: #ac0d22">在线用户列表</h3>
</div>
<div th:each="username:${userset}">
<p th:text="${username}"></p>
</div>
</div>
</div>
<script src="/layui/layui.js"></script>
<script>
layui.use(['layer', 'form'], function(){
var layer = layui.layer
,form = layui.form;
layer.msg('追求极简');
});
</script>
</body>
</html>
总结
到此这篇关于springboot如何通过session实现单点登入的文章就介绍到这了,更多相关springboot session单点登入内容请搜索我们以前的文章或继续浏览下面的相关文章希望大家以后多多支持我们!
赞 (0)

