Python实现Web服务器FastAPI的步骤详解
目录
- 1、简介
- 2、安装
- 3、官方示例
- 3.1 入门示例 Python测试代码如下(main.py):
- 3.2 跨域CORS
- 3.3 文件操作
- 3.4 WebSocket Python测试代码如下:
1、简介

FastAPI 是一个用于构建 API 的现代、快速(高性能)的 web 框架,使用 Python 3.6+ 并基于标准的 Python类型提示。
文档: https://fastapi.tiangolo.com
源码: https://github.com/tiangolo/fastapi
关键特性:
- 快速:可与 NodeJS 和 Go 比肩的极高性能(归功于 Starlette 和 Pydantic)。最快的 Python web 框架之一。
- 高效编码:提高功能开发速度约 200% 至 300%。*
- 更少 bug:减少约 40% 的人为(开发者)导致错误。*
- 智能:极佳的编辑器支持。处处皆可自动补全,减少调试时间。
- 简单:设计的易于使用和学习,阅读文档的时间更短。
- 简短:使代码重复最小化。通过不同的参数声明实现丰富功能。bug 更少。
- 健壮:生产可用级别的代码。还有自动生成的交互式文档。
- 标准化:基于(并完全兼容)API 的相关开放标准:OpenAPI (以前被称为 Swagger) 和 JSON Schema。
2、安装
pip install fastapi
or
pip install fastapi[all]
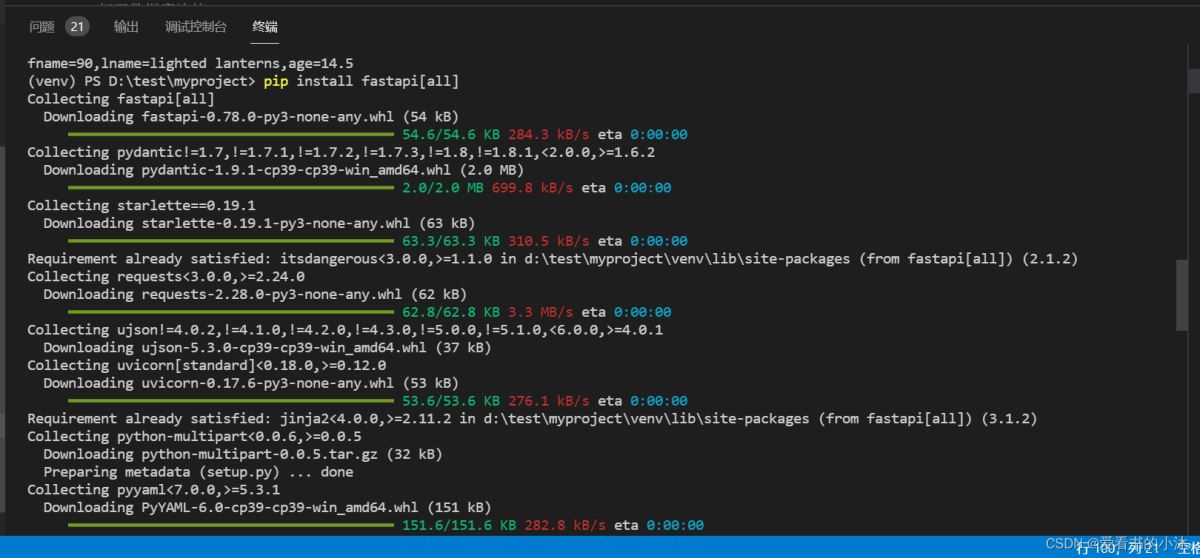
运行服务器的命令如下:
uvicorn main:app --reload
3、官方示例
使用 FastAPI 需要 Python 版本大于等于 3.6。
3.1 入门示例 Python测试代码如下(main.py):
# -*- coding:utf-8 -*-
from fastapi import FastAPI
app = FastAPI()
@app.get("/")
async def root():
    return {"message": "Hello World"}
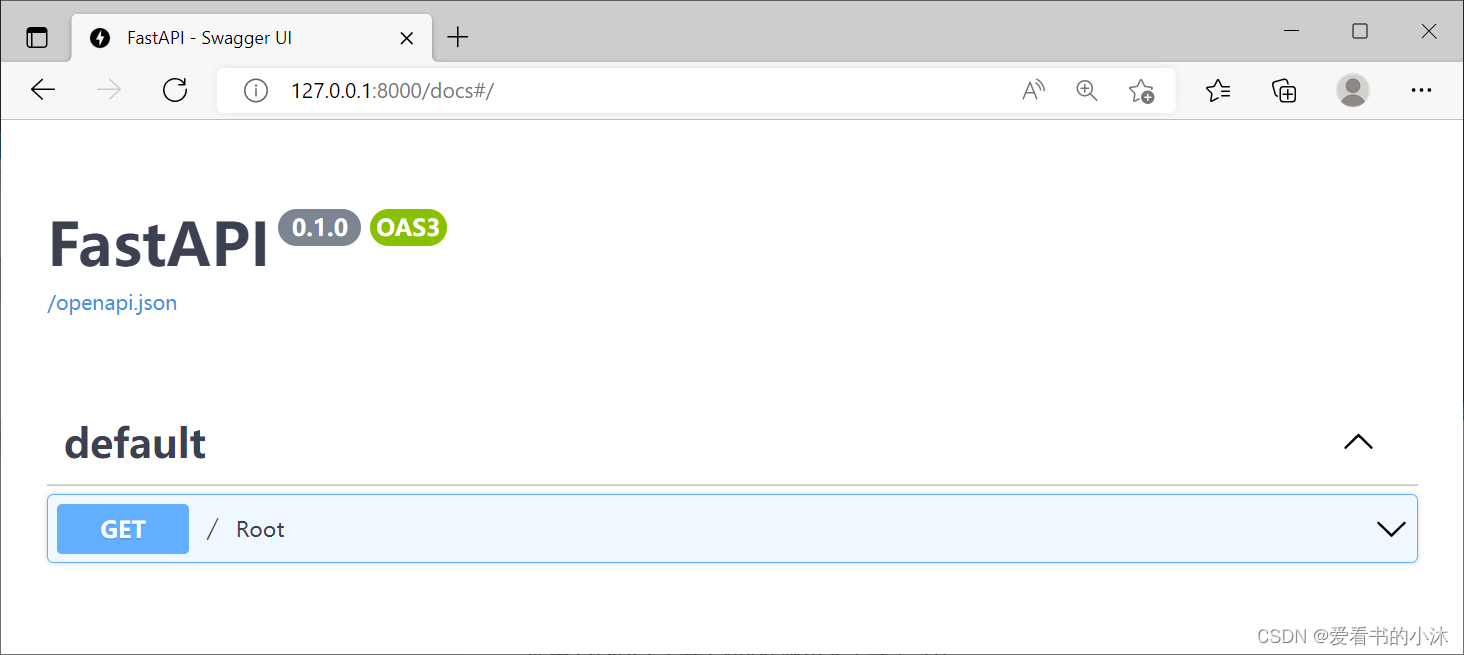
运行结果如下:
运行服务器的命令如下:
uvicorn main:app --reload


3.2 跨域CORS
CORS 或者「跨域资源共享」 指浏览器中运行的前端拥有与后端通信的 JavaScript 代码,而后端处于与前端不同的「源」的情况。
源是协议(http,https)、域(myapp.com,localhost,localhost.tiangolo.com)以及端口(80、443、8080)的组合。因此,这些都是不同的源:
http://localhost
https://localhost
http://localhost:8080
Python测试代码如下(test_fastapi.py):
# -*- coding:utf-8 -*-
from typing import Union
from fastapi import FastAPI, Request
import uvicorn
from fastapi.middleware.cors import CORSMiddleware
app = FastAPI()
# 让app可以跨域
# origins = ["*"]
origins = [
    "http://localhost.tiangolo.com",
    "https://localhost.tiangolo.com",
    "http://localhost",
    "http://localhost:8080",
]
app.add_middleware(
    CORSMiddleware,
    allow_origins=origins,
    allow_credentials=True,
    allow_methods=["*"],
    allow_headers=["*"],
)
# @app.get("/")
# async def root():
#     return {"Hello": "World"}
@app.get("/")
def read_root():
    return {"message": "Hello World,爱看书的小沐"}
@app.get("/items/{item_id}")
def read_item(item_id: int, q: Union[str, None] = None):
    return {"item_id": item_id, "q": q}
@app.get("/api/sum")
def get_sum(req: Request):
    a, b = req.query_params['a'], req.query_params['b']
    return int(a) + int(b)
@app.post("/api/sum2")
async def get_sum(req: Request):
    content = await req.json()
    a, b = content['a'], content['b']
    return a + b
@app.get("/api/sum3")
def get_sum2(a: int, b: int):
    return int(a) + int(b)
if __name__ == "__main__":
    uvicorn.run("test_fastapi:app", host="127.0.0.1", port=8000
                , log_level="info", reload=True, debug=True)
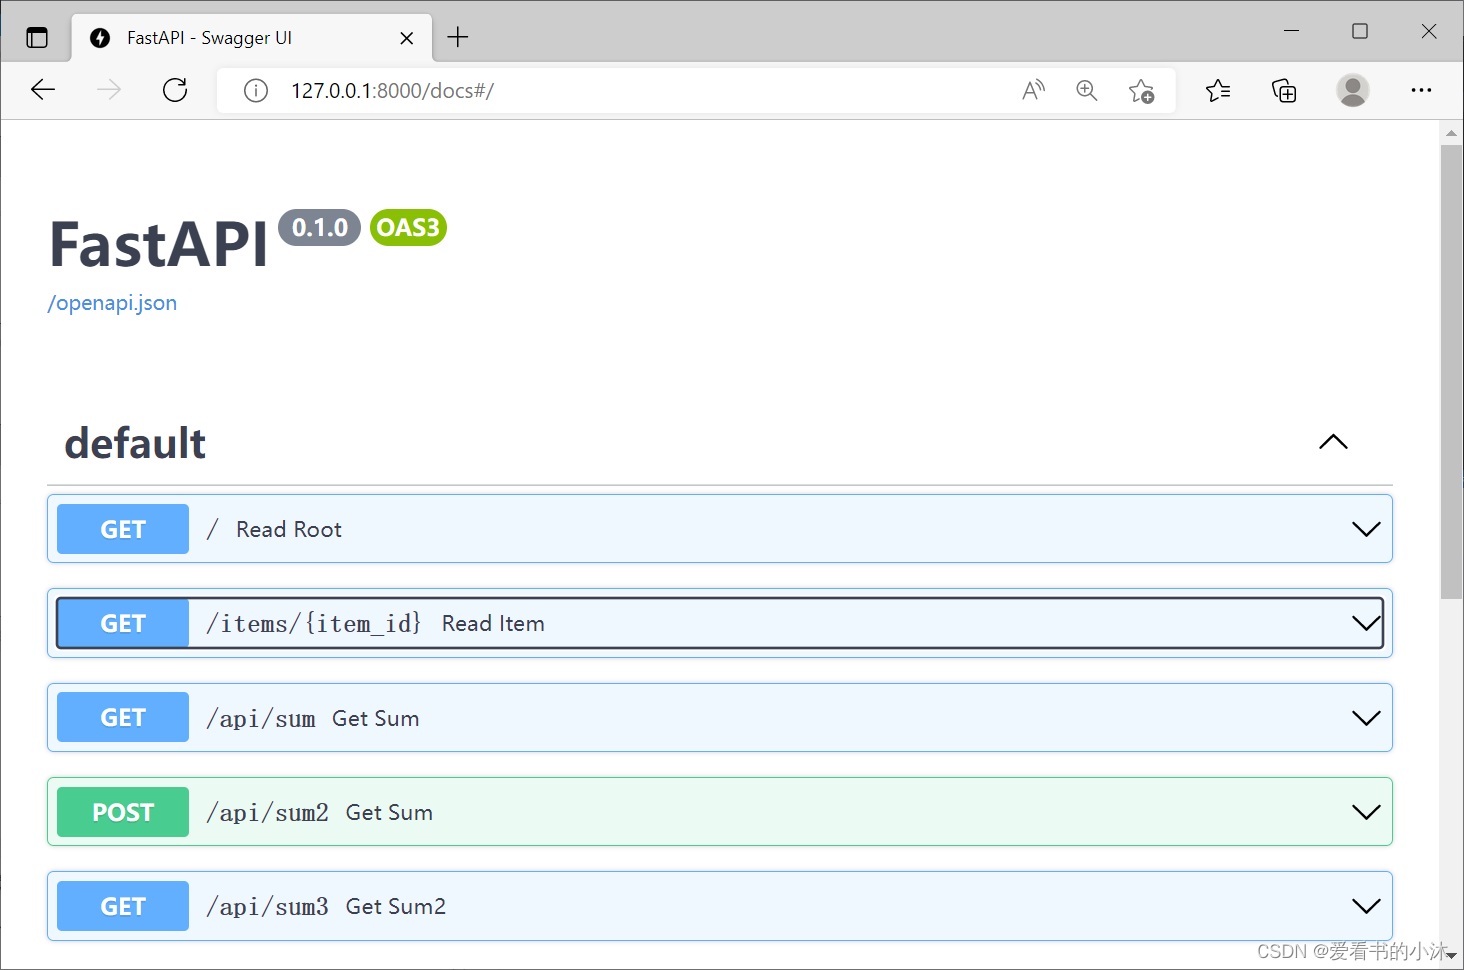
运行结果如下:


FastAPI 会自动提供一个类似于 Swagger 的交互式文档,我们输入 “localhost:8000/docs” 即可进入。
3.3 文件操作
返回 json 数据可以是:JSONResponse、UJSONResponse、ORJSONResponse,Content-Type 是 application/json;返回 html 是 HTMLResponse,Content-Type 是 text/html;返回 PlainTextResponse,Content-Type 是 text/plain。
还有三种响应,分别是返回重定向、字节流、文件。
(1)Python测试重定向代码如下:
# -*- coding:utf-8 -*-
from fastapi import FastAPI, Request
from fastapi.responses import RedirectResponse
import uvicorn
app = FastAPI()
@app.get("/index")
async def index():
    return RedirectResponse("https://www.baidu.com")
@app.get("/")
def main():
    return {"message": "Hello World,爱看书的小沐"}
if __name__ == "__main__":
    uvicorn.run("test_fastapi:app", host="127.0.0.1", port=8000
                , log_level="info", reload=True, debug=True)
运行结果如下:

(2)Python测试字节流代码如下:
# -*- coding:utf-8 -*-
from fastapi import FastAPI, Request
from fastapi.responses import StreamingResponse
import uvicorn
app = FastAPI()
async def test_bytearray():
    for i in range(5):
        yield f"byteArray: {i} bytes ".encode("utf-8")
@app.get("/index")
async def index():
    return StreamingResponse(test_bytearray())
@app.get("/")
def main():
    return {"message": "Hello World,爱看书的小沐"}
if __name__ == "__main__":
    uvicorn.run("test_fastapi:app", host="127.0.0.1", port=8000
                , log_level="info", reload=True, debug=True)
运行结果如下:

(3)Python测试文本文件代码如下:
# -*- coding:utf-8 -*-
from fastapi import FastAPI, Request
from fastapi.responses import StreamingResponse
import uvicorn
app = FastAPI()
@app.get("/index")
async def index():
    return StreamingResponse(open("test_tornado.py", encoding="utf-8"))
@app.get("/")
def main():
    return {"message": "Hello World,爱看书的小沐"}
if __name__ == "__main__":
    uvicorn.run("test_fastapi:app", host="127.0.0.1", port=8000
                , log_level="info", reload=True, debug=True)
运行结果如下:

(4)Python测试二进制文件代码如下:
# -*- coding:utf-8 -*-
from fastapi import FastAPI, Request
from fastapi.responses import FileResponse, StreamingResponse
import uvicorn
app = FastAPI()
@app.get("/download_file")
async def index():
    return FileResponse("test_fastapi.py", filename="save.py")
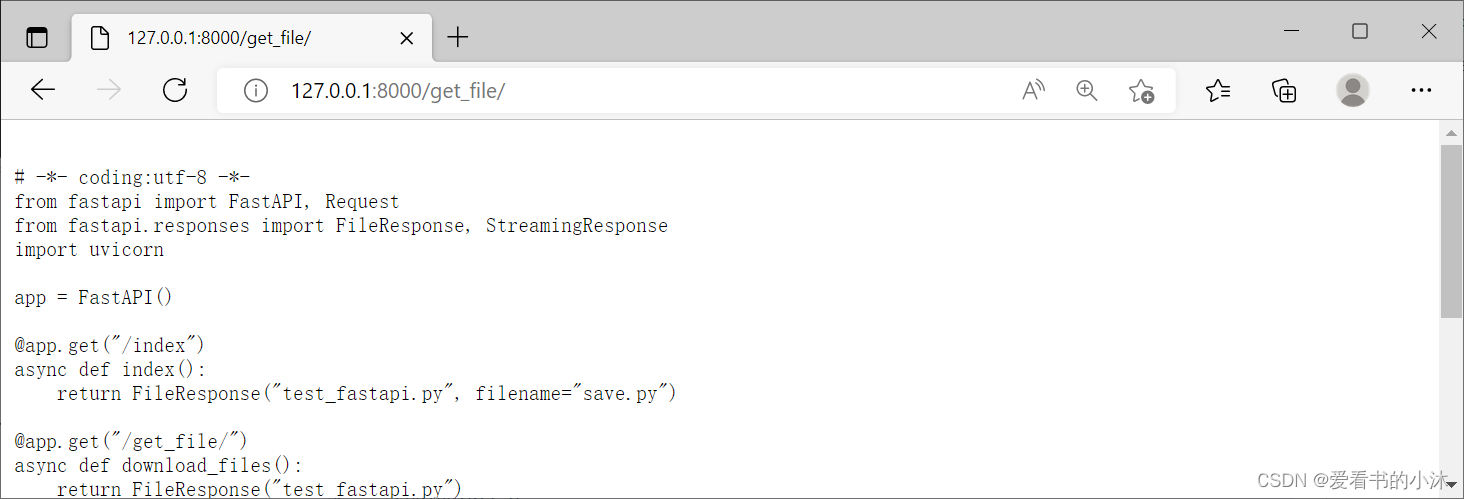
@app.get("/get_file/")
async def download_files():
    return FileResponse("test_fastapi.py")
@app.get("/get_image/")
async def download_files_stream():
    f = open("static\\images\\sheep0.jpg", mode="rb")
    return StreamingResponse(f, media_type="image/jpg")
@app.get("/")
def main():
    return {"message": "Hello World,爱看书的小沐"}
if __name__ == "__main__":
    uvicorn.run("test_fastapi:app", host="127.0.0.1", port=8000
                , log_level="info", reload=True, debug=True)
运行结果如下:

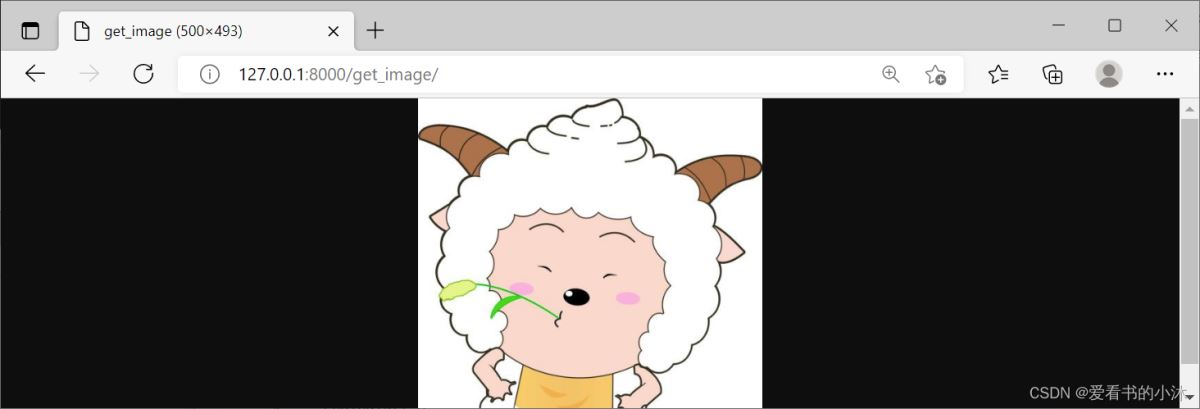
3.4 WebSocket Python测试代码如下:
# -*- coding:utf-8 -*-
from fastapi import FastAPI, Request
from fastapi.websockets import WebSocket
import uvicorn
app = FastAPI()
@app.websocket("/myws")
async def ws(websocket: WebSocket):
    await websocket.accept()
    while True:
        # data = await websocket.receive_bytes()
        # data = await websocket.receive_json()
        data = await websocket.receive_text()
        print("received: ", data)
        await websocket.send_text(f"received: {data}")
@app.get("/")
def main():
    return {"message": "Hello World,爱看书的小沐"}

if __name__ == "__main__":
    uvicorn.run("test_fastapi:app", host="127.0.0.1", port=8000
                , log_level="info", reload=True, debug=True)
HTML客户端测试代码如下:
<!DOCTYPE html>
<html lang="en">
<head>
    <meta charset="UTF-8">
    <title>Tornado Websocket Test</title>
</head>
<body>
<body onload='onLoad();'>
Message to send: <input type="text" id="msg"/>
<input type="button" onclick="sendMsg();" value="发送"/>
</body>
</body>
<script type="text/javascript">
    var ws;

    function onLoad() {
        ws = new WebSocket("ws://127.0.0.1:8000/myws");
		ws.onopen = function() {
           console.log('connect ok.')
		   ws.send("Hello, world");
		};
		ws.onmessage = function (evt) {
		   console.log(evt.data)
		};
        ws.onclose = function () {
            console.log("onclose")
        }
    }
    function sendMsg() {
        ws.send(document.getElementById('msg').value);
    }
</script>
</html>
运行结果如下:

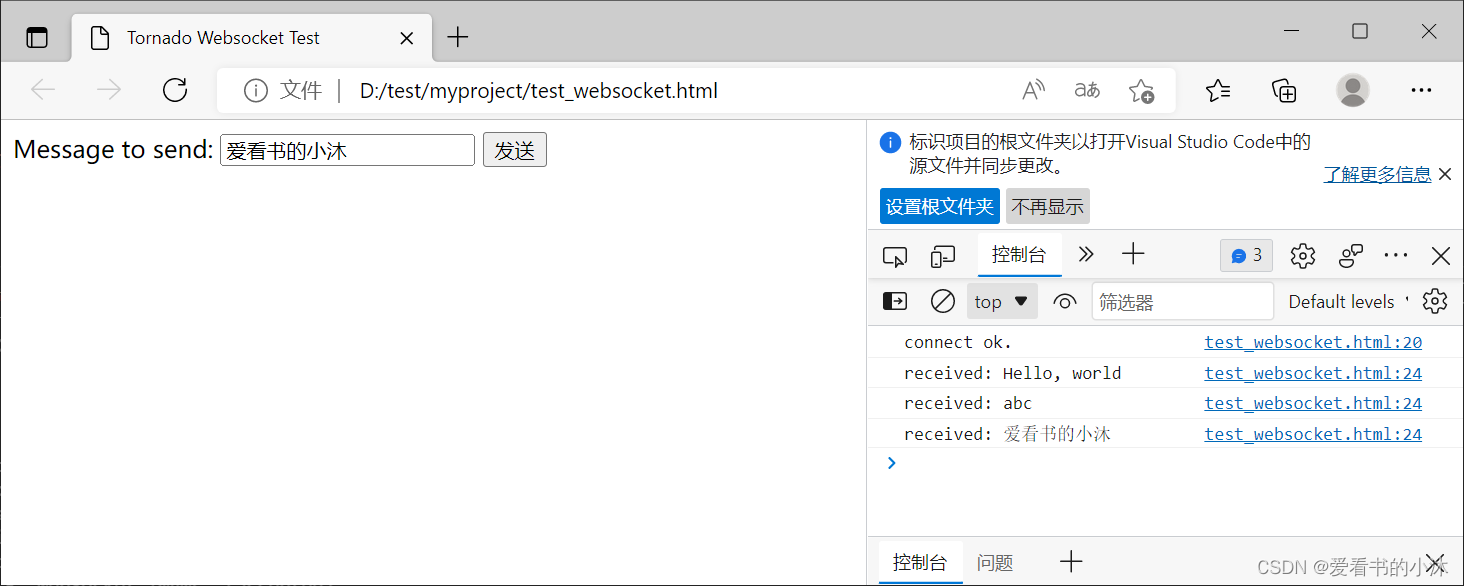
到此这篇关于Python实现Web服务器(FastAPI的文章就介绍到这了,更多相关Python Web服务器内容请搜索我们以前的文章或继续浏览下面的相关文章希望大家以后多多支持我们!

