Java中Spring Boot+Socket实现与html页面的长连接实例详解
Spring Boot+Socket实现与html页面的长连接,客户端给服务器端发消息,服务器给客户端轮询发送消息,附案例源码
功能介绍
客户端给所有在线用户发送消息客户端给指定在线用户发送消息服务器给客户端发送消息(轮询方式)
注意:socket只是实现一些简单的功能,具体的还需根据自身情况,代码稍微改造下
项目搭建
项目结构图
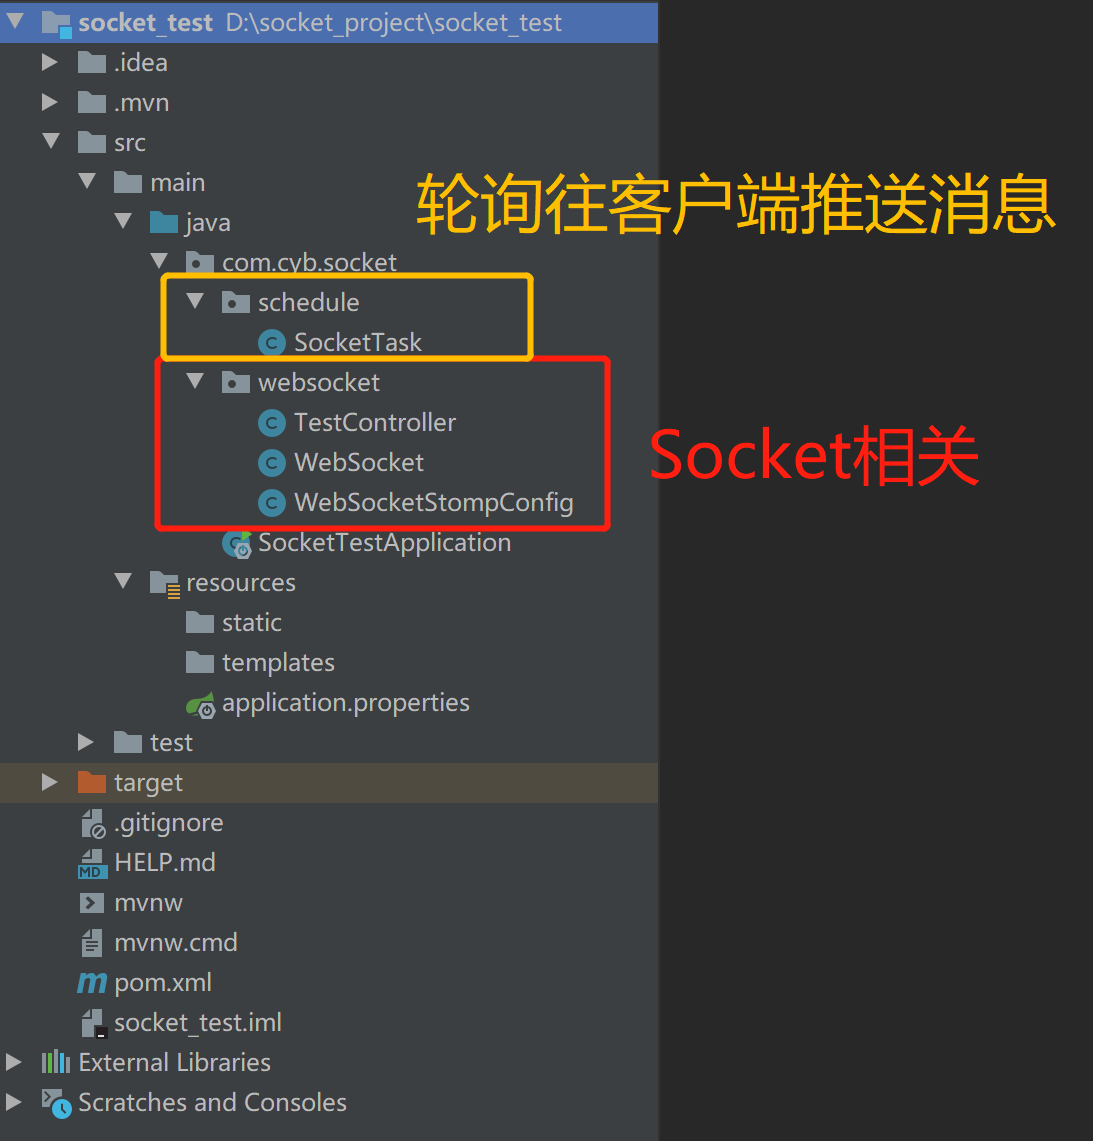
pom.xml
<?xml version="1.0" encoding="UTF-8"?>
<project xmlns="http://maven.apache.org/POM/4.0.0" xmlns:xsi="http://www.w3.org/2001/XMLSchema-instance"
 xsi:schemaLocation="http://maven.apache.org/POM/4.0.0 https://maven.apache.org/xsd/maven-4.0.0.xsd">
 <modelVersion>4.0.0</modelVersion>
 <parent>
  <groupId>org.springframework.boot</groupId>
  <artifactId>spring-boot-starter-parent</artifactId>
  <version>2.3.2.RELEASE</version>
  <relativePath/> <!-- lookup parent from repository -->
 </parent>
 <groupId>com.cyb</groupId>
 <artifactId>socket_test</artifactId>
 <version>0.0.1-SNAPSHOT</version>
 <name>socket_test</name>
 <description>Demo project for Spring Boot</description>

 <properties>
  <java.version>1.8</java.version>
 </properties>

 <dependencies>
  <!-- springboot websocket -->
  <dependency>
   <groupId>org.springframework.boot</groupId>
   <artifactId>spring-boot-starter-websocket</artifactId>
  </dependency>
  <!--guava依赖-->
  <dependency>
   <groupId>com.google.guava</groupId>
   <artifactId>guava</artifactId>
   <version>18.0</version>
  </dependency>
  <!--fastjson依赖-->
  <dependency>
   <groupId>com.alibaba</groupId>
   <artifactId>fastjson</artifactId>
   <version>1.2.46</version>
  </dependency>
  <dependency>
   <groupId>org.springframework.boot</groupId>
   <artifactId>spring-boot-starter-web</artifactId>
  </dependency>

  <dependency>
   <groupId>org.springframework.boot</groupId>
   <artifactId>spring-boot-starter-test</artifactId>
   <scope>test</scope>
   <exclusions>
    <exclusion>
     <groupId>org.junit.vintage</groupId>
     <artifactId>junit-vintage-engine</artifactId>
    </exclusion>
   </exclusions>
  </dependency>
 </dependencies>

 <build>
  <plugins>
   <plugin>
    <groupId>org.springframework.boot</groupId>
    <artifactId>spring-boot-maven-plugin</artifactId>
   </plugin>
  </plugins>
 </build>

</project>
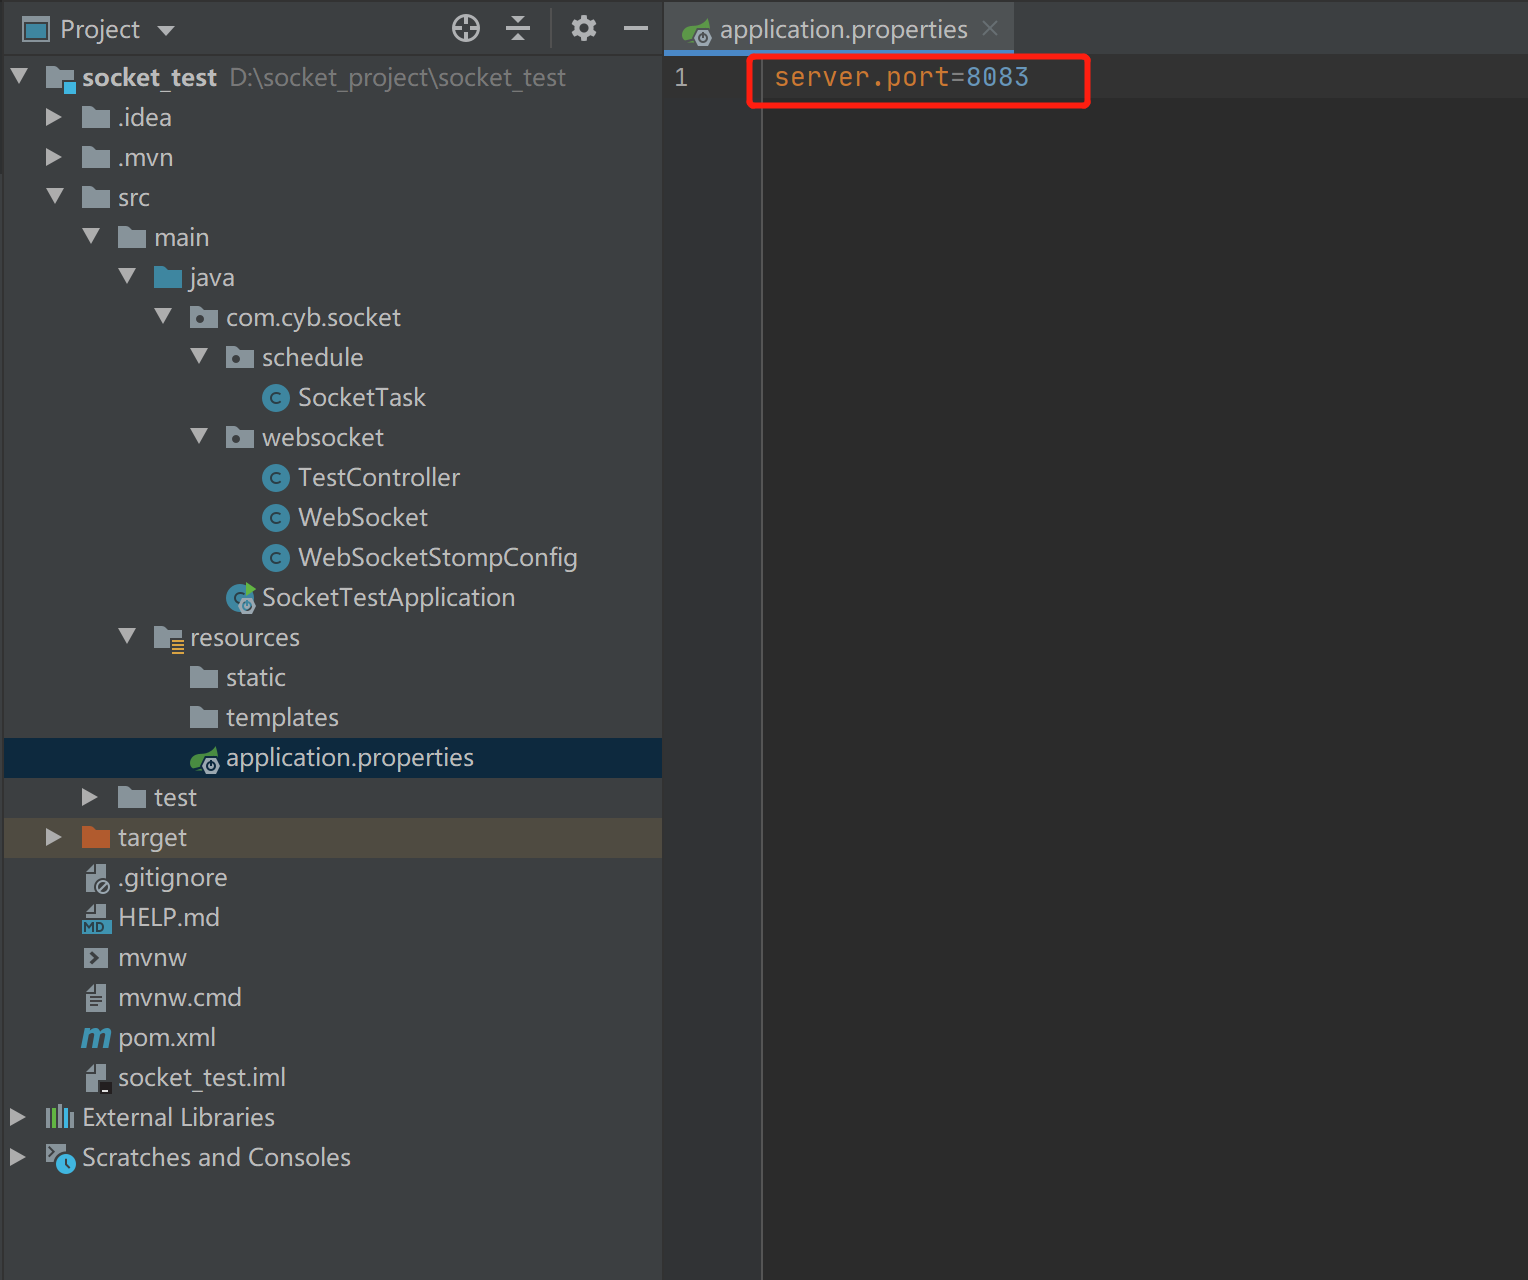
appliccation.properties
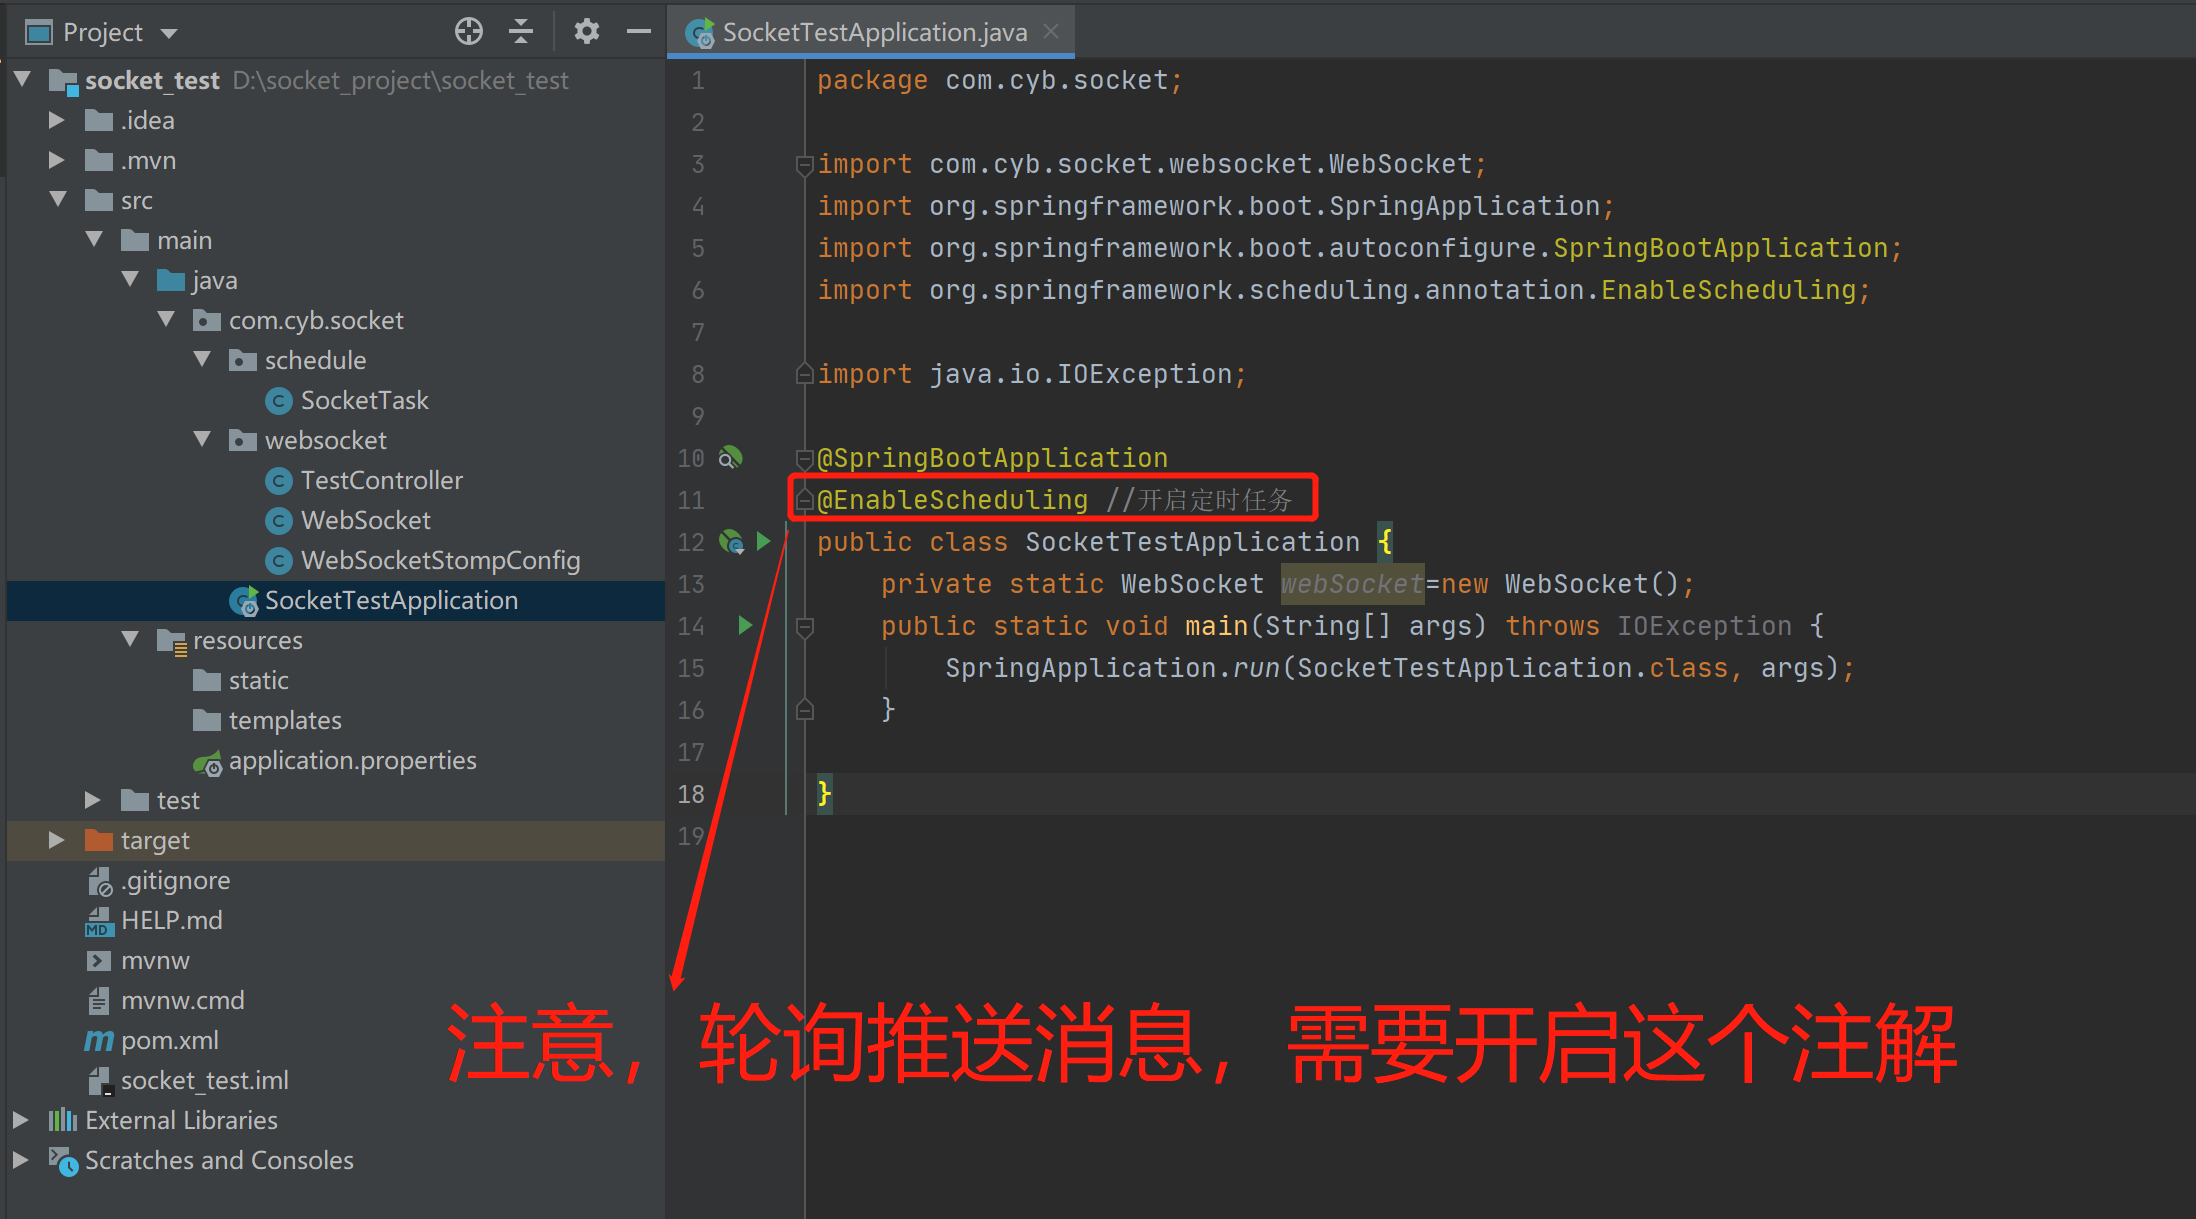
SocketTestApplication.java(Spring Boot启动类)
WebSocketStompConfig.java
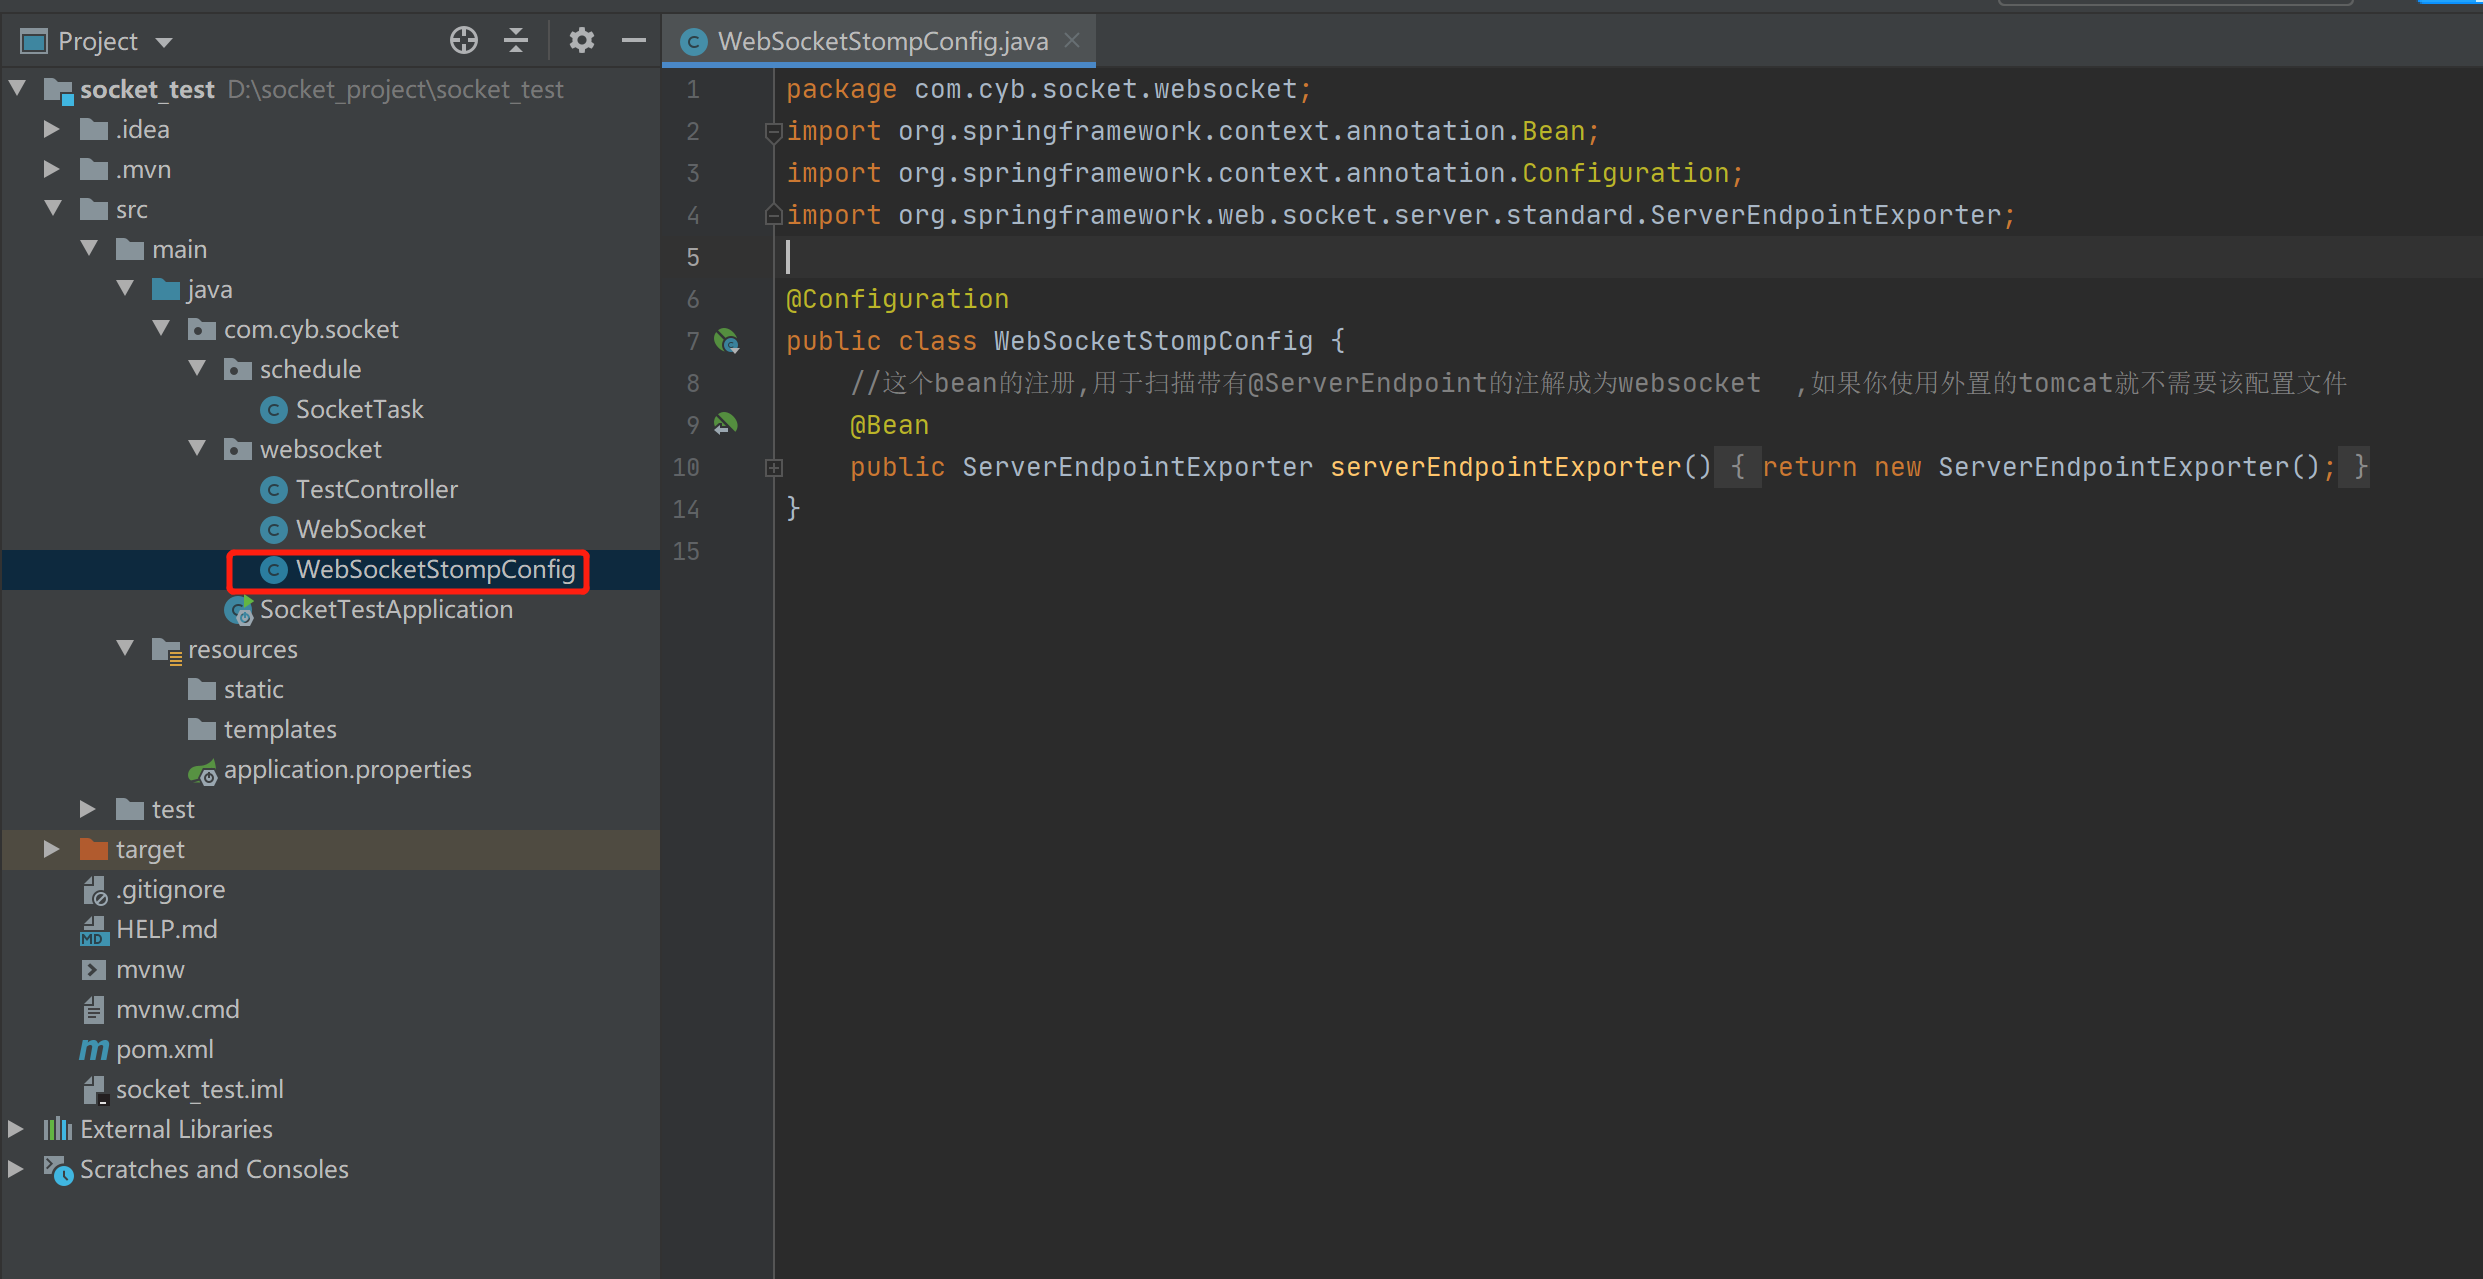
package com.cyb.socket.websocket;
import org.springframework.context.annotation.Bean;
import org.springframework.context.annotation.Configuration;
import org.springframework.web.socket.server.standard.ServerEndpointExporter;

@Configuration
public class WebSocketStompConfig {
 //这个bean的注册,用于扫描带有@ServerEndpoint的注解成为websocket ,如果你使用外置的tomcat就不需要该配置文件
 @Bean
 public ServerEndpointExporter serverEndpointExporter()
 {
  return new ServerEndpointExporter();
 }
}
WebSocket.java(Socket核心类)
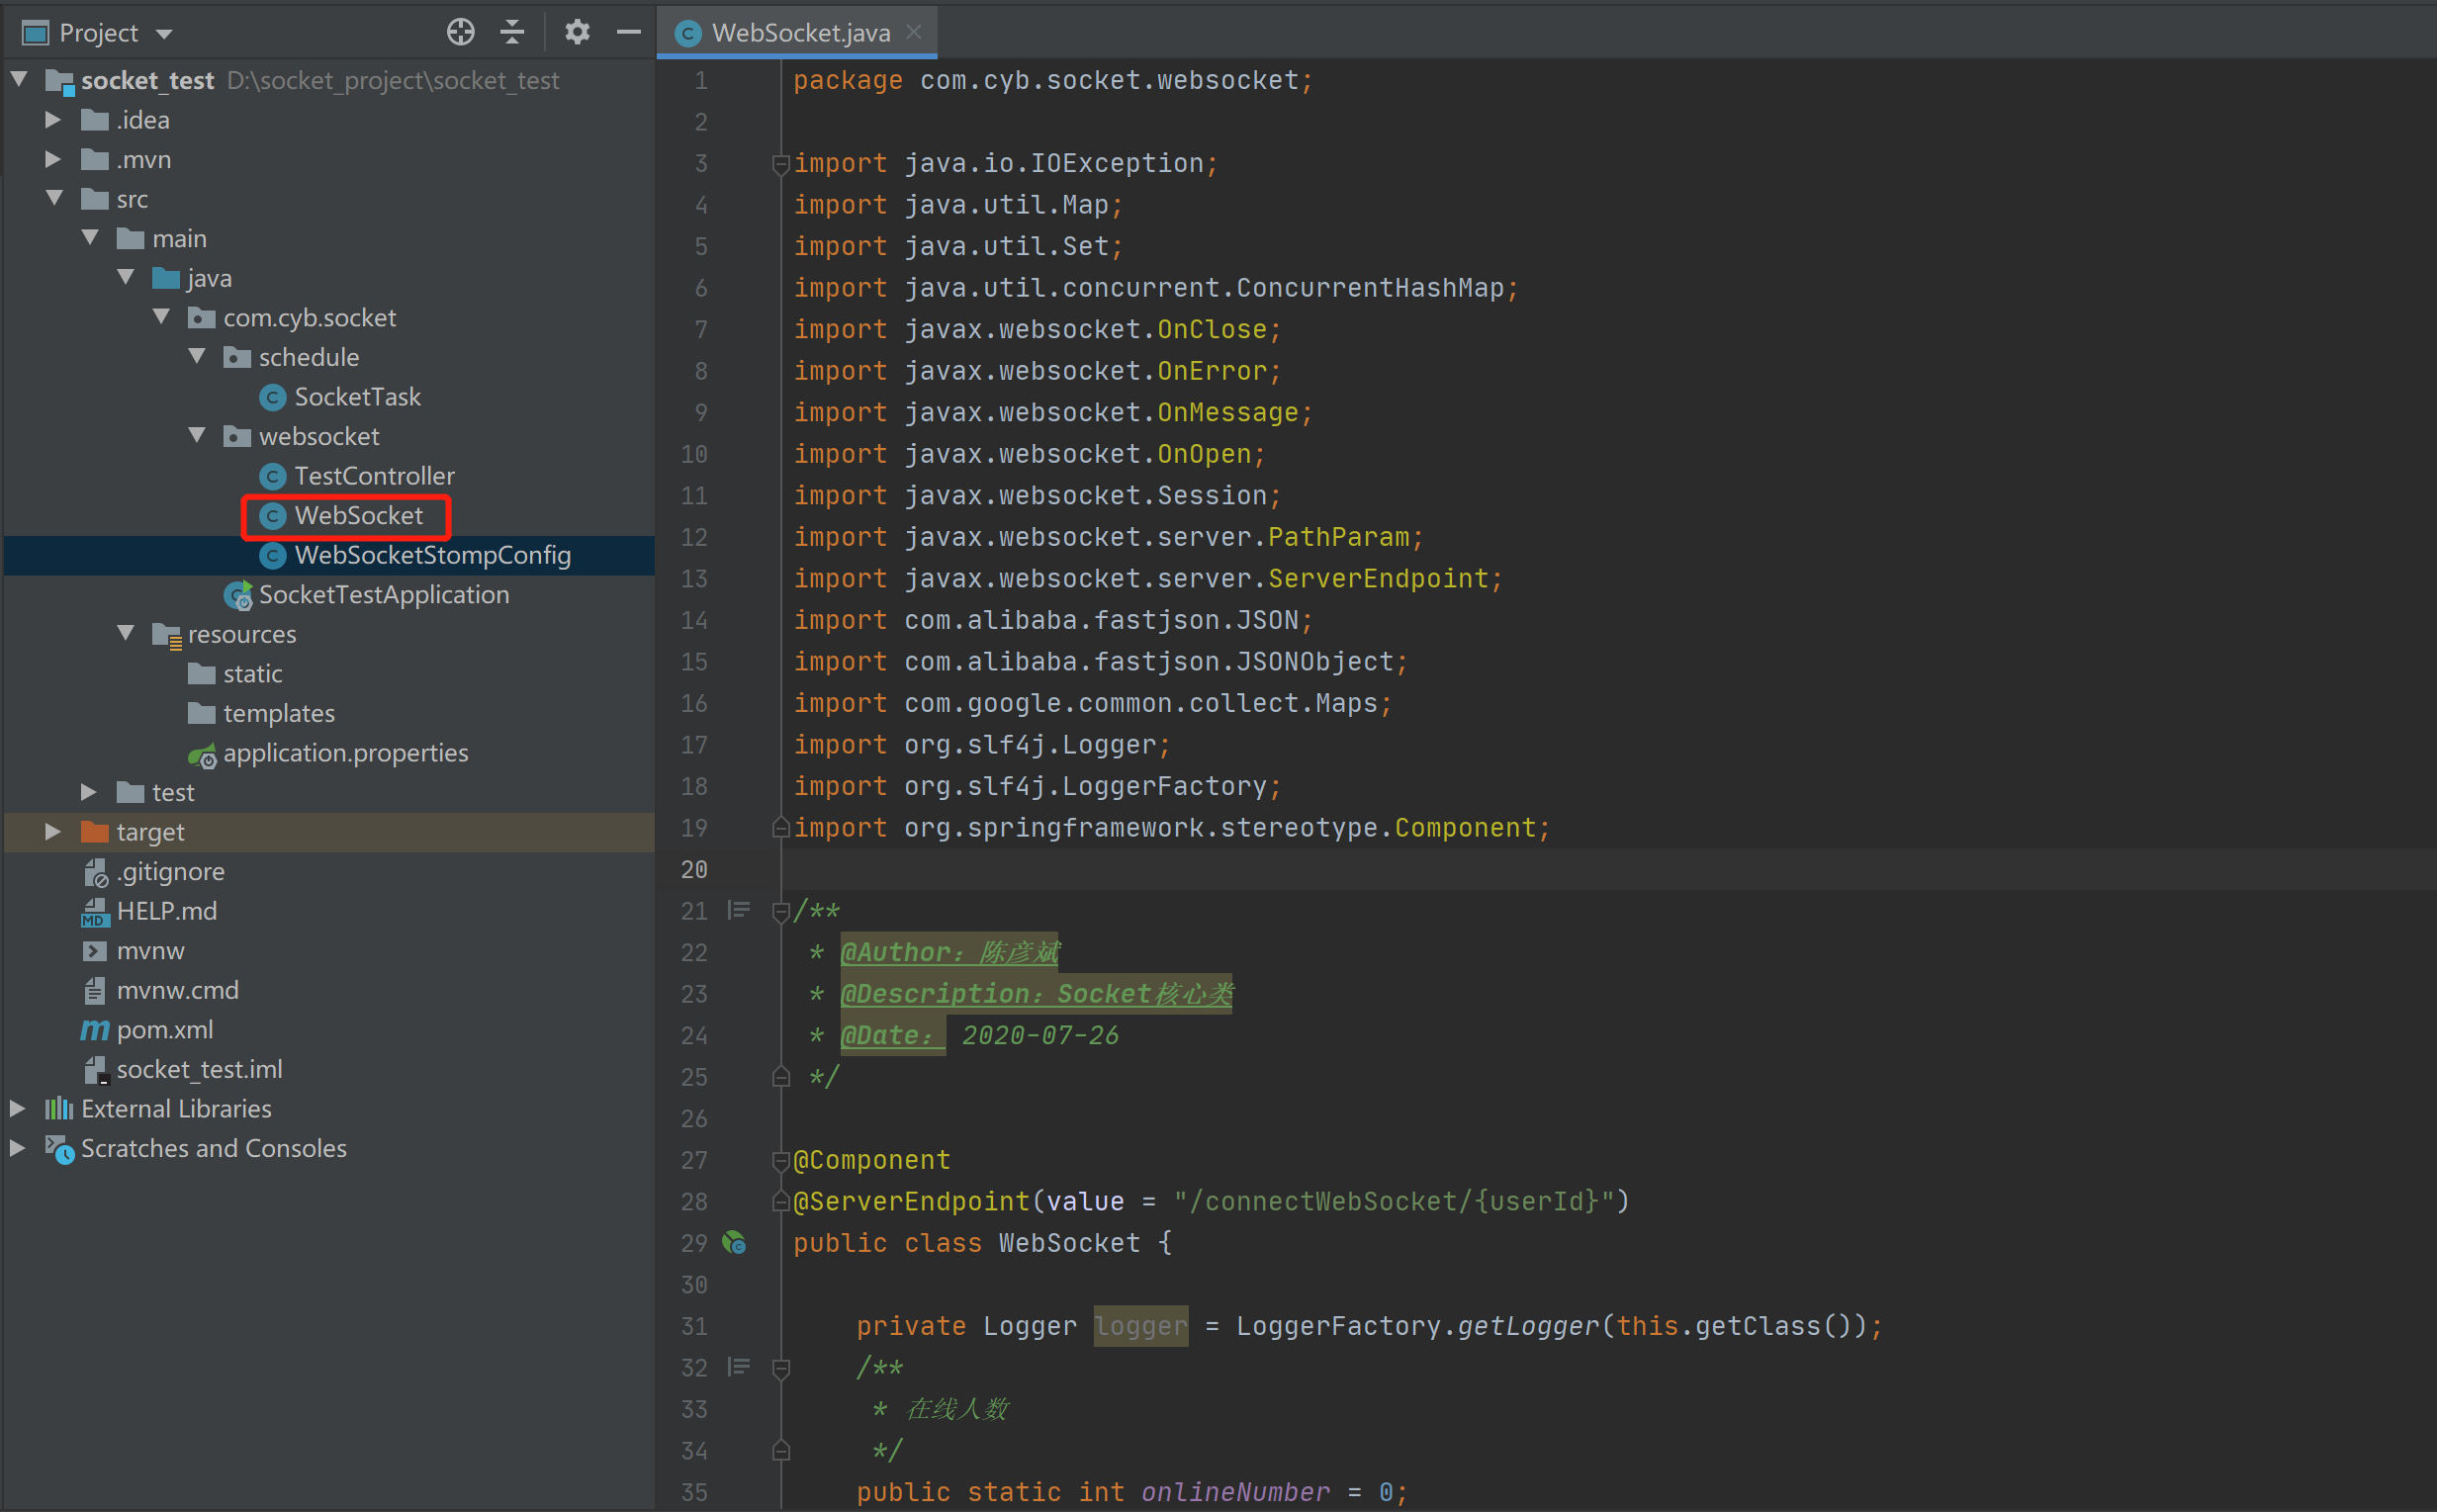
package com.cyb.socket.websocket;

import java.io.IOException;
import java.util.Map;
import java.util.Set;
import java.util.concurrent.ConcurrentHashMap;
import javax.websocket.OnClose;
import javax.websocket.OnError;
import javax.websocket.OnMessage;
import javax.websocket.OnOpen;
import javax.websocket.Session;
import javax.websocket.server.PathParam;
import javax.websocket.server.ServerEndpoint;
import com.alibaba.fastjson.JSON;
import com.alibaba.fastjson.JSONObject;
import com.google.common.collect.Maps;
import org.slf4j.Logger;
import org.slf4j.LoggerFactory;
import org.springframework.stereotype.Component;

/**
 * @Author:陈彦斌
 * @Description:Socket核心类
 * @Date: 2020-07-26
 */

@Component
@ServerEndpoint(value = "/connectWebSocket/{userId}")
public class WebSocket {

 private Logger logger = LoggerFactory.getLogger(this.getClass());
 /**
  * 在线人数
  */
 public static int onlineNumber = 0;
 /**
  * 以用户的姓名为key,WebSocket为对象保存起来
  */
 private static Map<String, WebSocket> clients = new ConcurrentHashMap<String, WebSocket>();
 /**
  * 会话
  */
 private Session session;
 /**
  * 用户名称
  */
 private String userId;

 /**
  * 建立连接
  *
  * @param session
  */
 @OnOpen
 public void onOpen(@PathParam("userId") String userId, Session session) {
  onlineNumber++;
  System.out.println("现在来连接的客户id:" + session.getId() + "用户名:" + userId);
  //logger.info("现在来连接的客户id:"+session.getId()+"用户名:"+userId);
  this.userId = userId;
  this.session = session;
  System.out.println("有新连接加入! 当前在线人数" + onlineNumber);
  // logger.info("有新连接加入! 当前在线人数" + onlineNumber);
  try {
   //messageType 1代表上线 2代表下线 3代表在线名单 4代表普通消息
   //先给所有人发送通知,说我上线了
   Map<String, Object> map1 = Maps.newHashMap();
   map1.put("messageType", 1);
   map1.put("userId", userId);
   sendMessageAll(JSON.toJSONString(map1), userId);

   //把自己的信息加入到map当中去
   clients.put(userId, this);
   System.out.println("有连接关闭! 当前在线人数" + onlineNumber);
   //logger.info("有连接关闭! 当前在线人数" + clients.size());
   //给自己发一条消息:告诉自己现在都有谁在线
   Map<String, Object> map2 = Maps.newHashMap();
   map2.put("messageType", 3);
   //移除掉自己
   Set<String> set = clients.keySet();
   map2.put("onlineUsers", set);
   sendMessageTo(JSON.toJSONString(map2), userId);
  } catch (IOException e) {
   System.out.println(userId + "上线的时候通知所有人发生了错误");
   //logger.info(userId+"上线的时候通知所有人发生了错误");
  }
 }

 @OnError
 public void onError(Session session, Throwable error) {
  //logger.info("服务端发生了错误"+error.getMessage());
  //error.printStackTrace();
  System.out.println("服务端发生了错误:" + error.getMessage());
 }

 /**
  * 连接关闭
  */
 @OnClose
 public void onClose() {
  onlineNumber--;
  //webSockets.remove(this);
  clients.remove(userId);
  try {
   //messageType 1代表上线 2代表下线 3代表在线名单 4代表普通消息
   Map<String, Object> map1 = Maps.newHashMap();
   map1.put("messageType", 2);
   map1.put("onlineUsers", clients.keySet());
   map1.put("userId", userId);
   sendMessageAll(JSON.toJSONString(map1), userId);
  } catch (IOException e) {
   System.out.println(userId + "下线的时候通知所有人发生了错误");
   //logger.info(userId+"下线的时候通知所有人发生了错误");
  }
  //logger.info("有连接关闭! 当前在线人数" + onlineNumber);
  //logger.info("有连接关闭! 当前在线人数" + clients.size());
  System.out.println("有连接关闭! 当前在线人数" + onlineNumber);
 }

 /**
  * 收到客户端的消息
  *
  * @param message 消息
  * @param session 会话
  */
 @OnMessage
 public void onMessage(String message, Session session) {
  try {
   //logger.info("来自客户端消息:" + message+"客户端的id是:"+session.getId());
   System.out.println("来自客户端消息:" + message + " | 客户端的id是:" + session.getId());
   JSONObject jsonObject = JSON.parseObject(message);
   String textMessage = jsonObject.getString("message");
   String fromuserId = jsonObject.getString("userId");
   String touserId = jsonObject.getString("to");
   //如果不是发给所有,那么就发给某一个人
   //messageType 1代表上线 2代表下线 3代表在线名单 4代表普通消息
   Map<String, Object> map1 = Maps.newHashMap();
   map1.put("messageType", 4);
   map1.put("textMessage", textMessage);
   map1.put("fromuserId", fromuserId);
   if (touserId.equals("All")) {
    map1.put("touserId", "所有人");
    sendMessageAll(JSON.toJSONString(map1), fromuserId);
   } else {
    map1.put("touserId", touserId);
    System.out.println("开始推送消息给" + touserId);
    sendMessageTo(JSON.toJSONString(map1), touserId);
   }
  } catch (Exception e) {
   e.printStackTrace();
   //logger.info("发生了错误了");
  }

 }

 /**
  * 给指定的用户发送消息
  *
  * @param message
  * @param TouserId
  * @throws IOException
  */
 public void sendMessageTo(String message, String TouserId) throws IOException {
  for (WebSocket item : clients.values()) {
   System.out.println("给指定的在线用户发送消息,在线人员名单:【" + item.userId.toString() + "】发送消息:" + message);
   if (item.userId.equals(TouserId)) {
    item.session.getAsyncRemote().sendText(message);
    break;
   }
  }
 }

 /**
  * 给所有用户发送消息
  *
  * @param message 数据
  * @param FromuserId
  * @throws IOException
  */
 public void sendMessageAll(String message, String FromuserId) throws IOException {
  for (WebSocket item : clients.values()) {
   System.out.println("给所有在线用户发送给消息,在线人员名单:【" + item.userId.toString() + "】发送消息:" + message);
   item.session.getAsyncRemote().sendText(message);
  }
 }

 /**
  * 给所有在线用户发送消息
  *
  * @param message 数据
  * @throws IOException
  */
 public void sendMessageAll(String message) throws IOException {
  for (WebSocket item : clients.values()) {
   System.out.println("服务器给所有在线用户发送消息,当前在线人员为【" + item.userId.toString() + "】发送消息:" + message);
   item.session.getAsyncRemote().sendText(message);
  }
 }

 /**
  * 获取在线用户数
  *
  * @return
  */
 public static synchronized int getOnlineCount() {
  return onlineNumber;
 }
}
TestController.java(前端控制器)
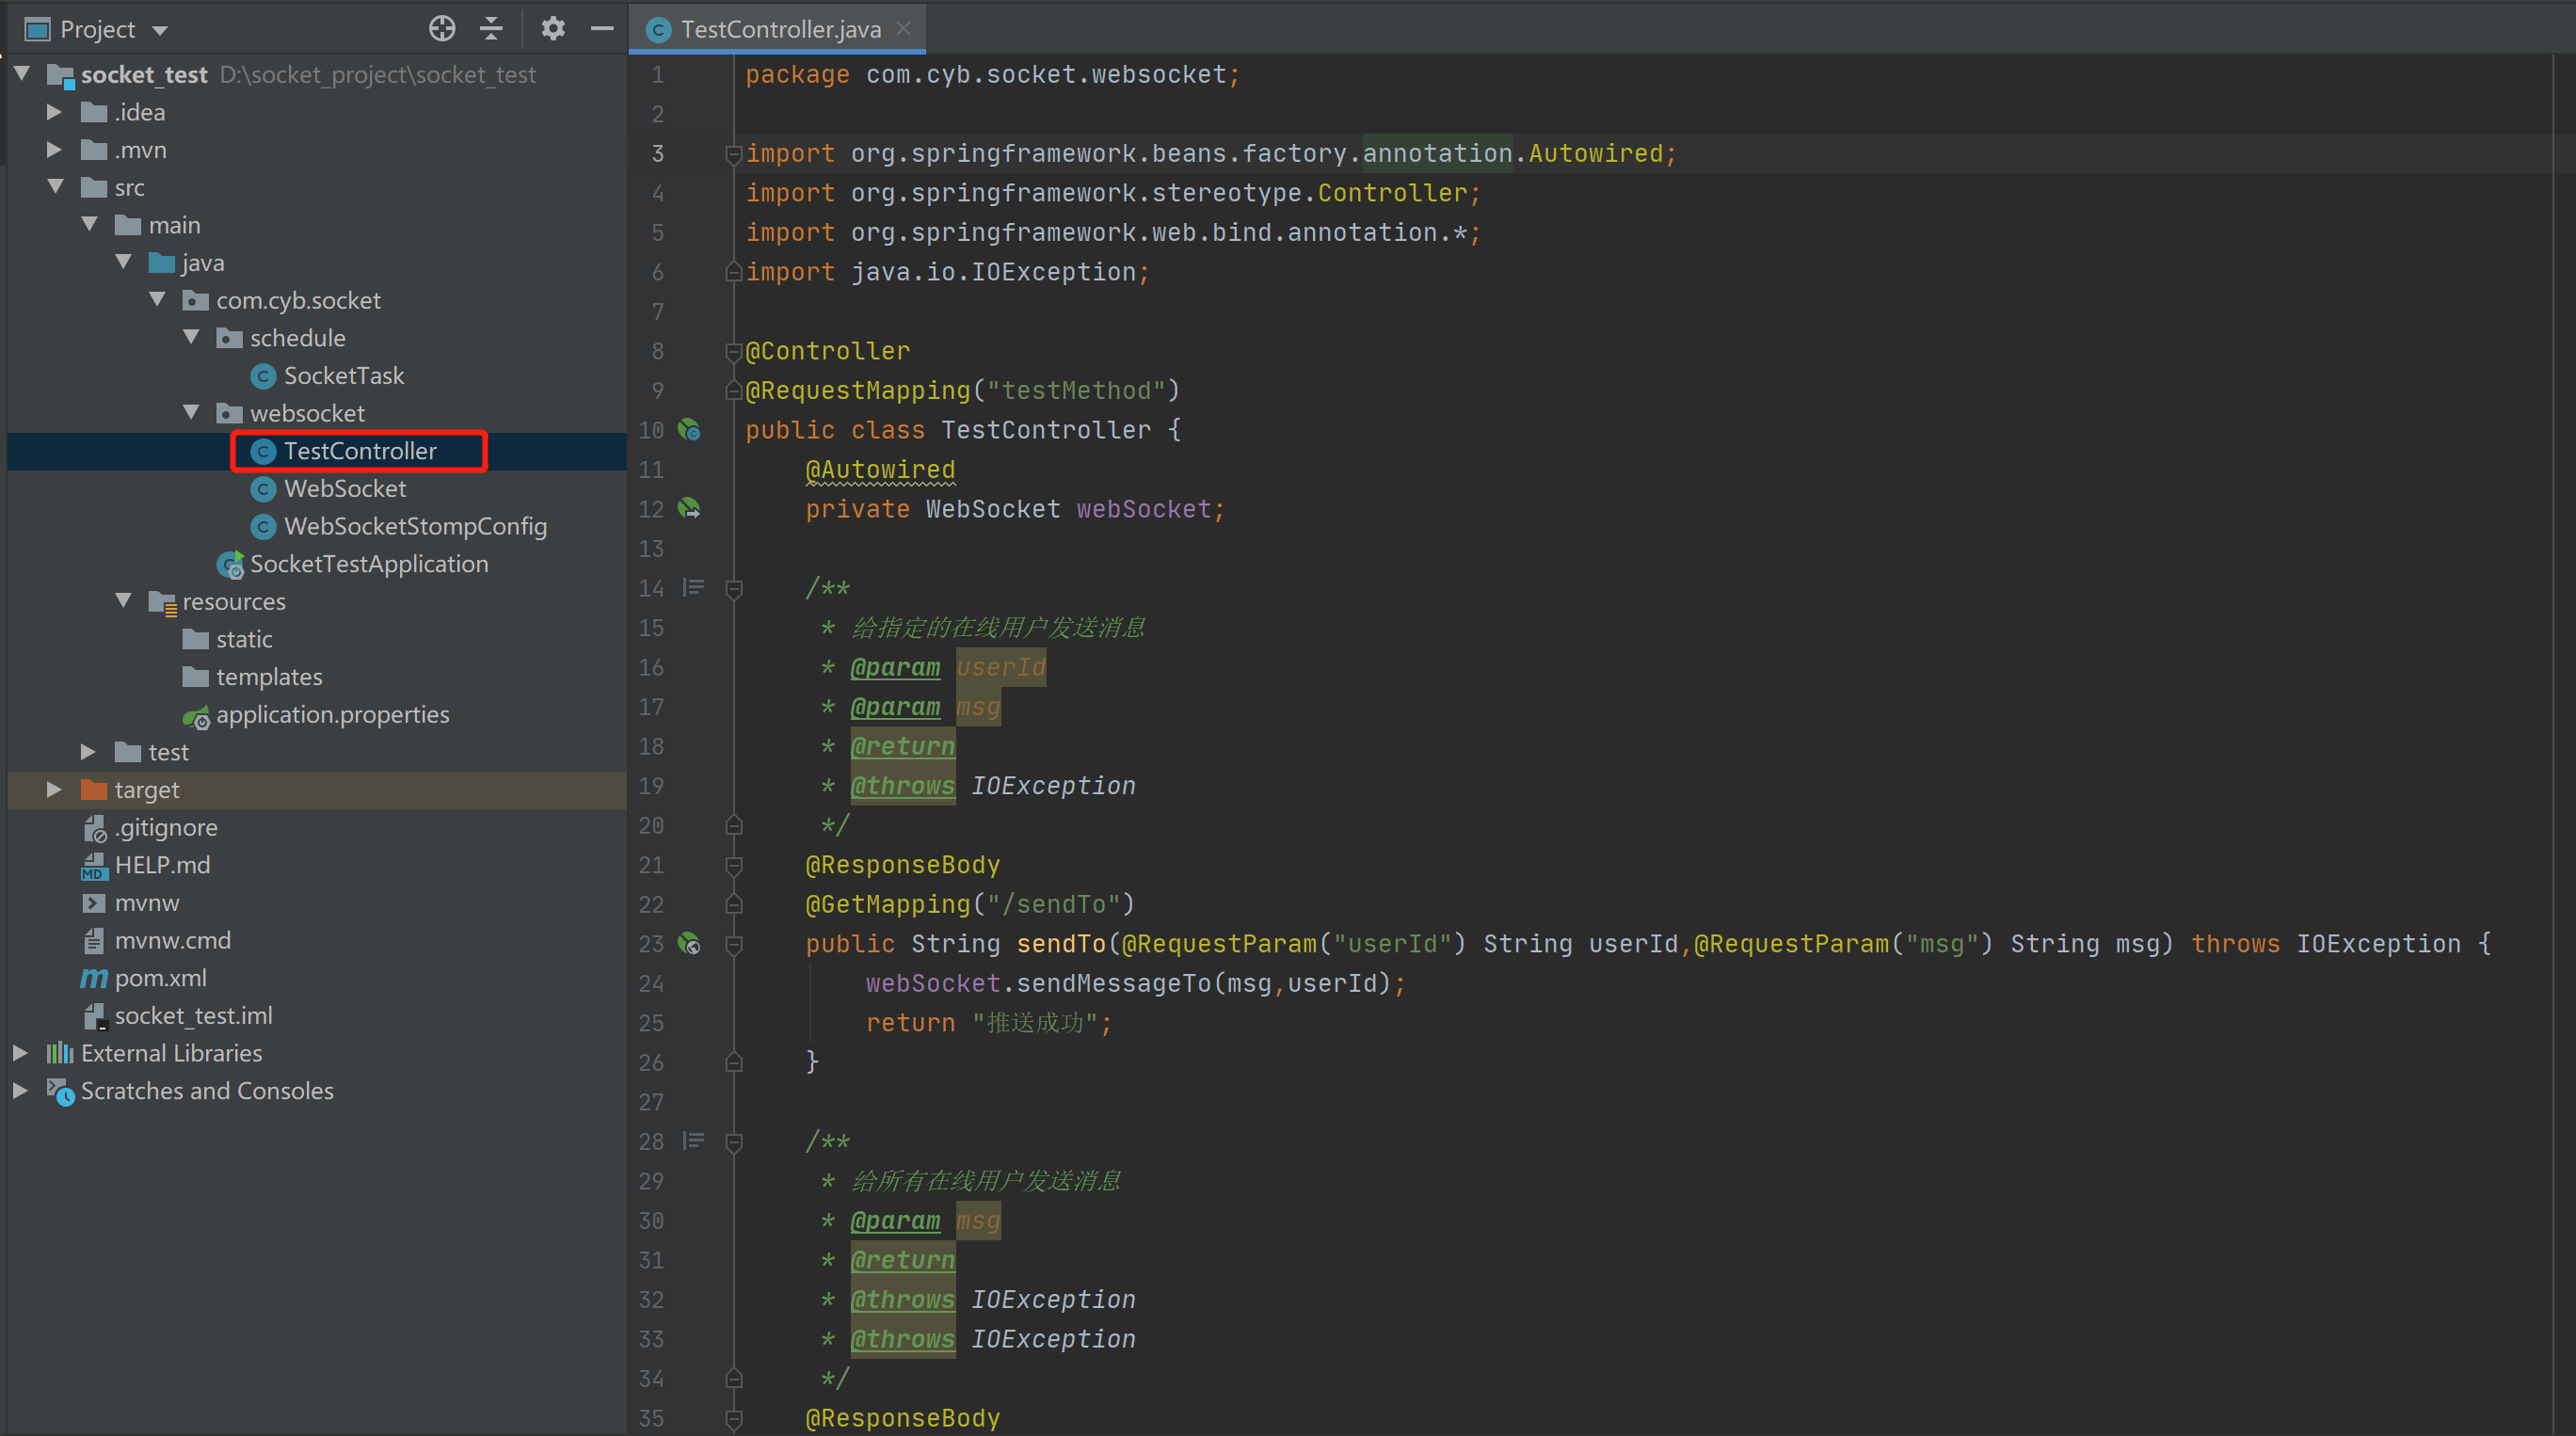
package com.cyb.socket.websocket;

import org.springframework.beans.factory.annotation.Autowired;
import org.springframework.stereotype.Controller;
import org.springframework.web.bind.annotation.*;
import java.io.IOException;

@Controller
@RequestMapping("testMethod")
public class TestController {
 @Autowired
 private WebSocket webSocket;

 /**
  * 给指定的在线用户发送消息
  * @param userId
  * @param msg
  * @return
  * @throws IOException
  */
 @ResponseBody
 @GetMapping("/sendTo")
 public String sendTo(@RequestParam("userId") String userId,@RequestParam("msg") String msg) throws IOException {
  webSocket.sendMessageTo(msg,userId);
  return "推送成功";
 }

 /**
  * 给所有在线用户发送消息
  * @param msg
  * @return
  * @throws IOException
  * @throws IOException
  */
 @ResponseBody
 @PostMapping("/sendAll")
 public String sendAll(@RequestBody String msg) throws IOException, IOException {
  webSocket.sendMessageAll(msg);
  return "推送成功";
 }
}
SocketTask.java(轮询调度往客户端推送消息)
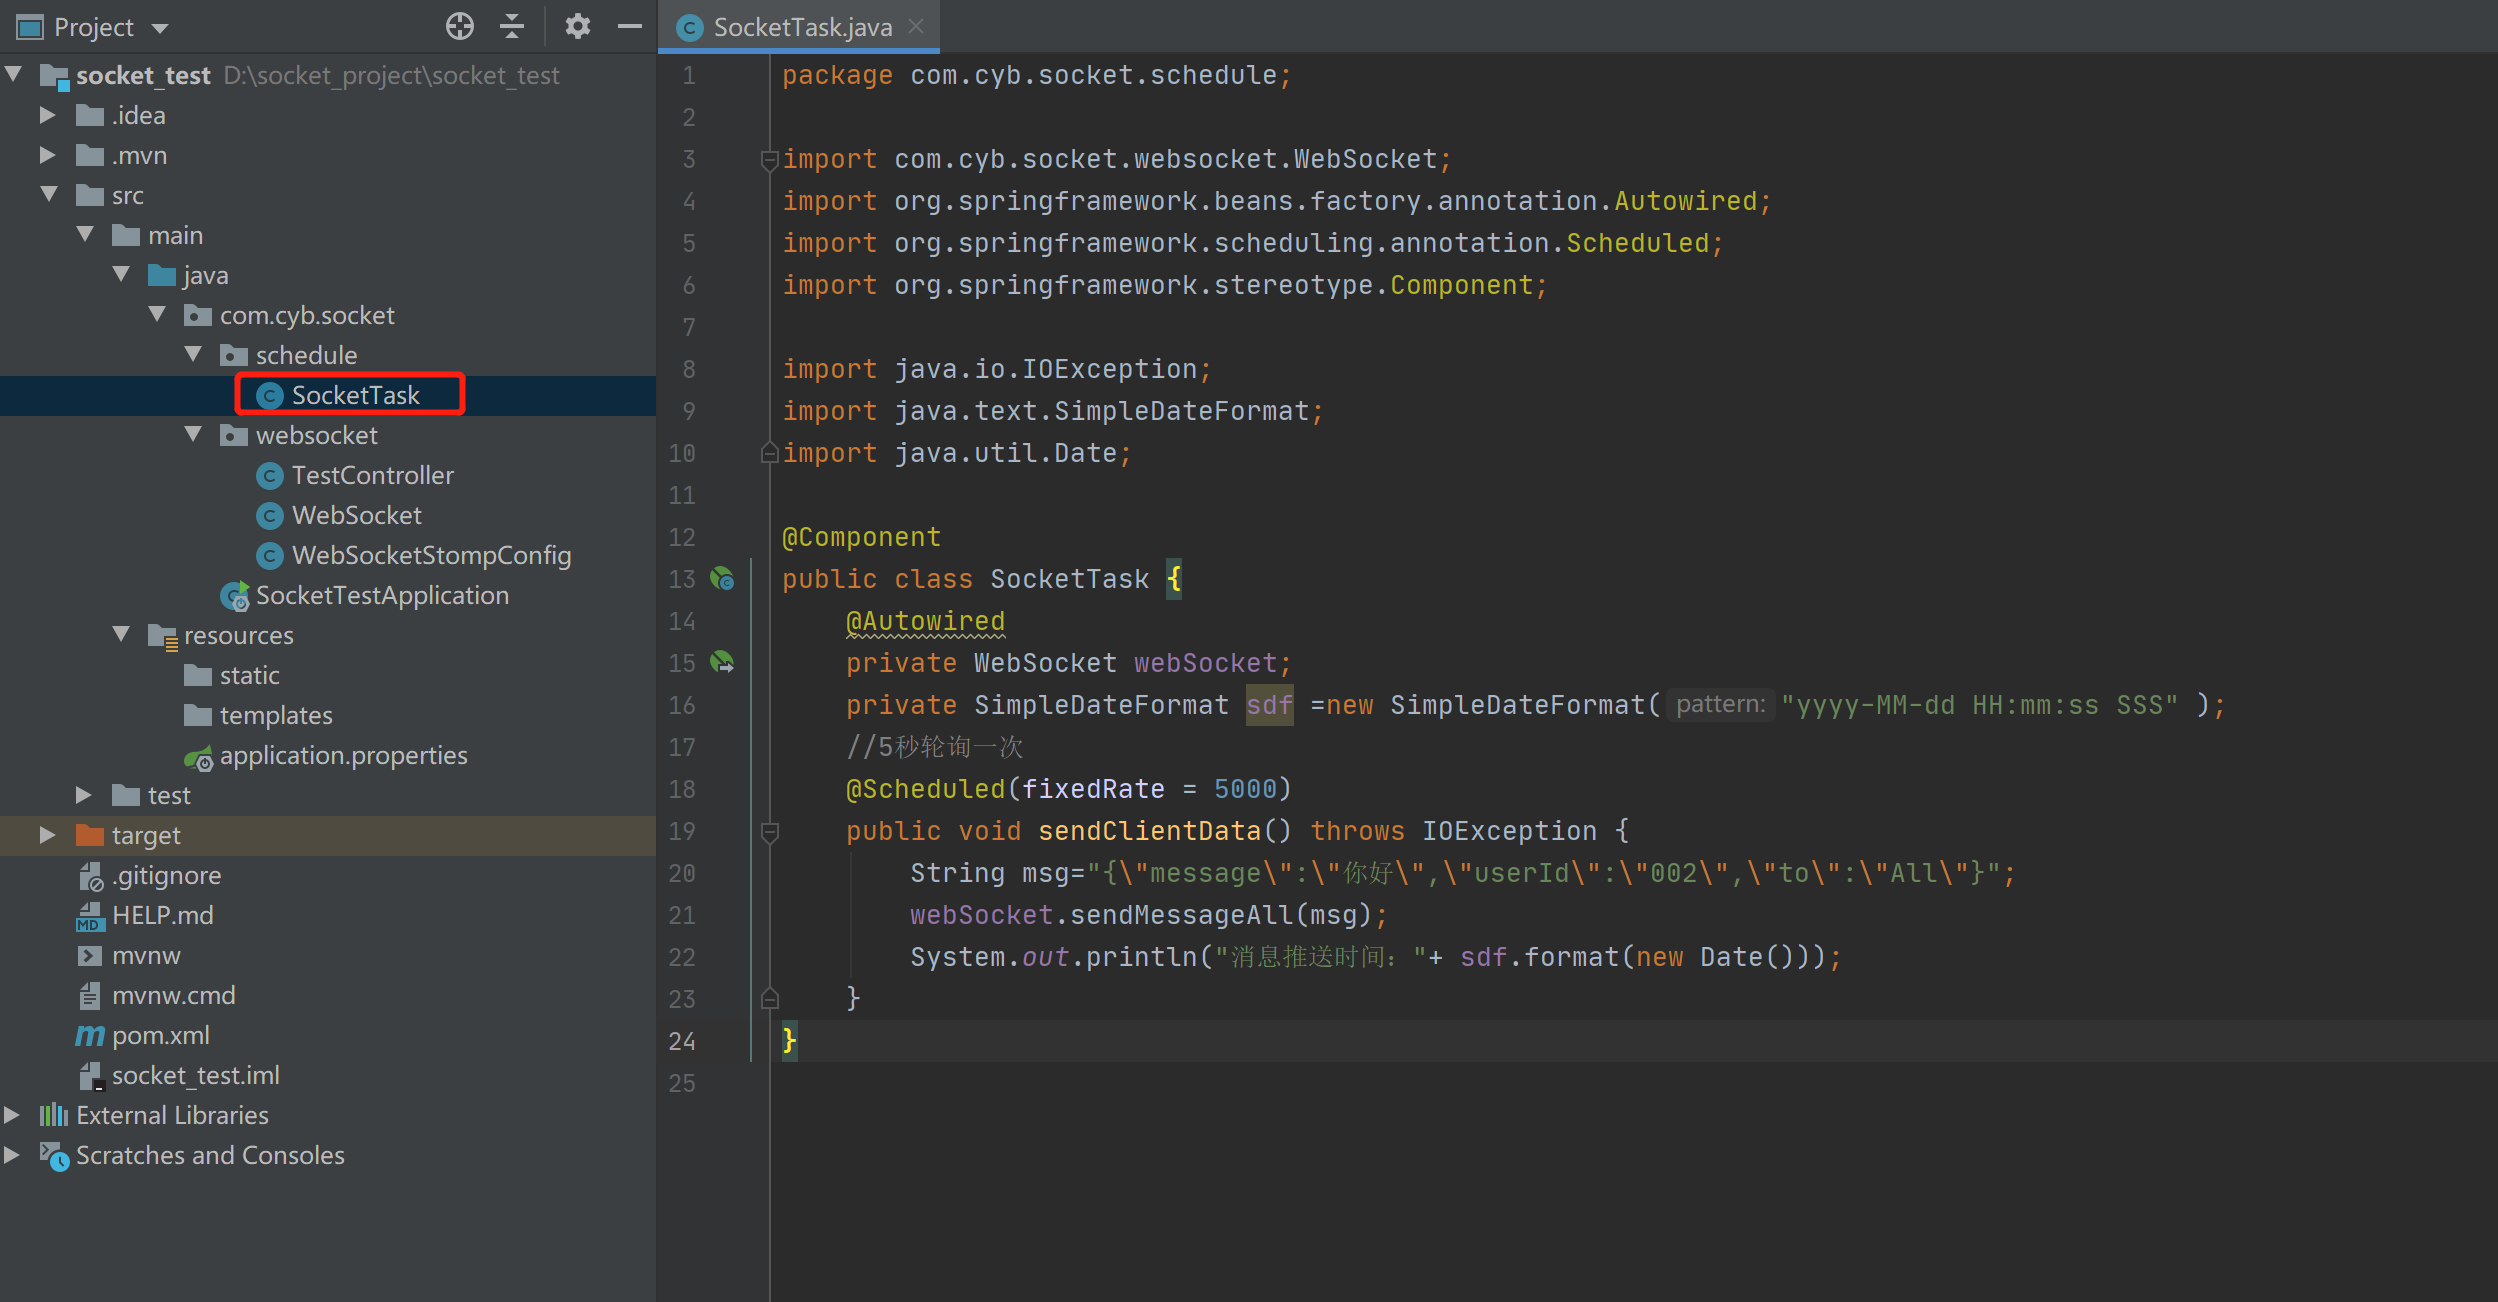
package com.cyb.socket.schedule;

import com.cyb.socket.websocket.WebSocket;
import org.springframework.beans.factory.annotation.Autowired;
import org.springframework.scheduling.annotation.Scheduled;
import org.springframework.stereotype.Component;

import java.io.IOException;
import java.text.SimpleDateFormat;
import java.util.Date;

@Component
public class SocketTask {
 @Autowired
 private WebSocket webSocket;
 private SimpleDateFormat sdf =new SimpleDateFormat("yyyy-MM-dd HH:mm:ss SSS" );
 //5秒轮询一次
 @Scheduled(fixedRate = 5000)
 public void sendClientData() throws IOException {
  String msg="{\"message\":\"你好\",\"userId\":\"002\",\"to\":\"All\"}";
  webSocket.sendMessageAll(msg);
  System.out.println("消息推送时间:"+ sdf.format(new Date()));
 }
}
测试网页
index.html
<!DOCTYPE HTML>
<html>
<head>
 <title>Test My WebSocket</title>
</head>

<body>
TestWebSocket
<input id="text" type="text" style="width:500px"/>
<button onclick="send()">SEND MESSAGE</button>
<button onclick="closeWebSocket()">CLOSE</button>
<div id="message"></div>
</body>

<script type="text/javascript">
 var websocket = null;

 //判断当前浏览器是否支持WebSocket
 if('WebSocket' in window){
  //连接WebSocket节点
  websocket = new WebSocket("ws://localhost:8083/connectWebSocket/001");
 }
 else{
  alert('Not support websocket')
 }

 //连接发生错误的回调方法
 websocket.onerror = function(){
  setMessageInnerHTML("error");
 };

 //连接成功建立的回调方法
 websocket.onopen = function(event){
  setMessageInnerHTML("open");
 }

 //接收到消息的回调方法
 websocket.onmessage = function(event){
  setMessageInnerHTML(event.data);
 }

 //连接关闭的回调方法
 websocket.onclose = function(){
  setMessageInnerHTML("close");
 }

 //监听窗口关闭事件,当窗口关闭时,主动去关闭websocket连接,防止连接还没断开就关闭窗口,server端会抛异常。
 window.onbeforeunload = function(){
  websocket.close();
 }

 //将消息显示在网页上
 function setMessageInnerHTML(innerHTML){
  document.getElementById('message').innerHTML += innerHTML + '<br/>';
 }

 //关闭连接
 function closeWebSocket(){
  websocket.close();
 }

 //发送消息
 function send(){
  var message = document.getElementById('text').value;
  websocket.send(message);
 }
</script>
</html>
index2.html
<!DOCTYPE HTML>
<html>
<head>
 <title>Test My WebSocket</title>
</head>

<body>
TestWebSocket
<input id="text" type="text" style="width:500px" />
<button onclick="send()">SEND MESSAGE</button>
<button onclick="closeWebSocket()">CLOSE</button>
<div id="message"></div>
</body>

<script type="text/javascript">
 var websocket = null;

 //判断当前浏览器是否支持WebSocket
 if('WebSocket' in window){
  //连接WebSocket节点
  websocket = new WebSocket("ws://localhost:8083/connectWebSocket/002");
 }
 else{
  alert('Not support websocket')
 }

 //连接发生错误的回调方法
 websocket.onerror = function(){
  setMessageInnerHTML("error");
 };

 //连接成功建立的回调方法
 websocket.onopen = function(event){
  setMessageInnerHTML("open");
 }

 //接收到消息的回调方法
 websocket.onmessage = function(event){
  setMessageInnerHTML(event.data);
 }

 //连接关闭的回调方法
 websocket.onclose = function(){
  setMessageInnerHTML("close");
 }

 //监听窗口关闭事件,当窗口关闭时,主动去关闭websocket连接,防止连接还没断开就关闭窗口,server端会抛异常。
 window.onbeforeunload = function(){
  websocket.close();
 }

 //将消息显示在网页上
 function setMessageInnerHTML(innerHTML){
  document.getElementById('message').innerHTML += innerHTML + '<br/>';
 }

 //关闭连接
 function closeWebSocket(){
  websocket.close();
 }

 //发送消息
 function send(){
  var message = document.getElementById('text').value;
  websocket.send(message);
 }
</script>
</html>
项目地址
链接:https://pan.baidu.com/s/1yiAXTkCjHac-F3S1HFyNJQ 提取码:53tp
功能演示
客户端给所有在线用户发消息

客户端给指定在线用户发送消息
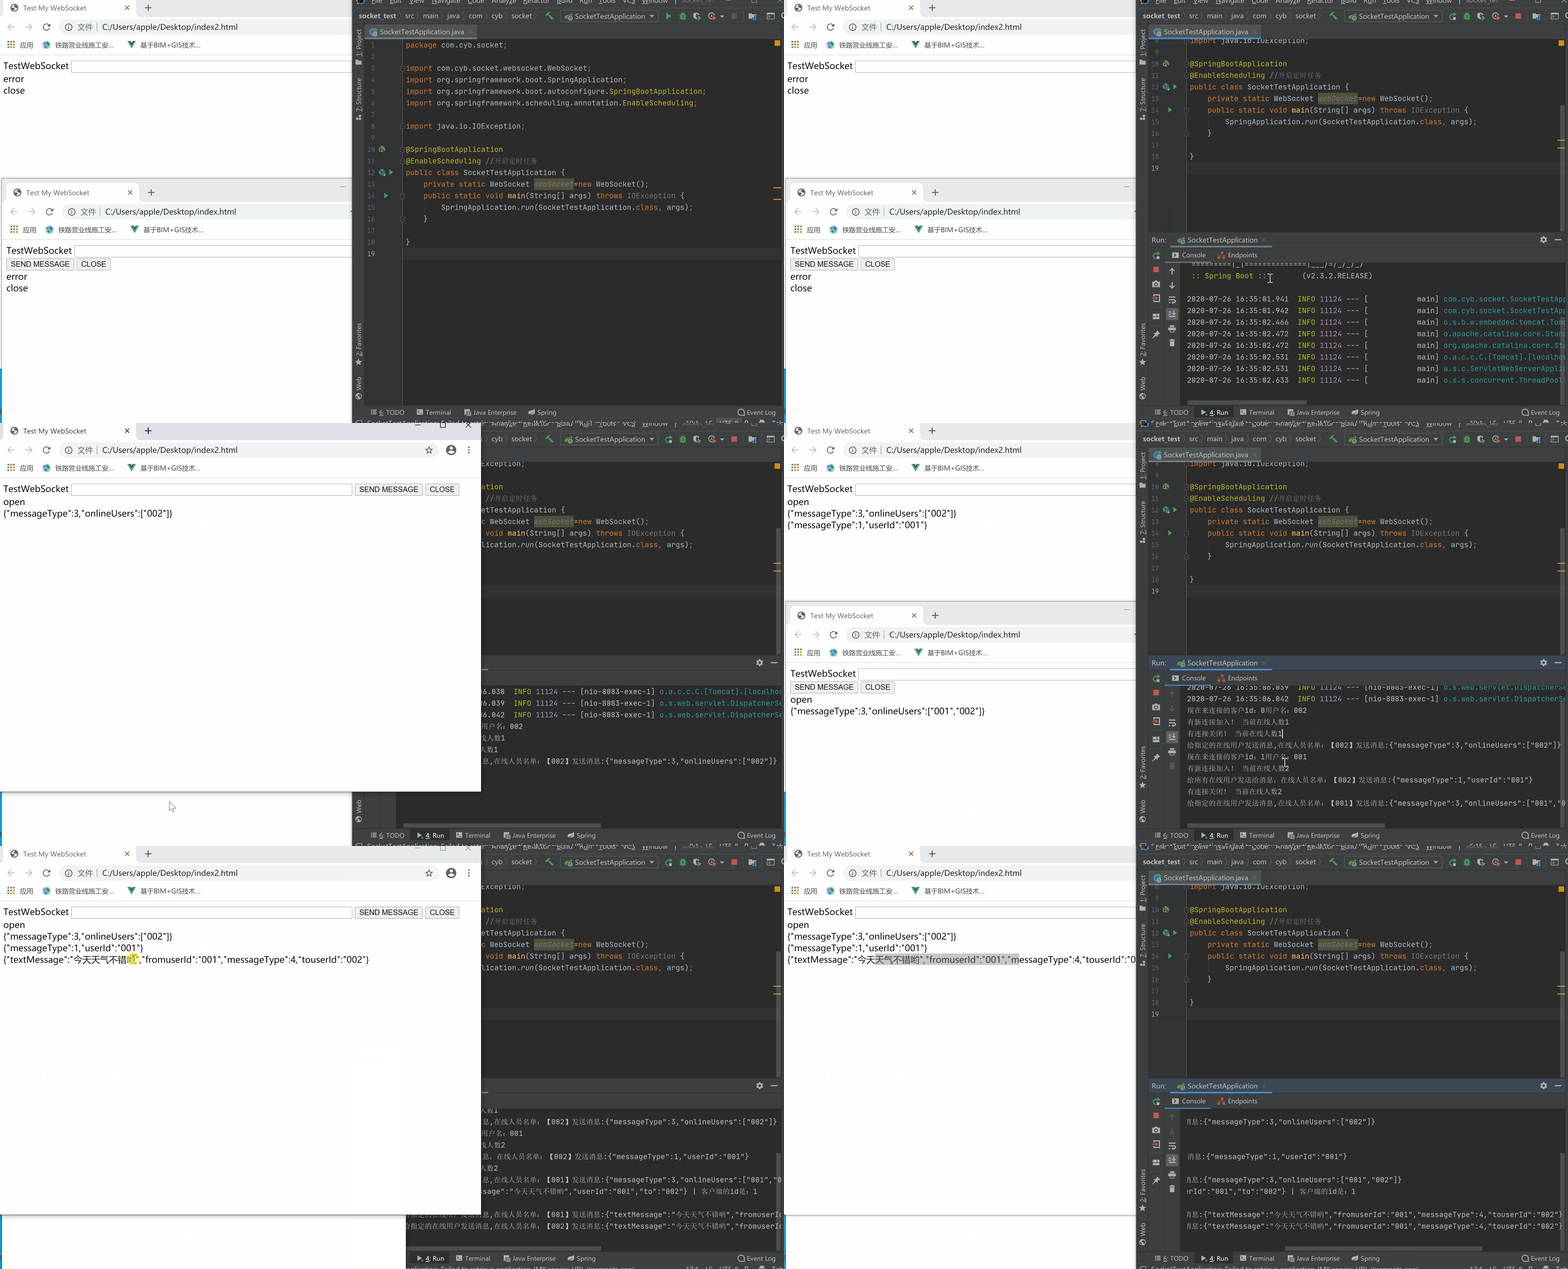
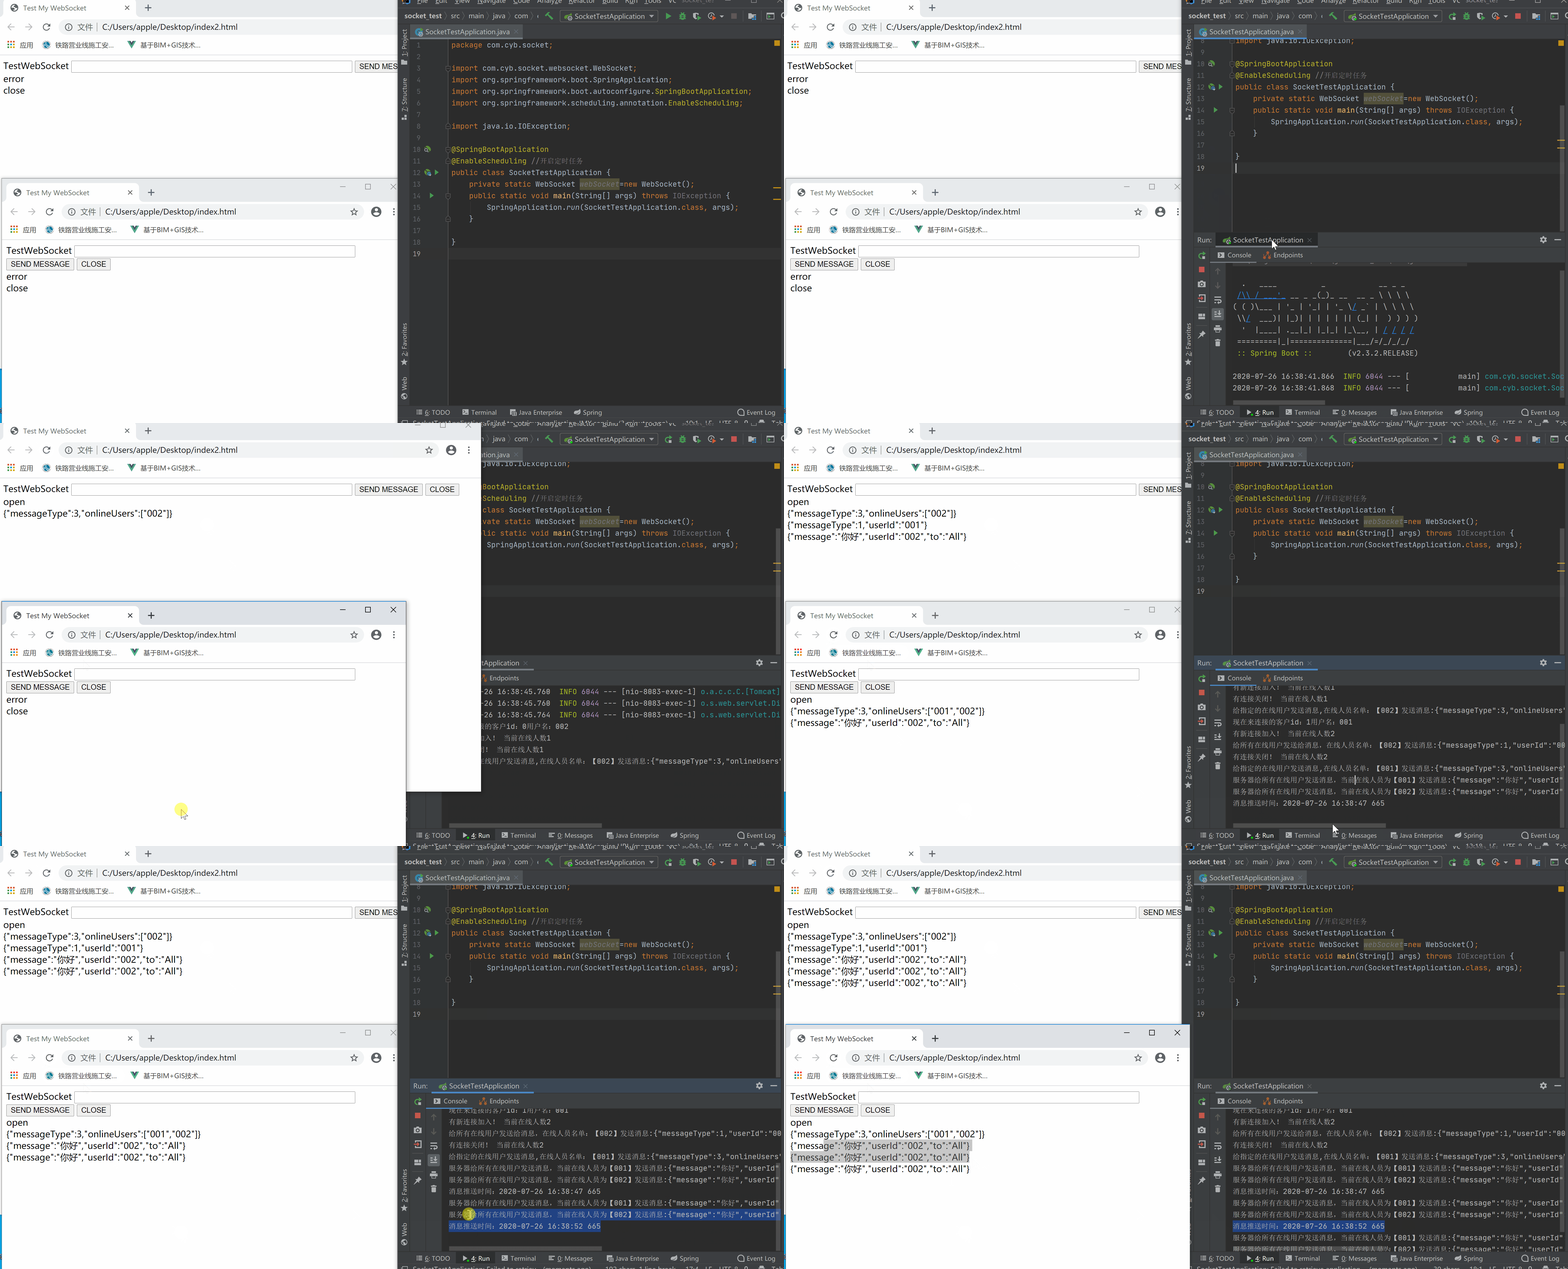
服务器给客户端发送消息(轮询方式)
注意需要加上这些注解
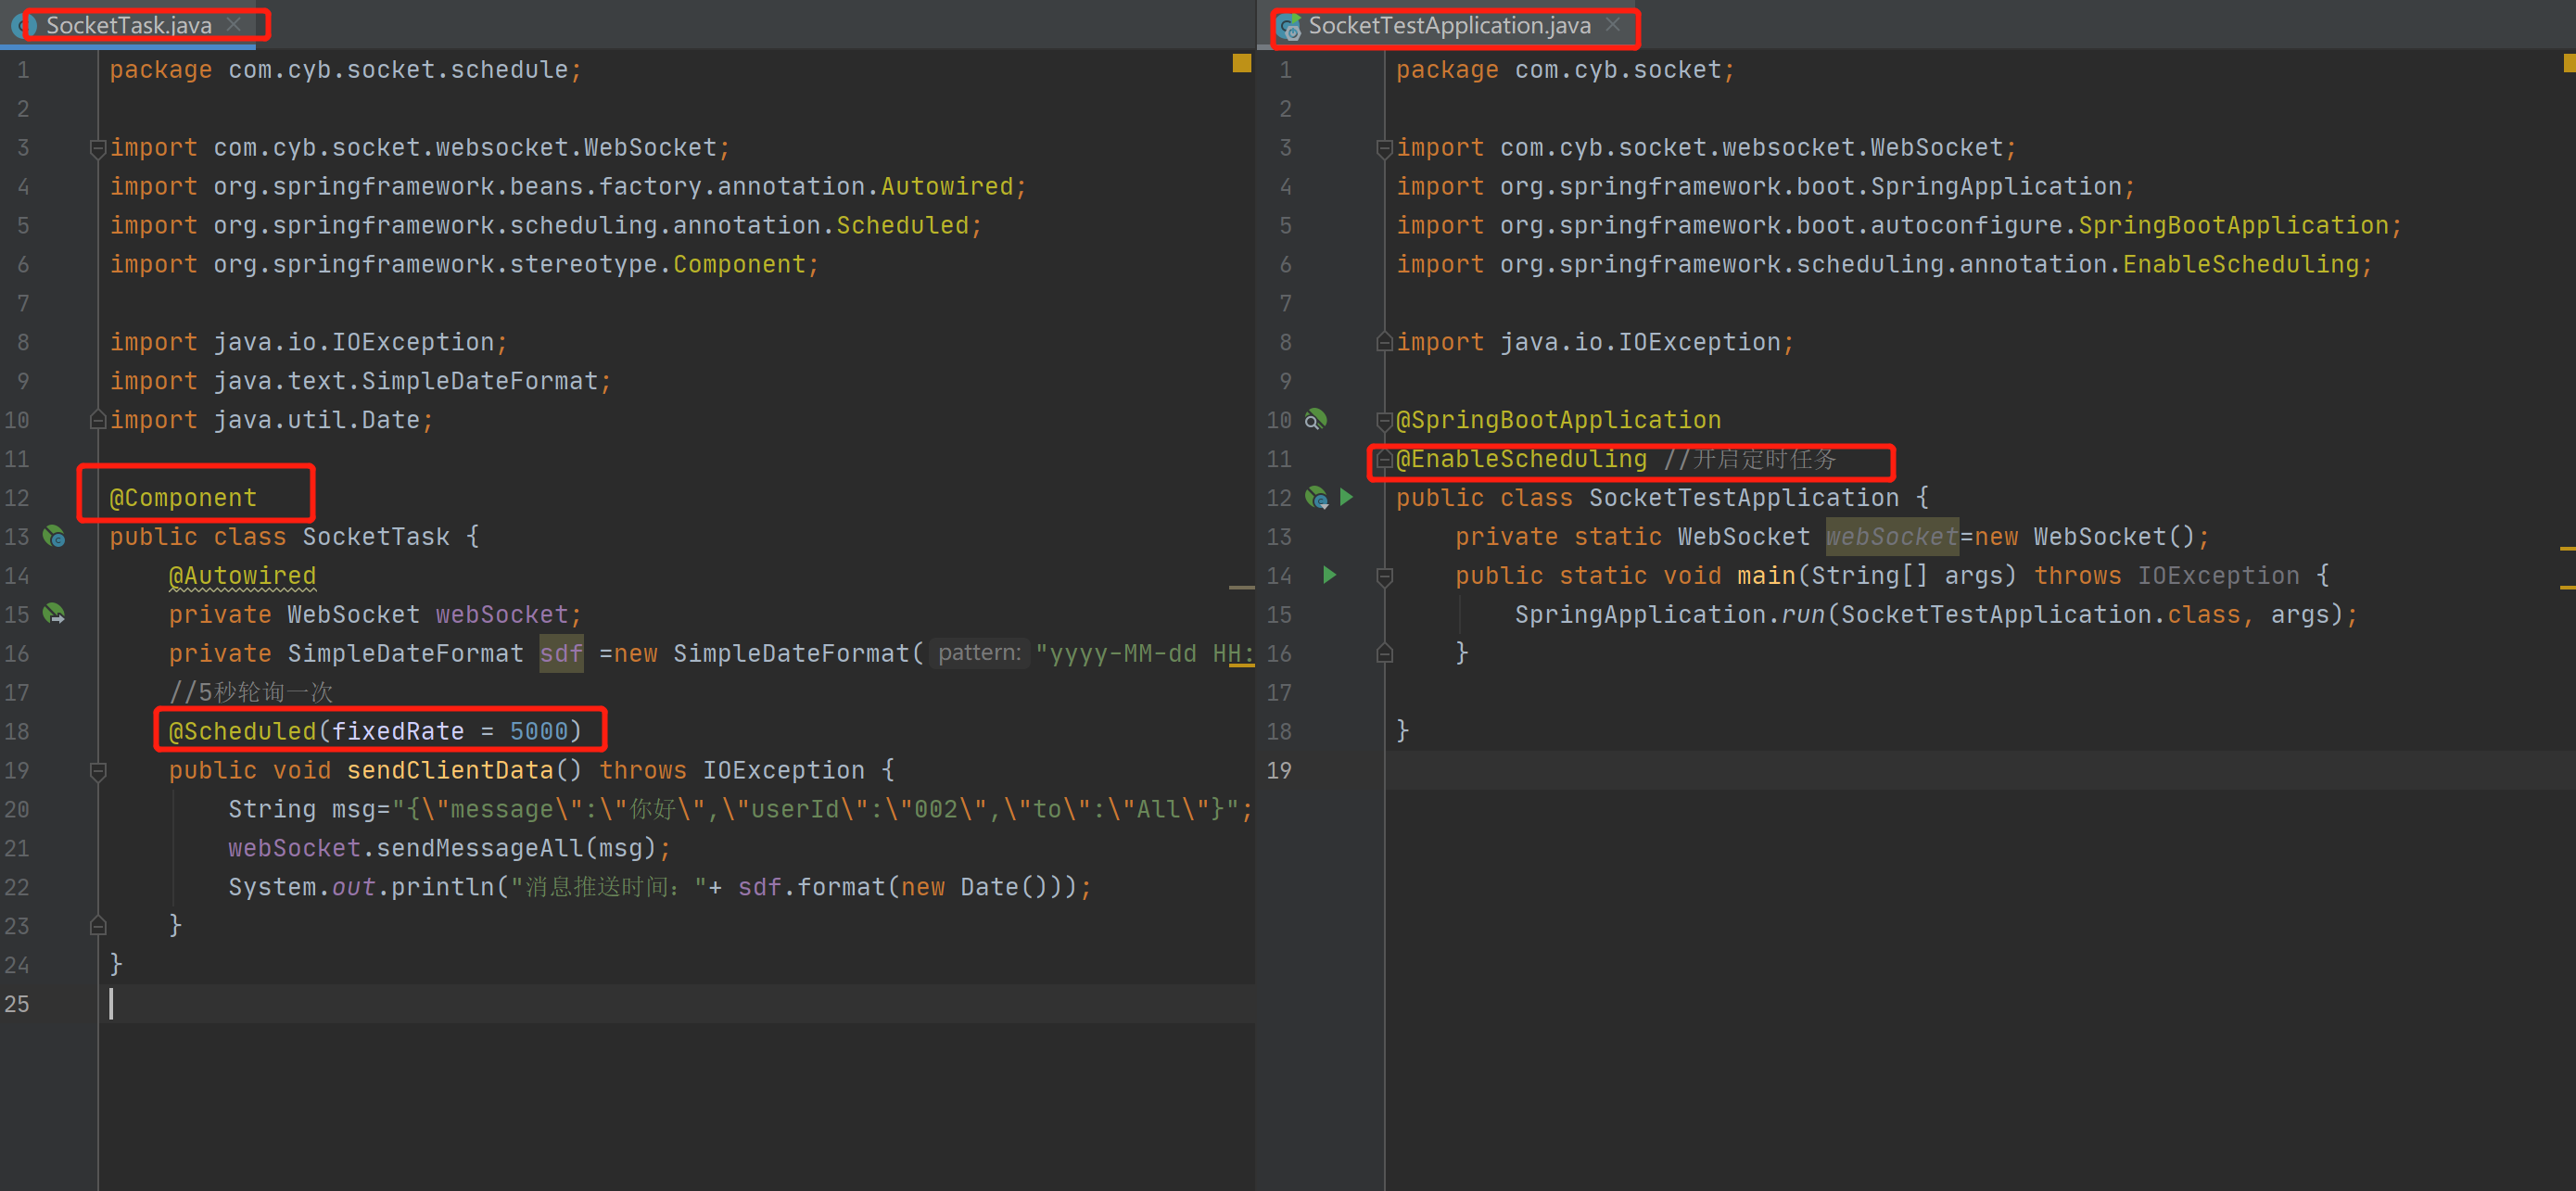
演示
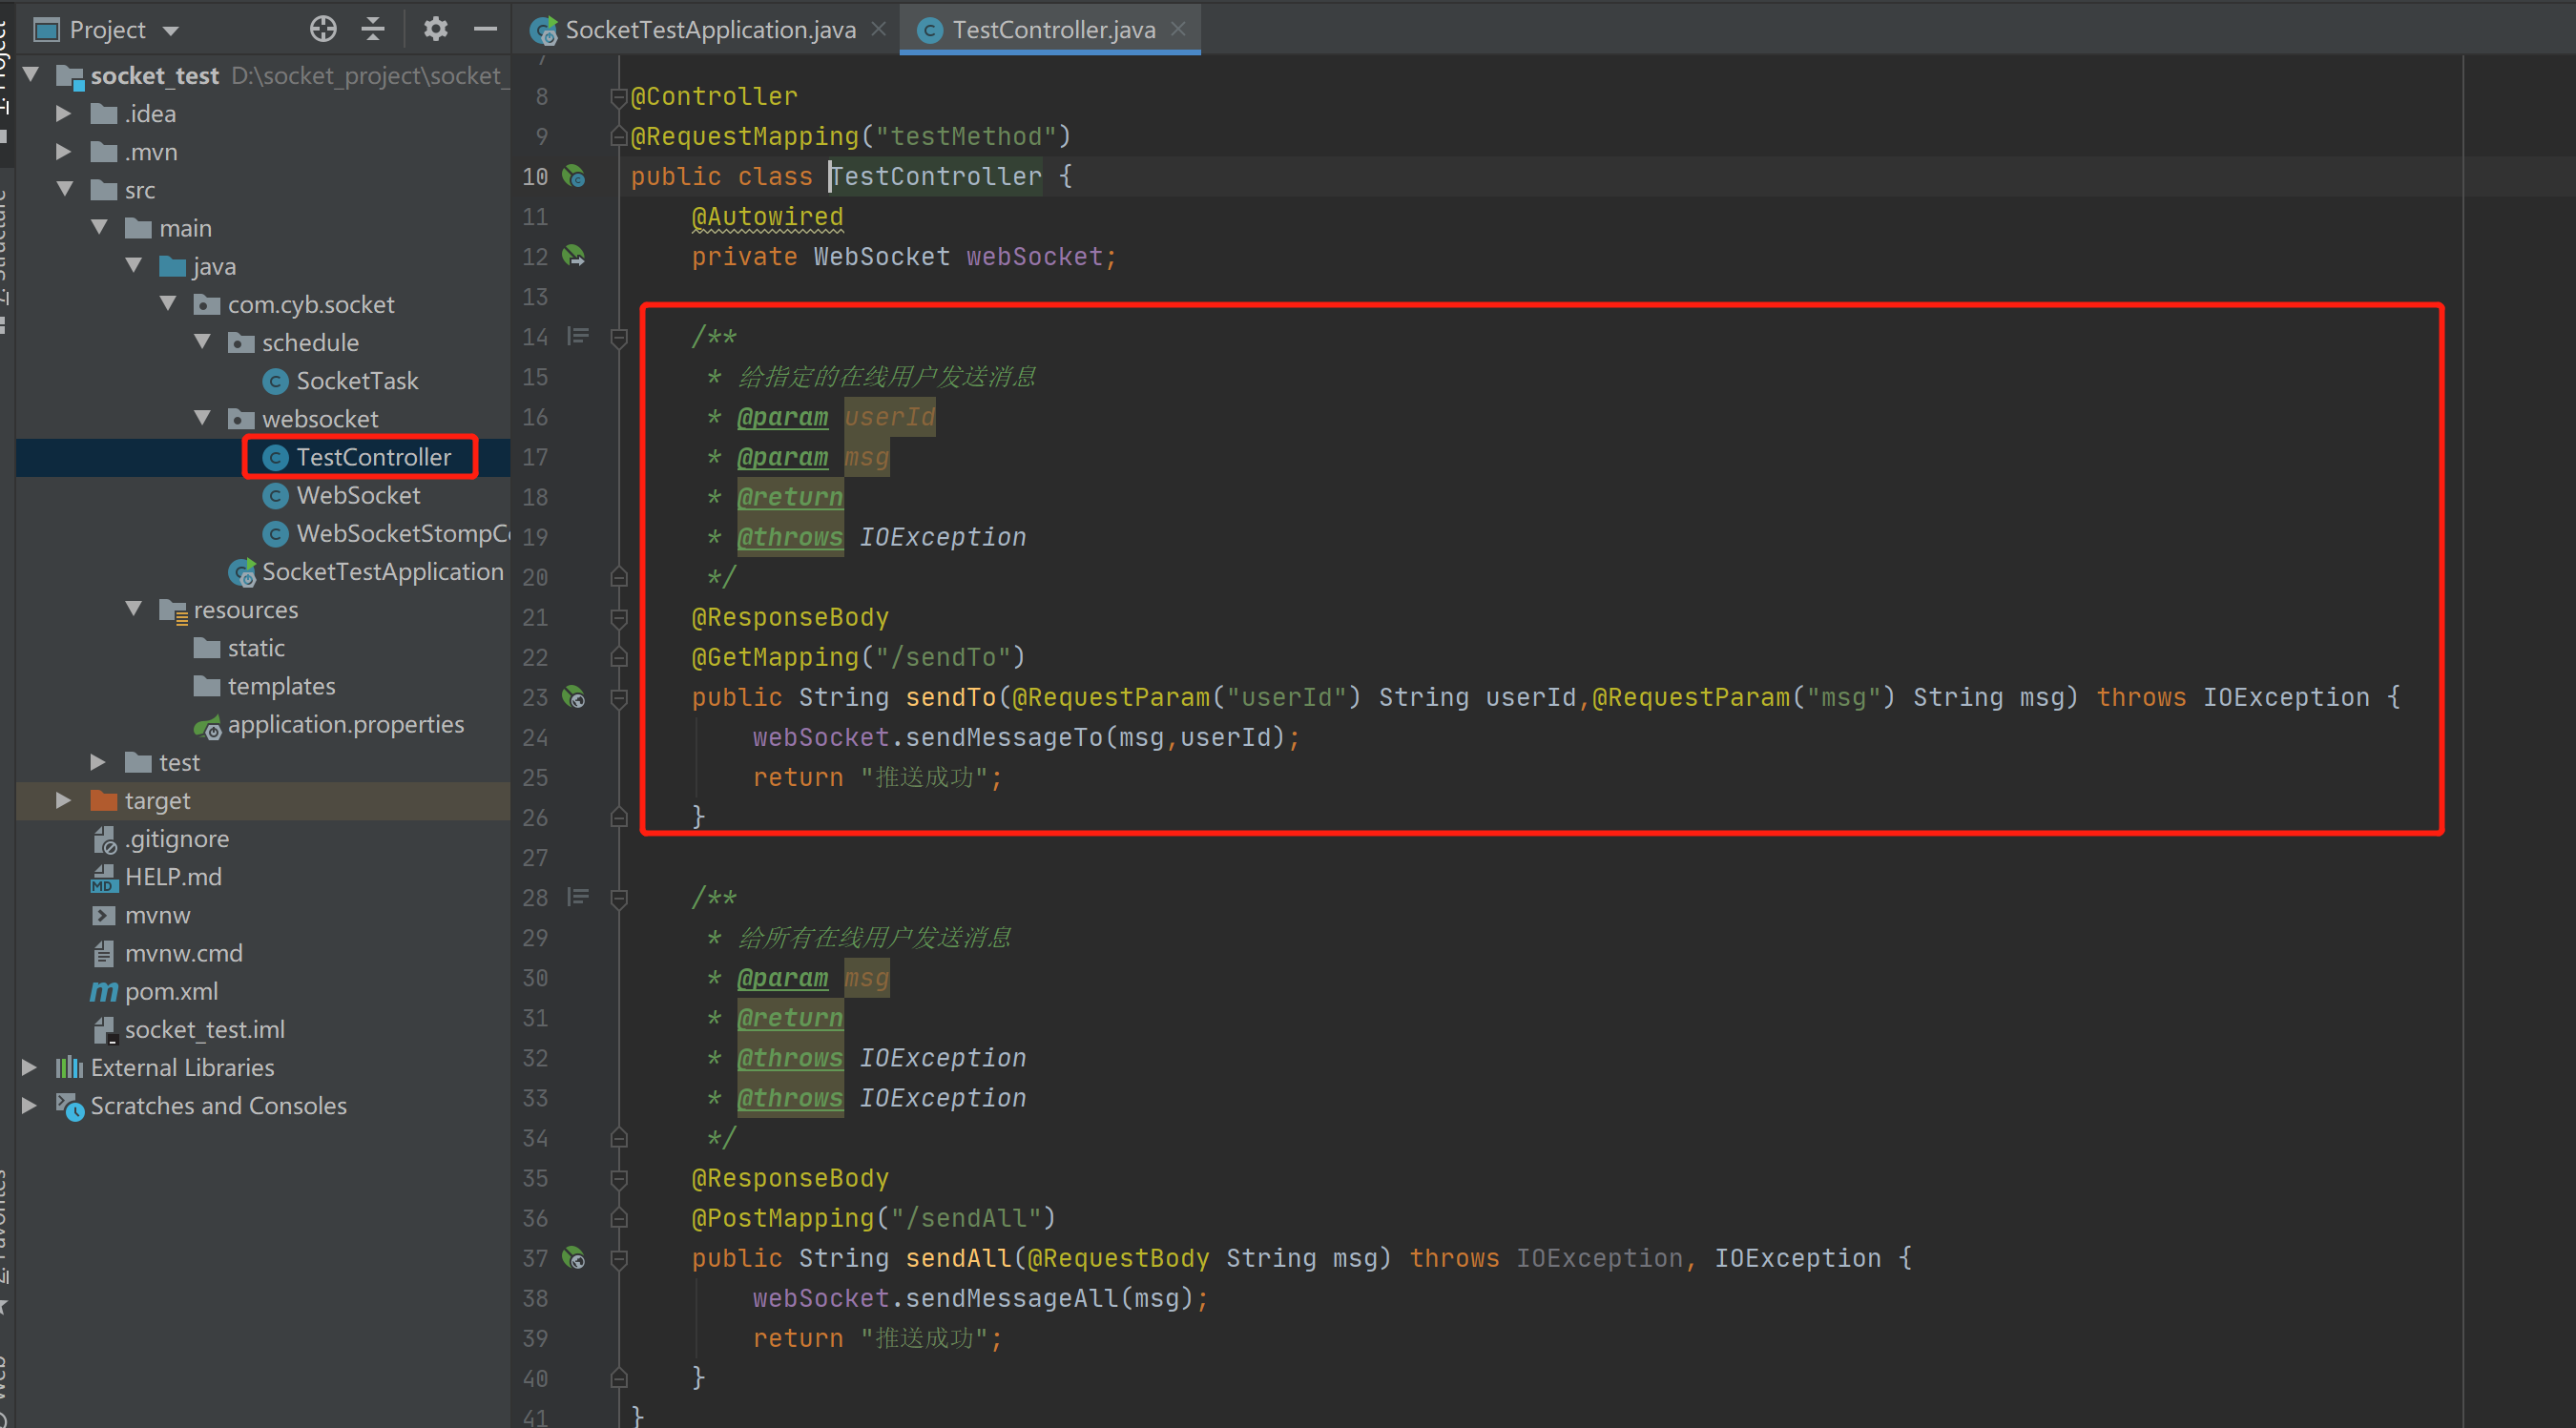
通过前端控制器给指定用户发送消息
演示

到此这篇关于Java中Spring Boot+Socket实现与html页面的长连接实例详解的文章就介绍到这了,更多相关Java Spring Boot+Socket实现与html页面的长连接内容请搜索我们以前的文章或继续浏览下面的相关文章希望大家以后多多支持我们!
赞 (0)

