Kotlin整合Vertx开发Web应用
今天我们尝试Kotlin整合Vertx,并决定建立一个非常简单的Web应用程序,使用Kotlin和Vertx作为编程语言进行编码构建。
生成项目
打开控制台窗口执行以下代码进行生成一个maven项目
mvn archetype:generate -DgroupId=com.edurt.kvi -DartifactId=kotlin-vertx-integration -DarchetypeArtifactId=maven-archetype-quickstart -Dversion=1.0.0 -DinteractiveMode=false
修改pom.xml增加java和kotlin的支持
<project xmlns="http://maven.apache.org/POM/4.0.0" xmlns:xsi="http://www.w3.org/2001/XMLSchema-instance"
   xsi:schemaLocation="http://maven.apache.org/POM/4.0.0 http://maven.apache.org/maven-v4_0_0.xsd">

 <modelVersion>4.0.0</modelVersion>
 <groupId>com.edurt.kvi</groupId>
 <artifactId>kotlin-vertx-integration</artifactId>
 <packaging>jar</packaging>
 <version>1.0.0</version>

 <name>kotlin-vertx-integration</name>
 <description>Kotlin Vertx Integration is a open source kotlin vertx integration example.</description>

 <!-- properties -->
 <properties>
  <!-- dependency -->
  <dependency.kotlin.version>1.2.71</dependency.kotlin.version>
  <dependency.vertx.ersion>3.4.1</dependency.vertx.ersion>
  <!-- plugin -->
  <plugin.maven.compiler.version>3.3</plugin.maven.compiler.version>
  <plugin.maven.javadoc.version>2.10.4</plugin.maven.javadoc.version>
  <plugin.maven.kotlin.version>1.2.71</plugin.maven.kotlin.version>
  <!-- environment -->
  <environment.compile.java.version>1.8</environment.compile.java.version>
  <project.build.sourceEncoding>UTF-8</project.build.sourceEncoding>
  <project.reporting.outputEncoding>UTF-8</project.reporting.outputEncoding>
  <java.version>1.8</java.version>
  <jvmTarget>1.8</jvmTarget>
 </properties>

 <!-- dependencys -->
 <dependencies>
  <!-- kotlin -->
  <dependency>
   <groupId>org.jetbrains.kotlin</groupId>
   <artifactId>kotlin-stdlib-jdk8</artifactId>
   <version>${dependency.kotlin.version}</version>
  </dependency>
  <dependency>
   <groupId>org.jetbrains.kotlin</groupId>
   <artifactId>kotlin-reflect</artifactId>
   <version>${dependency.kotlin.version}</version>
  </dependency>
  <!-- vertx -->
  <dependency>
   <groupId>io.vertx</groupId>
   <artifactId>vertx-core</artifactId>
   <version>${dependency.vertx.ersion}</version>
  </dependency>
  <dependency>
   <groupId>io.vertx</groupId>
   <artifactId>vertx-web</artifactId>
   <version>${dependency.vertx.ersion}</version>
  </dependency>
 </dependencies>

 <!-- prerequisites -->
 <prerequisites>
  <maven>3.5.0</maven>
 </prerequisites>

 <!-- build -->
 <build>
  <sourceDirectory>${project.basedir}/src/main/kotlin</sourceDirectory>
  <testSourceDirectory>${project.basedir}/src/test/kotlin</testSourceDirectory>
  <plugins>
   <plugin>
    <artifactId>kotlin-maven-plugin</artifactId>
    <groupId>org.jetbrains.kotlin</groupId>
    <configuration>
     <args>
      <arg>-Xjsr305=strict</arg>
     </args>
     <compilerPlugins>
      <plugin>spring</plugin>
      <plugin>jpa</plugin>
      <plugin>all-open</plugin>
     </compilerPlugins>
     <pluginOptions>
      <option>all-open:annotation=javax.persistence.Entity</option>
     </pluginOptions>
    </configuration>
    <dependencies>
     <dependency>
      <groupId>org.jetbrains.kotlin</groupId>
      <artifactId>kotlin-maven-allopen</artifactId>
      <version>${plugin.maven.kotlin.version}</version>
     </dependency>
     <dependency>
      <groupId>org.jetbrains.kotlin</groupId>
      <artifactId>kotlin-maven-noarg</artifactId>
      <version>${plugin.maven.kotlin.version}</version>
     </dependency>
    </dependencies>
    <executions>
     <execution>
      <id>kapt</id>
      <goals>
       <goal>kapt</goal>
      </goals>
      <configuration>
       <sourceDirs>
        <sourceDir>src/main/kotlin</sourceDir>
       </sourceDirs>
       <annotationProcessorPaths>
        <annotationProcessorPath>
         <groupId>org.springframework.boot</groupId>
         <artifactId>spring-boot-configuration-processor</artifactId>
         <version>${project.parent.version}</version>
        </annotationProcessorPath>
       </annotationProcessorPaths>
      </configuration>
     </execution>
    </executions>
   </plugin>
   <plugin>
    <groupId>org.apache.maven.plugins</groupId>
    <artifactId>maven-compiler-plugin</artifactId>
    <version>${plugin.maven.compiler.version}</version>
    <configuration>
     <source>${environment.compile.java.version}</source>
     <target>${environment.compile.java.version}</target>
    </configuration>
   </plugin>
   <plugin>
    <groupId>org.apache.maven.plugins</groupId>
    <artifactId>maven-javadoc-plugin</artifactId>
    <version>${plugin.maven.javadoc.version}</version>
    <configuration>
     <aggregate>true</aggregate>
     <!-- custom tags -->
     <tags>
      <tag>
       <name>Description</name>
       <placement>test</placement>
       <head>description</head>
      </tag>
     </tags>
     <!-- close jdoclint check document -->
     <additionalparam>-Xdoclint:none</additionalparam>
    </configuration>
   </plugin>
  </plugins>
 </build>

</project>
添加Vertx实例
创建CoreVerticle类文件
package com.edurt.kvi.core

import io.vertx.core.AbstractVerticle
import io.vertx.core.Future
import io.vertx.core.Handler
import io.vertx.ext.web.Router
import io.vertx.ext.web.RoutingContext

class CoreVerticle : AbstractVerticle() {

 override fun start(startFuture: Future<Void>?) {
  val router = createRouter()
  val port = config().getInteger("http.port", 8080)
  vertx.createHttpServer()
    .requestHandler { router.accept(it) }
    .listen(port) { result ->
     if (result.succeeded()) {
      startFuture?.complete()
     } else {
      startFuture?.fail(result.cause())
     }
    }
 }

 private fun createRouter() = Router.router(vertx).apply {
  get("/").handler(handlerRoot)
 }

 /**
  * create router instance
  */
 val handlerRoot = Handler<RoutingContext> { req ->
  req.response().end("Hello Kotlin Vertx Integration!")
 }

}
设置启动类
package com.edurt.kvi

import com.edurt.kvi.core.CoreVerticle
import io.vertx.core.Vertx

class KotlinVertxIntegration

fun main(args: Array<String>) {
 val vertx = Vertx.vertx()
 vertx.deployVerticle(CoreVerticle::class.java.name)
}
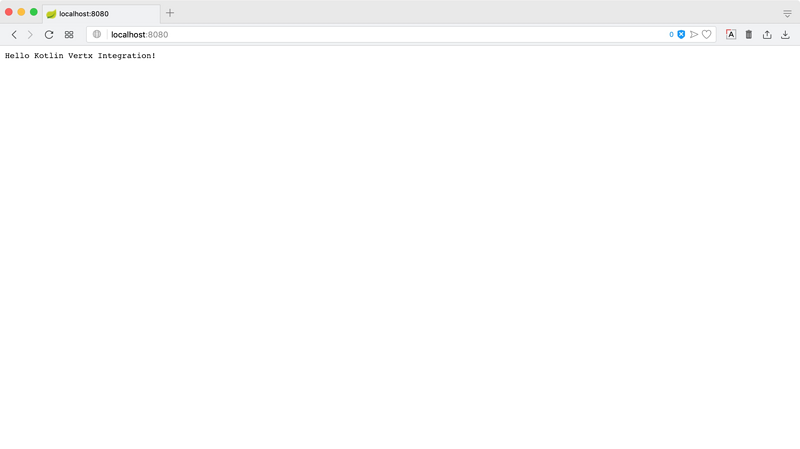
以上操作在vertx.deployVerticle阶段执行了部署Verticle的操作,即部署CoreVerticle。
启动应用后浏览器访问http://localhost:8080出现以下页面

增加页面渲染功能
修改pom.xml文件增加页面依赖
<dependency.slf4j.version>1.7.25</dependency.slf4j.version>

<dependency>
 <groupId>io.vertx</groupId>
 <artifactId>vertx-web-templ-thymeleaf</artifactId>
 <version>${dependency.vertx.ersion}</version>
</dependency>
<dependency>
 <groupId>org.slf4j</groupId>
 <artifactId>slf4j-log4j12</artifactId>
 <version>${dependency.slf4j.version}</version>
</dependency>
增加页面渲染文件
package com.edurt.kvi.router

import io.vertx.ext.web.Router
import io.vertx.ext.web.RoutingContext
import io.vertx.ext.web.templ.ThymeleafTemplateEngine
import org.thymeleaf.templatemode.TemplateMode

class HomeViewRouter

fun index(r: Router) {
 val engine = ThymeleafTemplateEngine.create().setMode(TemplateMode.HTML)
 r.get("/index.html").handler { c ->
  render(c, engine, "templates/index.html")
 }
}

fun render(c: RoutingContext, engine: ThymeleafTemplateEngine, templ: String) {
 engine.render(c, templ) { res ->
  if (res.succeeded()) {
   c.response().end(res.result())
  } else {
   c.fail(res.cause())
  }
 }
}
在templates/index.html目录下创建页面文件
<!DOCTYPE html SYSTEM "http://www.thymeleaf.org/dtd/xhtml1-strict-thymeleaf-4.dtd">
<html xmlns="http://www.w3.org/1999/xhtml">
<head>
 <title>Kotlin Vertx Integration</title>
 <meta http-equiv="Content-Type" content="text/html; charset=UTF-8"/>
</head>

<body>
<p>Welcome To Kotlin Vertx Integration!</p>
</body>
</html>
修改CoreVerticle增加页面跳转
package com.edurt.kvi.core

import com.edurt.kvi.router.index
import io.vertx.core.AbstractVerticle
import io.vertx.core.Future
import io.vertx.core.Handler
import io.vertx.core.Vertx
import io.vertx.core.http.HttpServerResponse
import io.vertx.ext.web.Router
import io.vertx.ext.web.RoutingContext

class CoreVerticle : AbstractVerticle() {

 override fun start() {
  val router = createRouter(vertx)

  // go to index page
  index(router)

  vertx.createHttpServer().requestHandler { handler -> router.accept(handler) }.listen(8080)

//  val port = config().getInteger("http.port", 8080)
//  vertx.createHttpServer()
//    .requestHandler { router.accept(it) }
//    .listen(port) { result ->
//     if (result.succeeded()) {
//      startFuture?.complete()
//     } else {
//      startFuture?.fail(result.cause())
//     }
//    }
 }

 private fun createRouter() = Router.router(vertx).apply {
  get("/").handler(handlerRoot)
 }

 /**
  * create router instance
  */
 val handlerRoot = Handler<RoutingContext> { req ->
  req.response().end("Hello Kotlin Vertx Integration!")
 }

 fun createRouter(v: Vertx): Router {
  var router = Router.router(v)
  router.route("/").handler { c -> c.response().end("Hello Kotlin Vertx Integration!") }
  router.route("/index").handler { c -> c.response().html().end("Hello Kotlin Vertx Integration Page!") }
  return router
 }

 fun HttpServerResponse.html(): HttpServerResponse {
  return this.putHeader("content-type", "text/html")
 }

}
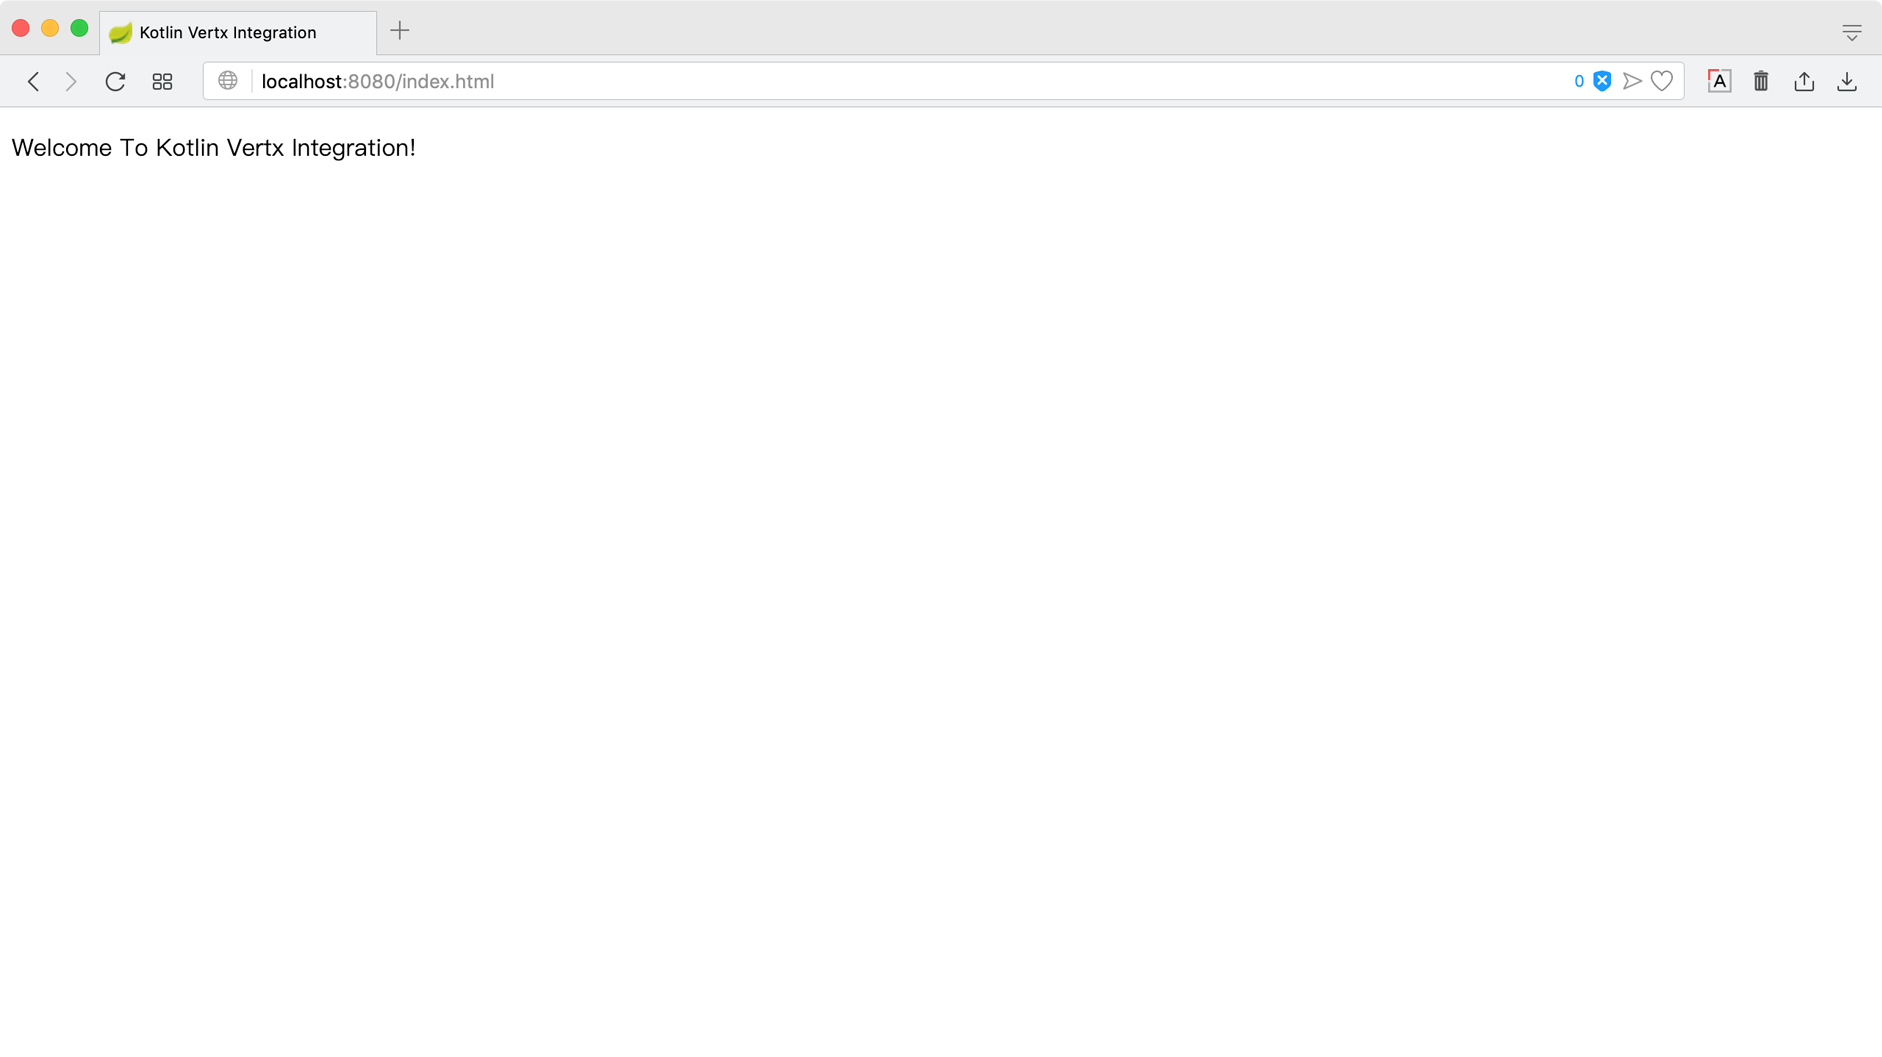
启动应用后浏览器访问http://localhost:8080/index.html出现以下页面

以上就是本文的全部内容,希望对大家的学习有所帮助,也希望大家多多支持我们。
赞 (0)

