详解vue-cli中模拟数据的两种方法

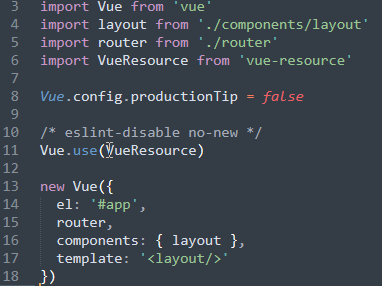
在main.js中引入vue-resource模块,Vue.use(vueResource).

1.使用json-server(不能用post请求)
接下来找到build目录下的webpack.dev.conf.js文件,在const portfinder = require('portfinder')后面引入json-server.
/*引入json-server*/
const jsonServer = require('json-server')
/*搭建一个server*/
const apiServer = jsonServer.create()
/*将db.json关联到server*/
const apiRouter = apiServer.router('db.json')
const middlewares = jsonServer.defaults()\
apiServer.use(apiRouter)
apiServer.use(middlewares)
/*监听端口*/
apiServer.listen(3000,(req,res)=>{
 console.log('jSON Server is running')
})
现在重启服务器后浏览器地址栏输入localhost:3000能进入如下页面则说明json server启动成功了

现在找到config文件夹下的index.js文件,在dev配置中找到proxyTable:{} 并在其中配置
'/api':{
  changeOrigin:true, //示范允许跨域
  target:"http://localhost:3000", //接口的域名
  pathRewrite:{
    '^/api':'' //后面使用重写的新路径,一般不做更改
  }
}
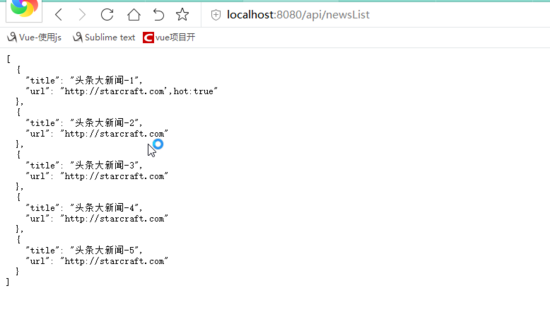
现在可以使用localhost:8080/api/apiName 请求json数据了

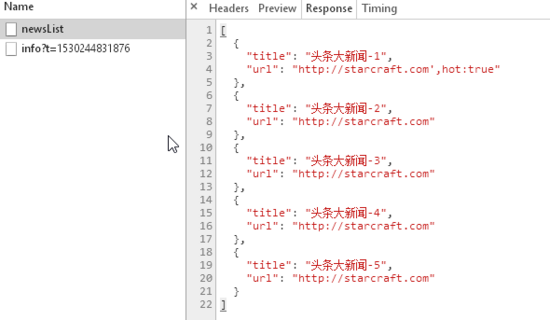
在项目中通过resource插件进行ajax请求
在data (){}前使用钩子函数created:function(){
  this.$http.get('/api/newsList')
    .then(function(res){
      this.newsList = res.data //赋值给data中的newsList
    },function(err){
      console.log(err)
    })
}

2.使用express(可以使用post请求)
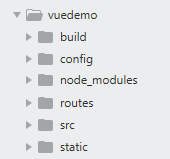
在项目中新建routes文件并在其中新建api.js,内容如下:
const express = require('express')
const router = express.Router()
const apiData = require('../db.json')
router.post('/:name',(req,res)=>{
  if(apiData[req.params.name]){
    res.json({
      'error':'0',
      data:apiData[req.params.name]
    })
  }else{
    res.send('no such a name')
  }
})
接下来找到build目录下的webpack.dev.conf.js文件,在const portfinder = require('portfinder')后面引入express,如下:
const express = require('express')
 const app = express()
 const api = require('../routes/api.js')
 app.use('/api',api)
 app.listen(3000)
现在找到config文件夹下的index.js文件,在dev配置中找到proxyTable:{} 并在其中配置
'/api':{
  changeOrigin:true, //示范允许跨域
  target:"http://localhost:3000", //接口的域名
  pathRewrite:{
    '^/api':'/api' //后面使用重写的新路径,一般不做更改
  }
}
重启之后,便可以post请求访问数据了.
总结
以上所述是小编给大家介绍的vue-cli中模拟数据的两种方法,希望对大家有所帮助,如果大家有任何疑问请给我留言,小编会及时回复大家的。在此也非常感谢大家对我们网站的支持!
赞 (0)

