Android TabLayout 自定义样式及使用详解
目录
- 基本使用
- XML静态设置TabItem
- 联动ViewPager2动态设置TabItem
- 1. Activity布局代码
- 2. 创建三个Fragment给ViewPager2设置
- 3. Fragment对应XML布局
- 4. 绑定起来
- 最终效果
- 根据数据源动态生成TabItem
- 1.Activity布局代码
- 2. Activity代码
- 最终效果
- 修改TabLayout背景颜色
- 修改indicator
- layer-list
- 制作圆形的indicator
- 制作圆角矩形indicator
- 修改边距
- 修改tabBackground
- 修改文字
基本使用
在Android 开发中TabLayout 是一个非常常用的控件,并且很多情况下Tablayout中的indicator样式也会做一些修改而不是用自带的Theme样式,这篇文章主要就是记录一下如何自定义样式以及基本的使用
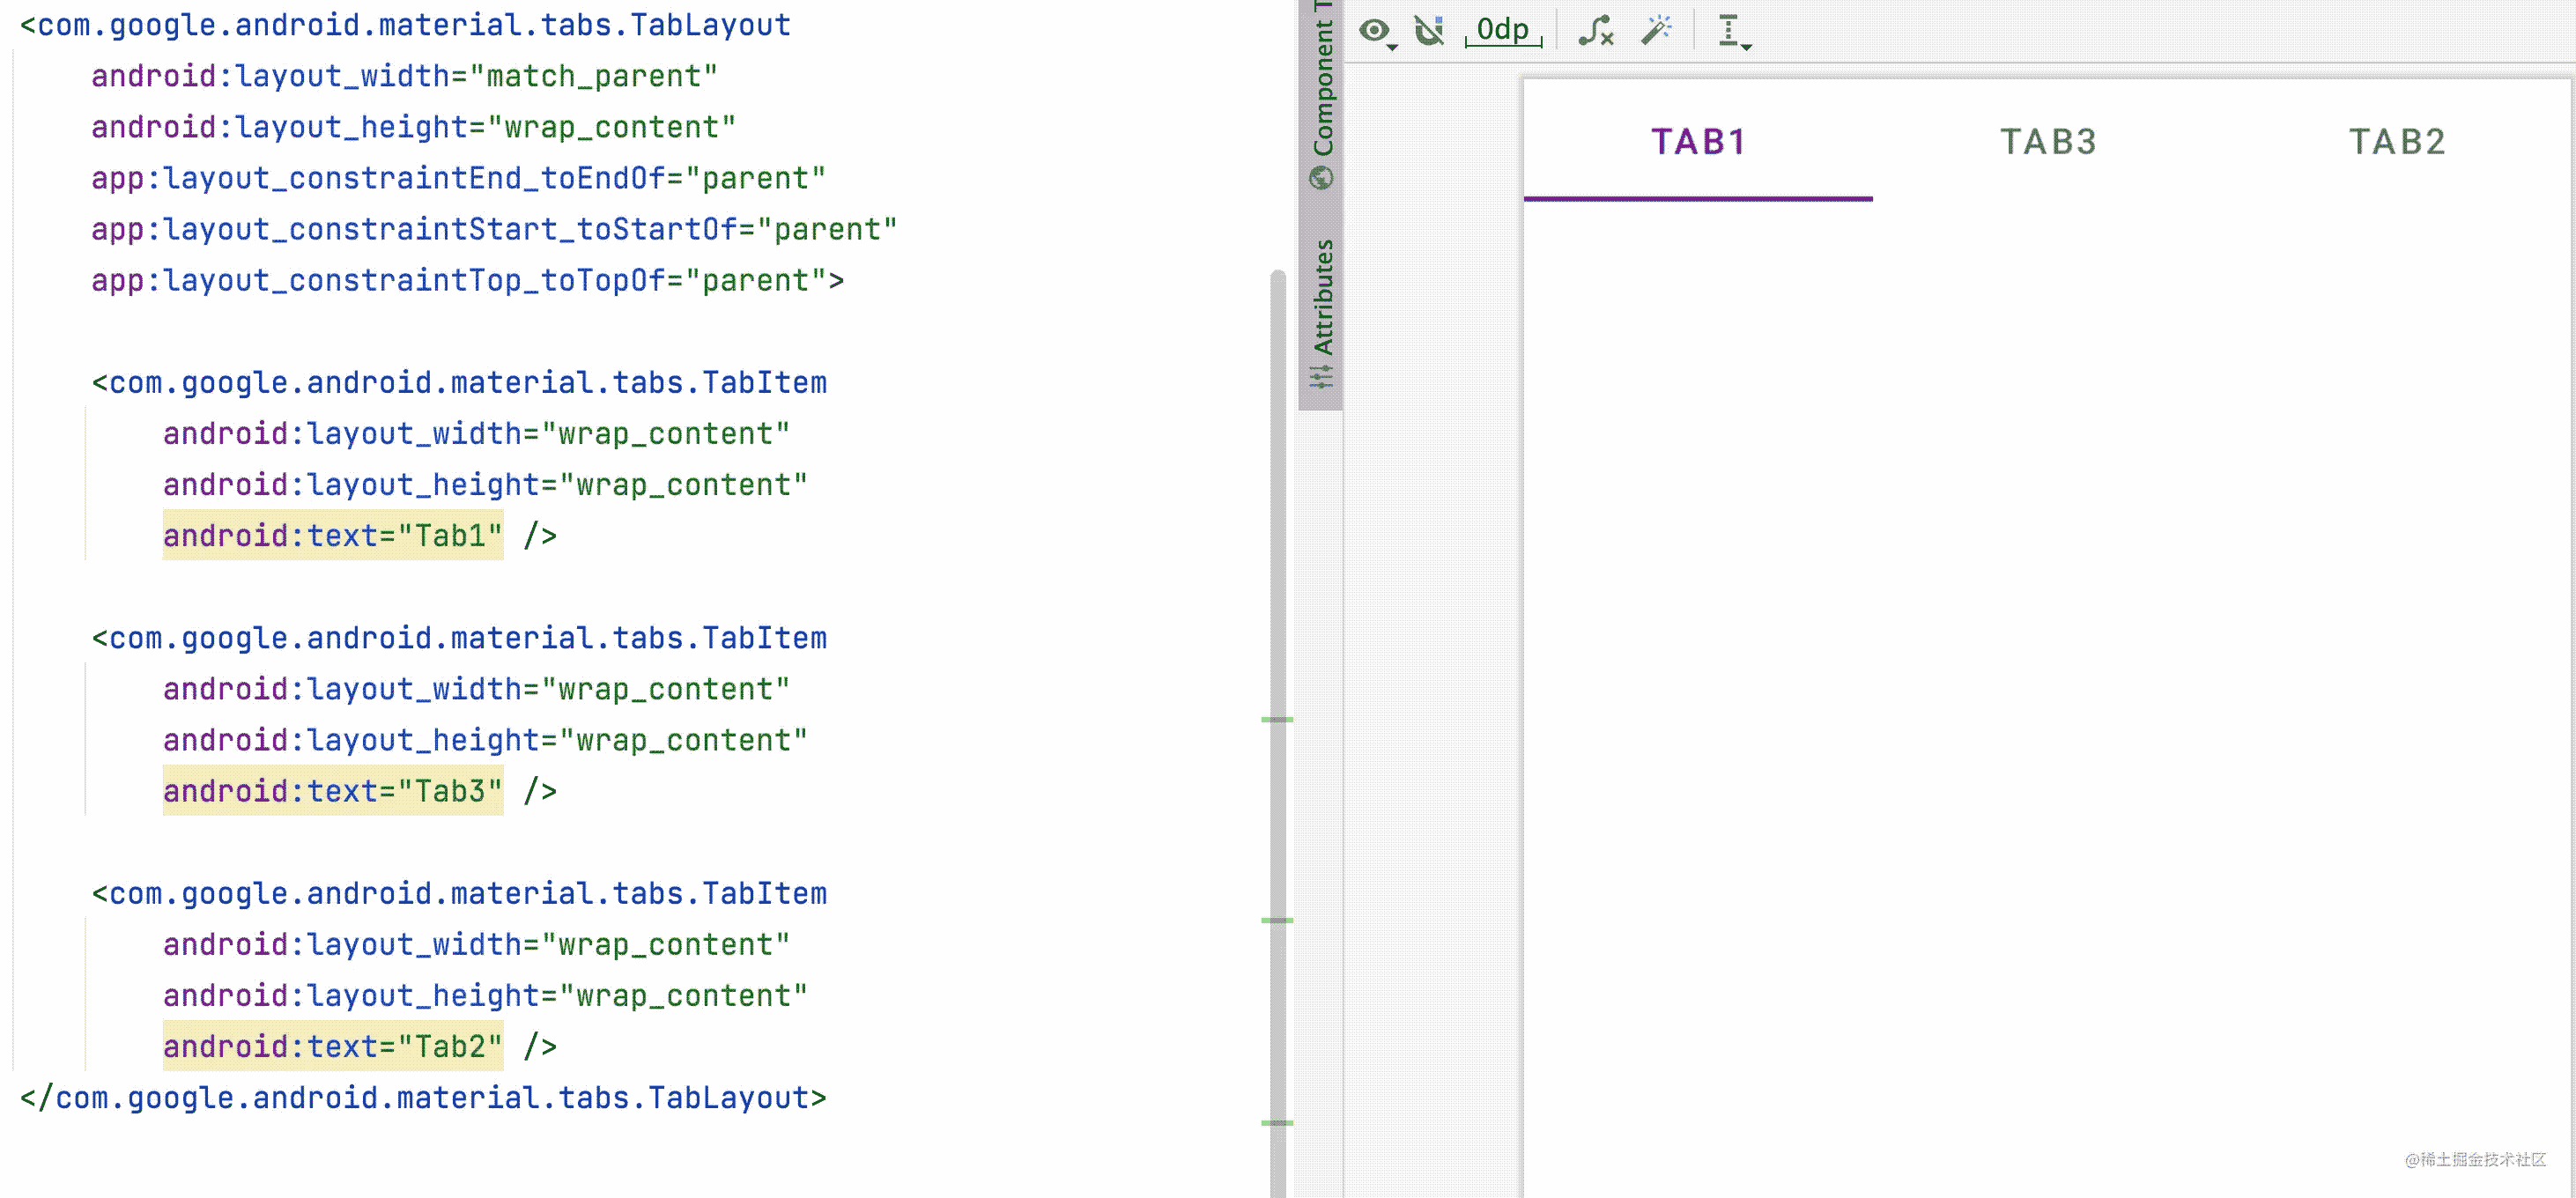
首先TabLayout是可以直接在XML中创建TabItem的,但是日常的使用情况下都是根据数据源或者与ViewPager2等控件一起联动使用,然后根据数据源或者ViewPager2的标题进行动态的设置TabItem。
XML静态设置TabItem
<com.google.android.material.tabs.TabLayout
    android:layout_width="match_parent"
    android:layout_height="wrap_content"
    app:layout_constraintEnd_toEndOf="parent"
    app:layout_constraintStart_toStartOf="parent"
    app:layout_constraintTop_toTopOf="parent">
    <com.google.android.material.tabs.TabItem
        android:layout_width="wrap_content"
        android:layout_height="wrap_content"
        android:text="Tab1" />
    <com.google.android.material.tabs.TabItem
        android:layout_width="wrap_content"
        android:layout_height="wrap_content"
        android:text="Tab3" />
    <com.google.android.material.tabs.TabItem
        android:layout_width="wrap_content"
        android:layout_height="wrap_content"
        android:text="Tab2" />
</com.google.android.material.tabs.TabLayout>

接下来就是根据Tablayout获取TabItem然后做一系列操作,这里就不演示了
联动ViewPager2动态设置TabItem
本篇文章只记录ViewPager2联动TabLayout,ViewPager联动起来也大差不差
1. Activity布局代码
<com.google.android.material.tabs.TabLayout
    android:id="@+id/tabLayout"
    android:layout_width="match_parent"
    android:layout_height="wrap_content"
    app:layout_constraintEnd_toEndOf="parent"
    app:layout_constraintStart_toStartOf="parent"
    app:layout_constraintTop_toTopOf="parent" />
<androidx.viewpager2.widget.ViewPager2
    android:id="@+id/pager"
    android:layout_width="match_parent"
    android:layout_height="0dp"
    app:layout_constraintBottom_toBottomOf="parent"
    app:layout_constraintTop_toBottomOf="@+id/tabLayout" />
2. 创建三个Fragment给ViewPager2设置

3. Fragment对应XML布局
每个Fragment对应的XML布局可以自行发挥,这里我就直接使用居中TextView。
<FrameLayout xmlns:android="http://schemas.android.com/apk/res/android"
    xmlns:tools="http://schemas.android.com/tools"
    android:layout_width="match_parent"
    android:layout_height="match_parent"
    tools:context=".fragment.FirstFragment">
    <TextView
        android:layout_width="match_parent"
        android:layout_height="match_parent"
        android:gravity="center"
        android:text="First"
        android:textColor="@color/black"
        android:textSize="20sp" />
</FrameLayout>
4. 绑定起来
Activity代码
class MainActivity : AppCompatActivity(R.layout.activity_main) {
    private val tabLayout: TabLayout by lazy { findViewById(R.id.tabLayout) }
    private val pager: ViewPager2 by lazy { findViewById(R.id.pager) }
    override fun onCreate(savedInstanceState: Bundle?) {
        super.onCreate(savedInstanceState)
        pager.adapter = MyPagerAdapter(this)
        // 联动
        TabLayoutMediator(tabLayout, pager) { tab, position ->
            when (position) {
                0 -> tab.text = "First"
                1 -> tab.text = "Second"
                2 -> tab.text = "Third"
            }
        }.attach()
    }
}
class MyPagerAdapter(fActivity: FragmentActivity) :
    androidx.viewpager2.adapter.FragmentStateAdapter(fActivity) {
    override fun getItemCount() = 3
    override fun createFragment(position: Int) = when (position) {
        0 -> FirstFragment()
        1 -> SecondFragment()
        2 -> ThirdFragment()
        else -> FirstFragment()
    }
}
最终效果

根据数据源动态生成TabItem
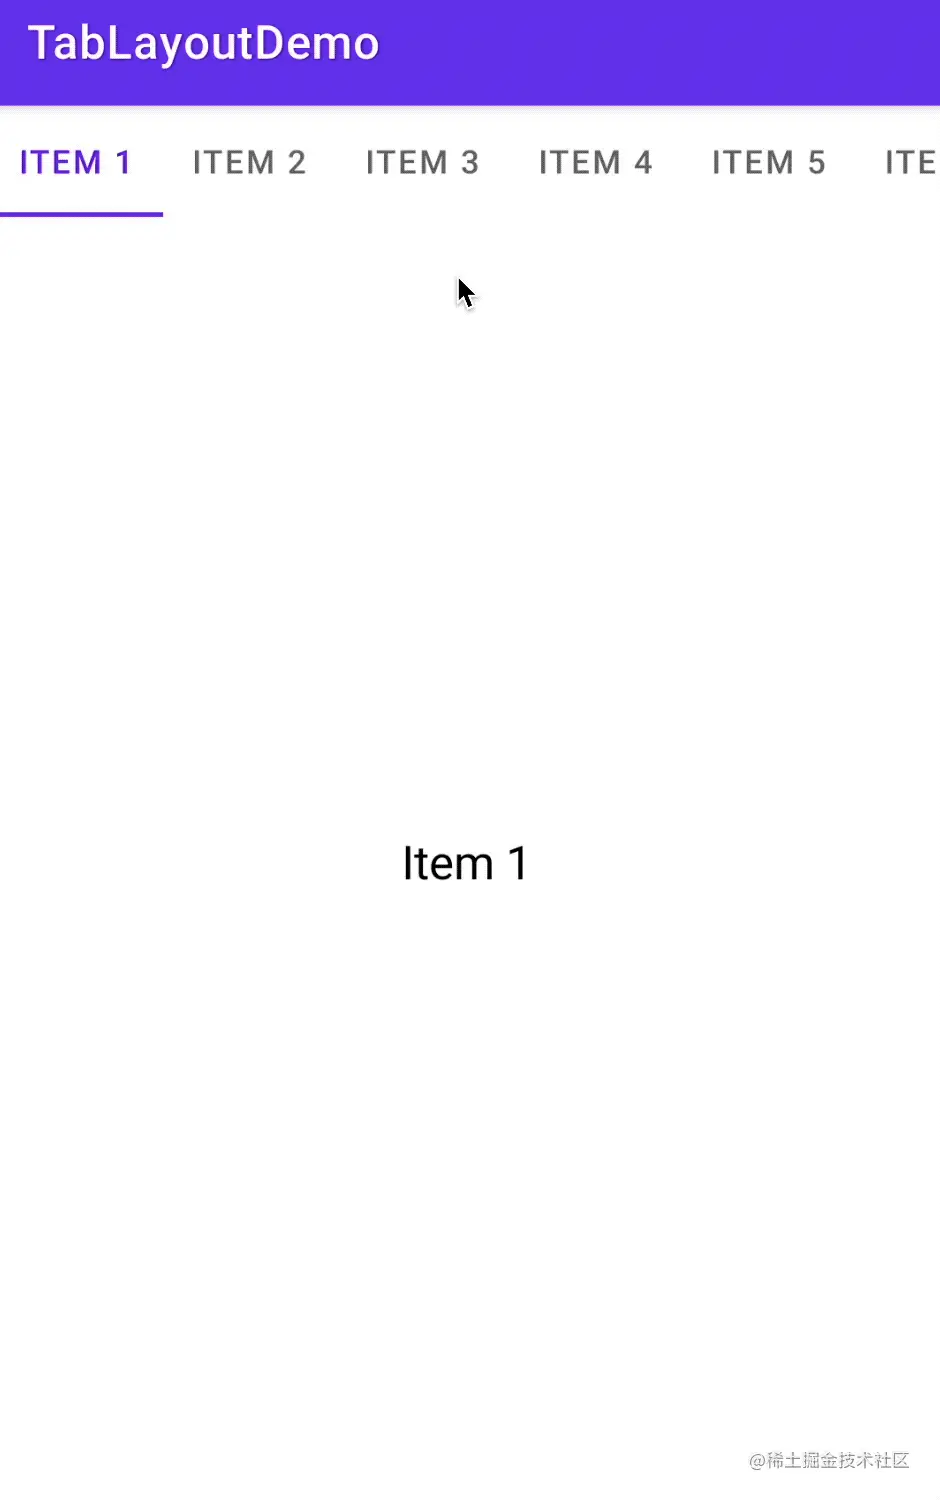
这一种使用方式也是非常常用的,有时候一个商品的分类,可以把类别标题渲染到TabLayout的TabItem中,然后**根据TabLayout选中了哪个TabItem去请求选中类别的数据*
1.Activity布局代码
为了方便这里就不联动RecyclerView进行演示了,直接用一个TextView,当点击了TabLayout中的TabItem改变TextView文字标题。感兴趣可以自行进行扩展。
<androidx.constraintlayout.widget.ConstraintLayout xmlns:android="http://schemas.android.com/apk/res/android"
    xmlns:app="http://schemas.android.com/apk/res-auto"
    xmlns:tools="http://schemas.android.com/tools"
    android:layout_width="match_parent"
    android:layout_height="match_parent"
    tools:context=".MainActivity">
    <com.google.android.material.tabs.TabLayout
        android:id="@+id/tabLayout"
        android:layout_width="match_parent"
        android:layout_height="wrap_content"
        app:layout_constraintEnd_toEndOf="parent"
        app:layout_constraintStart_toStartOf="parent"
        app:layout_constraintTop_toTopOf="parent"
        app:tabMode="scrollable" />
    <TextView
        android:id="@+id/title_tv"
        android:layout_width="wrap_content"
        android:layout_height="wrap_content"
        android:textColor="@color/black"
        android:textSize="20sp"
        app:layout_constraintBottom_toBottomOf="parent"
        app:layout_constraintEnd_toEndOf="parent"
        app:layout_constraintStart_toStartOf="parent"
        app:layout_constraintTop_toBottomOf="@+id/tabLayout" />
</androidx.constraintlayout.widget.ConstraintLayout>
2. Activity代码
class MainActivity : AppCompatActivity(R.layout.activity_main) {
    private val data = ArrayList<String>().apply {
        for (i in 0 until 40) {
            add("Item ${i + 1}")
        }
    }
    private val tabLayout: TabLayout by lazy { findViewById(R.id.tabLayout) }
    private val title: TextView by lazy { findViewById(R.id.title_tv) }
    private var currentPosition = 0
    override fun onCreate(savedInstanceState: Bundle?) {
        super.onCreate(savedInstanceState)
        data.forEach {
            tabLayout.addTab(tabLayout.newTab().setText(it))
        }
        title.text = data[currentPosition]
        tabLayout.addOnTabSelectedListener(object : TabLayout.OnTabSelectedListener {
            override fun onTabSelected(tab: TabLayout.Tab?) {
                tab?.let {
                    currentPosition = it.position
                    title.text = data[currentPosition]
                }
            }
            override fun onTabUnselected(tab: TabLayout.Tab?) {
            }
            override fun onTabReselected(tab: TabLayout.Tab?) {
            }
        })
    }
}
最终效果

修改TabLayout背景颜色
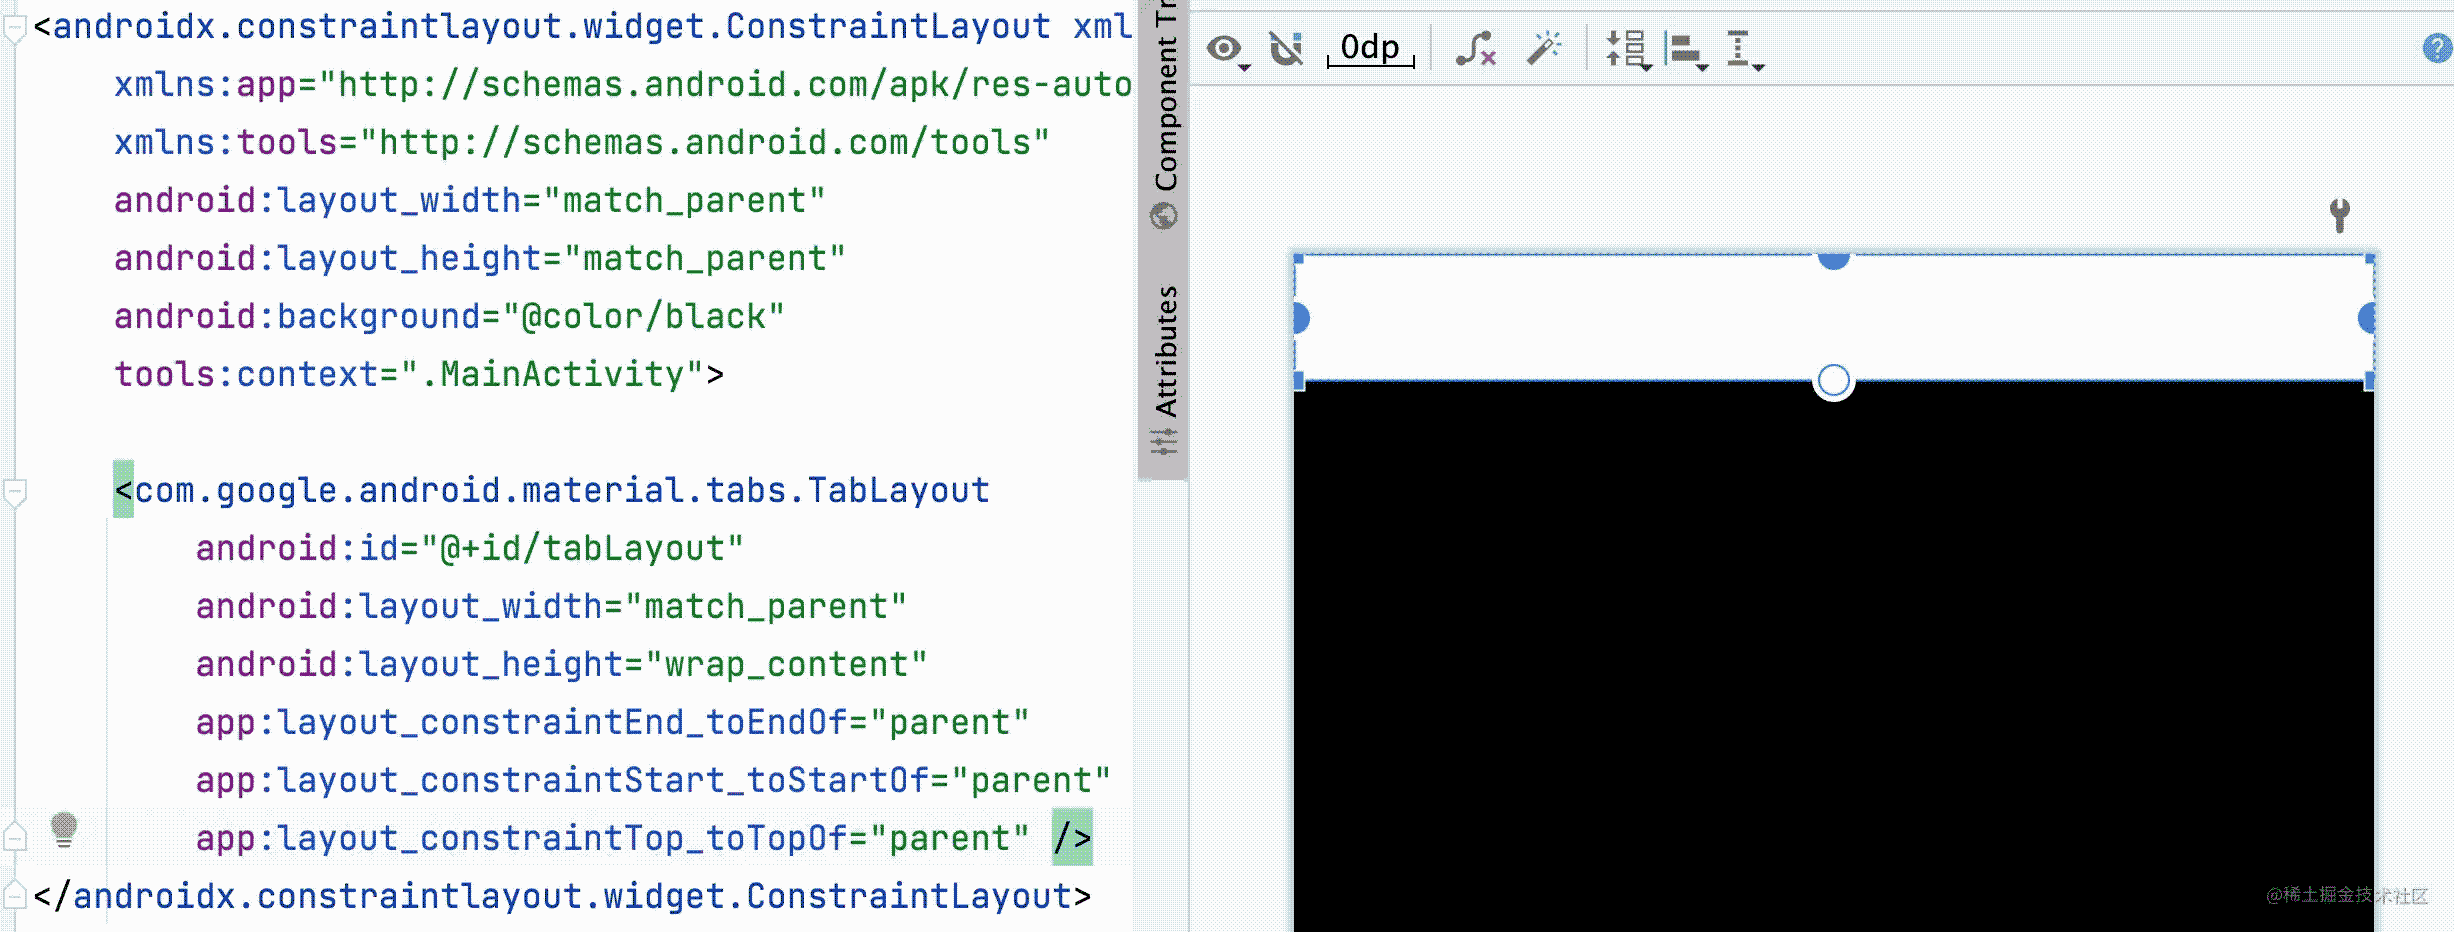
TabLayout的背景颜色默认是白色的,可以通过修改父布局的背景颜色看出来

调用属性background就可以修改,我这里修改成蓝色,要修改成透明也一样直接设置就ok
<com.google.android.material.tabs.TabLayout
    android:id="@+id/tabLayout"
    android:layout_width="match_parent"
    android:layout_height="wrap_content"
    android:background="#03A9F4"
    app:layout_constraintEnd_toEndOf="parent"
    app:layout_constraintStart_toStartOf="parent"
    app:layout_constraintTop_toTopOf="parent" />

修改indicator
自定义Indicator样式可以使用layer-list,修改TabItem的字体可以使用Theme,简单的样式修改可以通过自带的属性进行完成。
layer-list
layer-list 是DrawableResource的一种。可以通过它对indicator实现设置边距,形状(圆角矩形 圆形),宽度以及高度
制作圆形的indicator
很多时候indicator的形状不是简单的一条横线,有各种各样的形状,这里就以圆形举例,创建一个layer-list文件然后在TabLayout的tabIndicator属性设置上去就可以了
<layer-list xmlns:android="http://schemas.android.com/apk/res/android">
    <!-- 注意设置gravity为center,因为默认左对齐 -->
    <item android:gravity="center">
        <shape android:shape="oval">
            <size
                android:width="4dp"
                android:height="4dp" />
        </shape>
    </item>
</layer-list>
<com.google.android.material.tabs.TabLayout
    android:id="@+id/tabLayout"
    android:layout_width="match_parent"
    android:layout_height="wrap_content"
    app:tabIndicator="@drawable/indicator_circle_shape">
最终效果就是这样,点击的时候也一样支持滑动的动画效果

制作圆角矩形indicator
<layer-list xmlns:android="http://schemas.android.com/apk/res/android">
    <item>
        <shape>
            <corners android:radius="4dp" />
            <size android:height="4dp" />
        </shape>
    </item>
</layer-list>
<com.google.android.material.tabs.TabLayout
    android:id="@+id/tabLayout"
    android:layout_width="match_parent"
    android:layout_height="wrap_content"
    app:tabIndicatorFullWidth="false"
    app:tabIndicator="@drawable/indicator_full_tab_shape">
最终效果

注意
layer-list里面设置颜色是无效的,如果需要设置颜色可以直接在TabLayout的tabIndicatorColor设置颜色
修改边距
直接在layer-list文件中指定一下 left right top bottom 属性就可以
这里设置距离底部8dp
<layer-list xmlns:android="http://schemas.android.com/apk/res/android">
    <item android:bottom="8dp">
        <shape>
            <corners android:radius="4dp" />
            <size android:height="4dp" />
        </shape>
    </item>
</layer-list>
就会发现距离文字近了一点,left 和 right 的使用也很简单,指定好就行
最终效果

修改tabBackground
光通过修改indicator很多时候还满足所有的需求,比如有时候需要这种样式只修改indicator也能达到,指定下高度以及形状就ok,但是其实还有更好的方法就是使用tabBackground

实现上图效果可以写一个selector文件,最后修改文字颜色即可
注意: 在使用selector修改tabBackground的时候可以在当中修改颜色,这一点和修改indicator有差别
<selector xmlns:android="http://schemas.android.com/apk/res/android">
    <item android:state_selected="true">
        <shape>
            <solid android:color="@color/design_default_color_primary" />
        </shape>
    </item>
    <item android:state_selected="false">
        <shape>
            <solid android:color="@android:color/transparent" />
        </shape>
    </item>
</selector>
<com.google.android.material.tabs.TabLayout
    android:id="@+id/tabLayout"
    app:tabSelectedTextColor="@color/white"
    app:tabTextColor="#C6C6C6"
    android:layout_width="match_parent"
    android:layout_height="wrap_content"
    app:tabBackground="@drawable/tab_bg">
如果想要添加圆角直接在selector中指定即可,如果要做成描边也一样

<selector xmlns:android="http://schemas.android.com/apk/res/android">
    <item android:state_selected="true">
        <shape>
            <stroke android:width="1dp" android:color="@color/design_default_color_primary" />
        </shape>
    </item>
    <item android:state_selected="false">
        <shape>
            <solid android:color="@android:color/transparent" />
        </shape>
    </item>
</selector>
<com.google.android.material.tabs.TabLayout
    android:id="@+id/tabLayout"
    android:layout_width="match_parent"
    android:layout_height="wrap_content"
    app:tabBackground="@drawable/tab_bg"
修改文字
tab的文字默认是全大写,可以自己写一个style然后设置tabTextAppearance属性中即可,或者修改文字大小也是一样的操作
<style name="MyTabTextStyle" parent="@android:style/TextAppearance.Widget.TabWidget">
    <item name="textAllCaps">false</item>
    <item name="android:textSize">20sp</item>
</style>
<com.google.android.material.tabs.TabLayout
    android:id="@+id/tabLayout"
    android:layout_width="match_parent"
    android:layout_height="wrap_content"
    app:tabBackground="@drawable/tab_bg"
    app:tabTextAppearance="@style/MyTabTextStyle">
最终效果

以上就是Android TabLayout 自定义样式及使用详解的详细内容,更多关于Android TabLayout 自定义样式的资料请关注我们其它相关文章!

