快速上手IOS UIBezierPath(贝塞尔曲线)
UIBezierPath主要用来绘制矢量图形,它是基于Core Graphics对CGPathRef数据类型和path绘图属性的一个封装,所以是需要图形上下文的(CGContextRef),所以一般UIBezierPath在drawRect中使用。
使用方法
UIBezierPath 是对 CGPathRef 的封装。创建矢量图形时,拆解成一或多条线段,拼接起来,每条线段的终点都是下一条线段的起点。
具体地:
1.创建一个 UIBezierPath 对象
2.用 moveToPoint: 设置初始线段的起点
3.添加线段,定义一或多个子路径
4.修改 UIBezierPath 的绘图相关的属性,比如stroke path的属性 lineWidth 和 lineJoinStyle ,filled path的属性 usesEvenOddFillRule
注意:如果是矩形或者圆之类的特殊图形,可以不用第2步。
代码案例
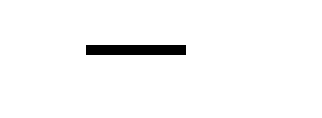
画直线
UIBezierPath *path = [UIBezierPath bezierPath];
[path moveToPoint:CGPointMake(50, 50)];
[path addLineToPoint:CGPointMake(100, 50)];
path.lineWidth = 5.0f;
path.lineJoinStyle = kCGLineJoinRound;
[path stroke];
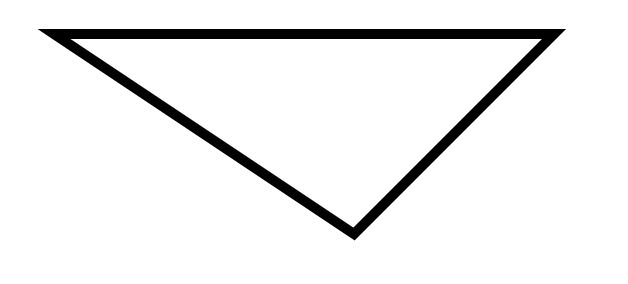
创建三角形
UIBezierPath *path = [UIBezierPath bezierPath];
[path moveToPoint:CGPointMake(50, 50)];
[path addLineToPoint:CGPointMake(300, 50)];
[path addLineToPoint:CGPointMake(200, 150)];
// 最后的闭合线是可以通过调用closePath方法来自动生成的,也可以调用-addLineToPoint:方法来添加
// [path addLineToPoint:CGPointMake(50, 50)];
[path closePath];
path.lineWidth = 5.0f;
[path stroke];
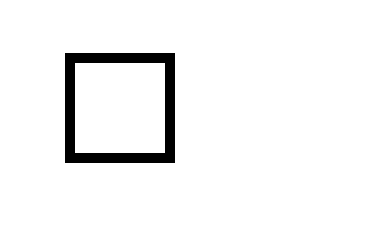
创建矩形
UIBezierPath *path = [UIBezierPath bezierPathWithRect:CGRectMake(50, 100, 50, 50)];
path.lineWidth = 5.0f;
[path stroke];
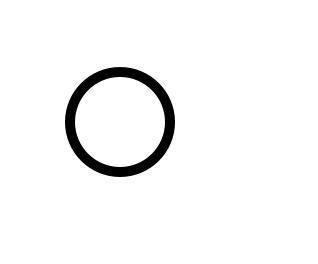
创建内切曲线
UIBezierPath *path = [UIBezierPath bezierPathWithOvalInRect:CGRectMake(50, 200, 50, 50)];
path.lineWidth = 5.0f;
[path stroke];
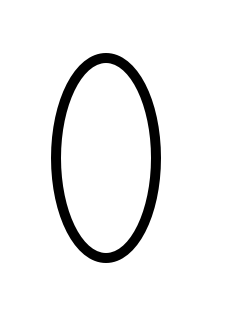
 UIBezierPath *path = [UIBezierPath bezierPathWithOvalInRect:CGRectMake(50, 200, 50, 100)];
 path.lineWidth = 5.0f;
 [path stroke];
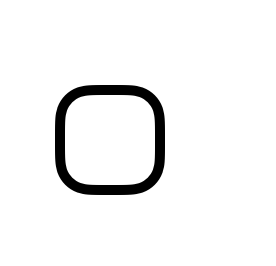
创建带有圆角的矩形,当矩形变成正圆的时候,Radius就不再起作用
UIBezierPath *path = [UIBezierPath bezierPathWithRoundedRect:CGRectMake(50, 300, 50, 50) cornerRadius:15.0f];
path.lineWidth = 5.0f;
[path stroke];
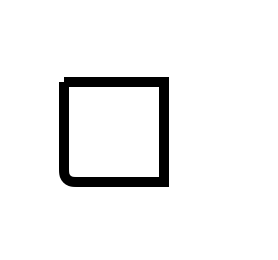
设定特定的角为圆角的矩形
UIBezierPath *path = [UIBezierPath bezierPathWithRoundedRect:CGRectMake(50, 400, 50, 50) byRoundingCorners:UIRectCornerBottomLeft cornerRadii:CGSizeMake(5,5)];
path.lineWidth = 5.0f;
[path stroke];
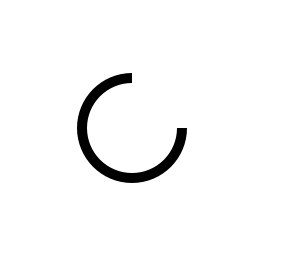
创建圆弧
UIBezierPath *path = [UIBezierPath bezierPathWithArcCenter:CGPointMake(100, 550) radius:25 startAngle:0 endAngle:1.5*M_PI clockwise:YES];
path.lineWidth = 5.0f;
[path stroke];
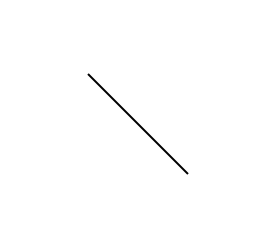
通过路径A创建路径B
UIBezierPath *path_A = [UIBezierPath bezierPath];
[path_A moveToPoint:CGPointMake(200, 50)];
[path_A addLineToPoint:CGPointMake(250, 100)];
path_A.lineWidth = 5.0f;
UIBezierPath *path_B = [UIBezierPath bezierPathWithCGPath:path_A.CGPath];
[path_B stroke];
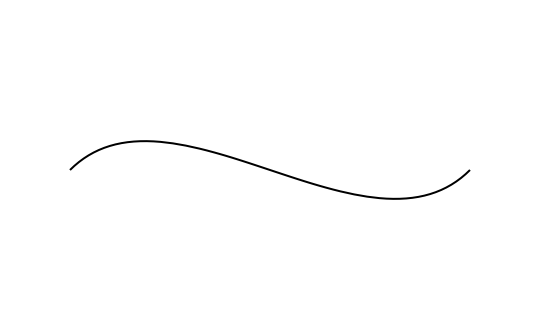
创建三次贝塞尔曲线
UIBezierPath *path = [UIBezierPath bezierPath];
[path moveToPoint:CGPointMake(100, 200)];
[path addCurveToPoint:CGPointMake(300, 200) controlPoint1:CGPointMake(150, 150) controlPoint2:CGPointMake(250, 250)];
[path stroke];
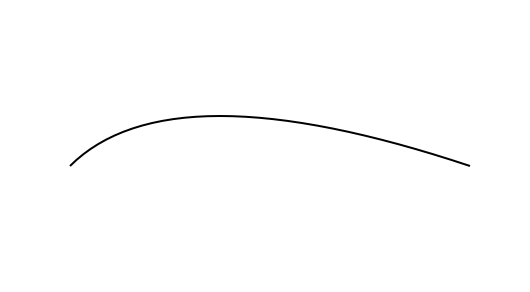
创建二次贝塞尔曲线
UIBezierPath *path = [UIBezierPath bezierPath];
[path moveToPoint:CGPointMake(100, 200)];
[path addQuadCurveToPoint:CGPointMake(300, 200) controlPoint:CGPointMake(150, 150)];
[path stroke];
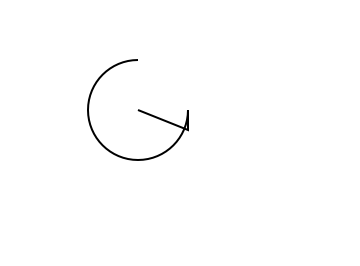
添加圆弧
 UIBezierPath *path = [UIBezierPath bezierPath];
 [path moveToPoint:CGPointMake(200, 400)];
 [path addLineToPoint:CGPointMake(225, 410)];
 [path addArcWithCenter:CGPointMake(200, 400) radius:25 startAngle:0 endAngle:1.5*M_PI clockwise:YES];
// [path closePath];
// [path removeAllPoints];
 [path stroke];
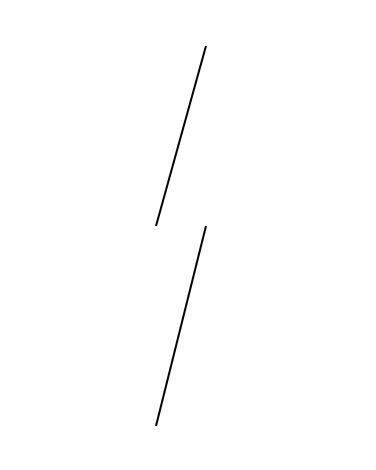
追加路径
UIBezierPath *path_A = [UIBezierPath bezierPath];
[path_A moveToPoint:CGPointMake(200, 500)];
[path_A addLineToPoint:CGPointMake(225, 410)];
UIBezierPath *path_B = [UIBezierPath bezierPath];
[path_B moveToPoint:CGPointMake(200, 600)];
[path_B addLineToPoint:CGPointMake(225, 500)];
[path_A appendPath:path_B];
[path_A stroke];
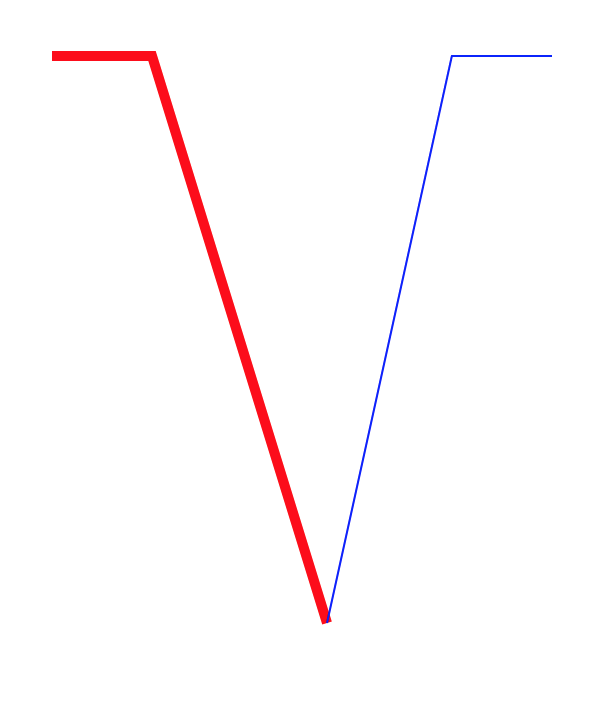
创建翻转路径,即起点变成终点,终点变成起点
 UIBezierPath *path = [UIBezierPath bezierPath];
 [path moveToPoint:CGPointMake(50, 50)];
 [path addLineToPoint:CGPointMake(100, 50)];
 path.lineWidth = 5.0f;
 NSLog(@"%@",NSStringFromCGPoint(path.currentPoint));
 UIBezierPath *path_b = [path bezierPathByReversingPath];
 CGAffineTransform transform = CGAffineTransformMakeTranslation(200, 0);
 [path_b applyTransform: transform];
 // 两条路径分别添加一条直接到 self.center
 [path addLineToPoint: CGPointMake(self.frame.size.width*0.5, self.frame.size.height*0.5)];
 [path_b addLineToPoint: CGPointMake(self.frame.size.width*0.5, self.frame.size.height*0.5)];
 NSLog(@"%@",NSStringFromCGPoint(path_b.currentPoint));
 [[UIColor redColor] set];
 [path stroke];
 [[UIColor blueColor] set];
 [path_b stroke];
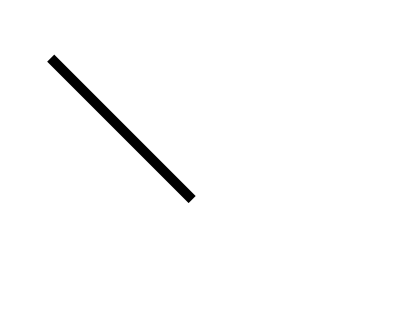
路径进行仿射变换
 UIBezierPath *path = [UIBezierPath bezierPath];
 [path moveToPoint:CGPointMake(100, 50)];
 [path addLineToPoint:CGPointMake(200, 50)];
 CGAffineTransform transform = CGAffineTransformRotate(self.transform, M_PI_4);
 [path applyTransform:transform];
 path.lineWidth = 5.0f;
 [path stroke];
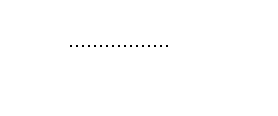
创建虚线
CGFloat dashStyle[] = {1.0f, 2.0f};
UIBezierPath *path = [UIBezierPath bezierPath];
[path moveToPoint:CGPointMake(50, 50)];
[path addLineToPoint:CGPointMake(100, 50)];
[path setLineDash:dashStyle count:2 phase:0.0];
[path stroke];
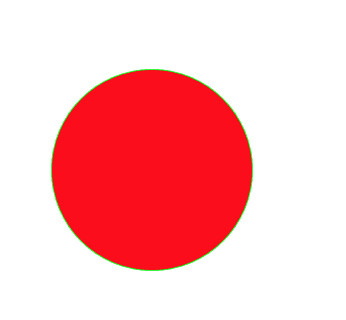
设置颜色
UIBezierPath *path = [UIBezierPath bezierPathWithOvalInRect:CGRectMake(100, 100, 100, 100)];
[[UIColor greenColor] setStroke];
[[UIColor redColor] setFill];
[path stroke];
[path fill];
设置描边混合模式
UIBezierPath *path = [UIBezierPath bezierPathWithOvalInRect:CGRectMake(100, 100, 100, 100)];
[[UIColor greenColor] setStroke];
path.lineWidth = 10.0f;
[path strokeWithBlendMode:kCGBlendModeSaturation alpha:1.0];
[path stroke];

UIBezierPath *path = [UIBezierPath bezierPathWithOvalInRect:CGRectMake(100, 100, 100, 100)];
 [[UIColor redColor] setFill];
 [path fillWithBlendMode:kCGBlendModeSaturation alpha:0.6];
 [path fill];

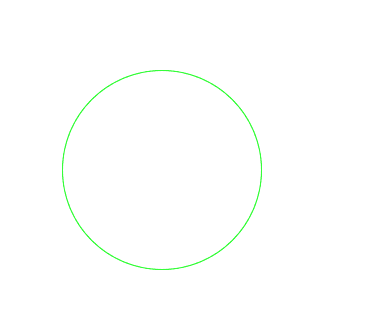
修改当前图形上下文的绘图区域可见,随后的绘图操作导致呈现内容只有发生在指定路径的填充区域
UIBezierPath *path = [UIBezierPath bezierPathWithOvalInRect:CGRectMake(100, 100, 100, 100)];
[[UIColor greenColor] setStroke];
[path addClip];
[path stroke];
结语
关于UIBezierPath的简单介绍就到这了,主要是用代码做了展示,属性跟方法,没详细去介绍,我觉得可以直接看苹果的api写的也蛮清楚的.或者自己试试不同的参数样式也能大概理解了.
核心动画跟贝赛尔曲线都有了简单的介绍了,接下来就可以动手做点简单的自定义动画了.
以上就是本文的全部内容,希望本文的内容对大家的学习或者工作能带来一定的帮助,同时也希望多多支持我们!

