nginx容器配置文件独立的实现
创建一个容器
[root@server1 ~]# docker run -it --name nginx1 -v /opt/data/web2:/web -p 81:80  centos:latest /bin/bash
[root@608de4875036 /]#
进入web目录,下载nginx包
[root@608de4875036 web]# wget http://nginx.org/download/nginx-1.20.1.tar.gz
解压目录
[root@608de4875036 web]# ls
nginx-1.20.1  nginx-1.20.1.tar.gz
安装依赖包
[root@608de4875036 web]# yum -y install pcre-devel openssl openssl-devel gd-devel gcc gcc-c++  make
[root@608de4875036 web]# yum -y groups mark install 'Development Tools'
创建用户
[root@608de4875036 web]# useradd -r -M -s /sbin/nologin nginx
[root@608de4875036 web]# id nginx
uid=998(nginx) gid=996(nginx) groups=996(nginx)
创建日志存放文件地址
[root@6ad47178bdd6 web]# mkdir log
编译安装
[root@608de4875036 web]# ls
log  nginx-1.20.1  nginx-1.20.1.tar.gz
[root@608de4875036 web]# cd  nginx-1.20.1
[root@608de4875036 nginx-1.20.1]# ls
auto        conf       html     README
CHANGES     configure  LICENSE  src
CHANGES.ru  contrib    man

[root@608de4875036 nginx-1.20.1]# ./configure \
--prefix=/web/nginx \
--user=nginx \
--group=nginx \
--with-debug \
--with-http_ssl_module \
--with-http_realip_module \
--with-http_image_filter_module \
--with-http_gunzip_module \
--with-http_gzip_static_module \
--with-http_stub_status_module \
--http-log-path=/web/log/access.log \
--error-log-path=/web/log/error.log

[root@608de4875036 nginx-1.20.1]# make && make install
查看目录
[root@6ad47178bdd6 web]# ls
log  nginx  nginx-1.20.1  nginx-1.20.1.tar.gz

[root@608de4875036 web]# cd  nginx
[root@608de4875036 nginx]# ls
conf  html  logs  sbin
配置环境变量
[root@608de4875036 nginx]# ls
conf  html  logs  sbin
[root@608de4875036 nginx]# cd  sbin/
[root@608de4875036 sbin]# ls
nginx
[root@608de4875036 sbin]# pwd
/web/nginx/sbin

[root@608de4875036 sbin]# echo "export PATH=/web/nginx/sbin:\$PATH" > /etc/profile.d/nginx.sh
[root@608de4875036 sbin]# source /etc/profile.d/nginx.sh
[root@608de4875036 sbin]# which nginx
/web/nginx/sbin/nginx
启动服务
[root@608de4875036 sbin]# ss -antl
State    Recv-Q   Send-Q       Local Address:Port             Peer Address:Port         Process
LISTEN   0        128                0.0.0.0:80                    0.0.0.0:*
在容器上查看服务
[root@608de4875036 web]# ls
nginx  nginx-1.20.1  nginx-1.20.1.tar.gz
[root@608de4875036 web]# cd  nginx
[root@608de4875036 nginx]# ls
client_body_temp  html        sbin
conf              logs        scgi_temp
fastcgi_temp      proxy_temp  uwsgi_temp
在宿主机上查看
[root@server1 ~]# cd  /opt/data/
[root@server1 data]# ls
web1  web2
[root@server1 data]# cd web2
[root@server1 web2]# ls
log  nginx  nginx-1.20.1  nginx-1.20.1.tar.gz

[root@server1 web2]# cd  nginx
[root@server1 nginx]# ls
client_body_temp  html        sbin
conf              logs        scgi_temp
fastcgi_temp      proxy_temp  uwsgi_temp
可以看到数据已同步
在宿主上上修改配置文件
创建一个名为xy的目录,把游戏代码复制到这个目录下
[root@server1 html]# pwd
/opt/data/web2/nginx/html
[root@server1 html]# mkdir yx
[root@server1 html]# cd  yx
[root@server1 yx]# ls
image  index.html  js
在创建一个目录test
[root@server1 html]# mkdir test
[root@server1 html]# ls
[root@server1 html]# ls
50x.html  index.html  test  yx
[root@server1 html]# mv 50x.html index.html test/
[root@server1 html]# ls
test  yx
修改nginx.conf配置文件
[root@server1 conf]# vi nginx.conf

........

    server {
         listen       8080;
         server_name  test.example.com;

         location / {
             root   /web/nginx/html/test;  #容器内文件地址
             index  index.html index.htm;
         }
    }

   server {
        listen       80;
        server_name  xy.example.com;

        #charset koi8-r;

        #access_log  logs/host.access.log  main;

        location / {
            root   /web/nginx/html/yx;   #容器内文件地址
            index  index.html index.htm;
        }
.....
但是这样修改有点问题,只映射了一个端口,还有一个端口没有映射
[root@server1 conf]# docker port 608de4875036
80/tcp -> 0.0.0.0:81
80/tcp -> :::81
怎么决绝呢?
把这个容器删掉
[root@server1 ~]# docker stop 608de4875036
608de4875036
[root@server1 ~]# docker rm 608de4875036
608de4875036
这里的数据还在宿主机上
[root@server1 web2]# ls
log nginx  nginx-1.20.1  nginx-1.20.1.tar.gz
重新创建以一容器映射这个目录
[root@server1 ~]# docker run -it --name nginx2 -v /opt/data/web2:/web -p 80:80 -p 8080:8080 centos:latest /bin/bash
[root@6ad47178bdd6 /]#
在宿主机上查看
[root@server1 ~]# docker ps
CONTAINER ID   IMAGE           COMMAND       CREATED          STATUS          PORTS                                                                          NAMES
6ad47178bdd6   centos:latest   "/bin/bash"   23 seconds ago   Up 22 seconds   0.0.0.0:80->80/tcp, :::80->80/tcp, 0.0.0.0:8080->8080/tcp, :::8080->8080/tcp   nginx2
[root@server1 ~]# docker port 6ad47178bdd6
80/tcp -> 0.0.0.0:80
80/tcp -> :::80
8080/tcp -> 0.0.0.0:8080
8080/tcp -> :::8080
在容器里查看数据有没有同步
[root@6ad47178bdd6 /]# ls
bin  home   lost+found  opt   run   sys  var
dev  lib    media       proc  sbin  tmp  web
etc  lib64  mnt         root  srv   usr
[root@6ad47178bdd6 /]# cd  web/
[root@6ad47178bdd6 web]# ls
nginx  nginx-1.20.1  nginx-1.20.1.tar.gz
[root@6ad47178bdd6 web]# cd nginx
[root@6ad47178bdd6 nginx]# ls
client_body_temp  html        sbin
conf              logs        scgi_temp
fastcgi_temp      proxy_temp  uwsgi_temp
#数据以同步
启动服务
#写一个环境变量
[root@6ad47178bdd6 /]# cat /etc/profile.d/nginx.sh
export PATH=/web/nginx/sbin:$PATH
#创建nginx用户
[root@6ad47178bdd6 /]# useradd -r -M -s /sbin/nologin nginx
[root@6ad47178bdd6 /]# nginx
[root@6ad47178bdd6 /]# ss -antl
State    Recv-Q   Send-Q       Local Address:Port             Peer Address:Port         Process
LISTEN   0        128                0.0.0.0:80                    0.0.0.0:*
LISTEN   0        128                0.0.0.0:8080                  0.0.0.0:*
访问192.168.244.145:80
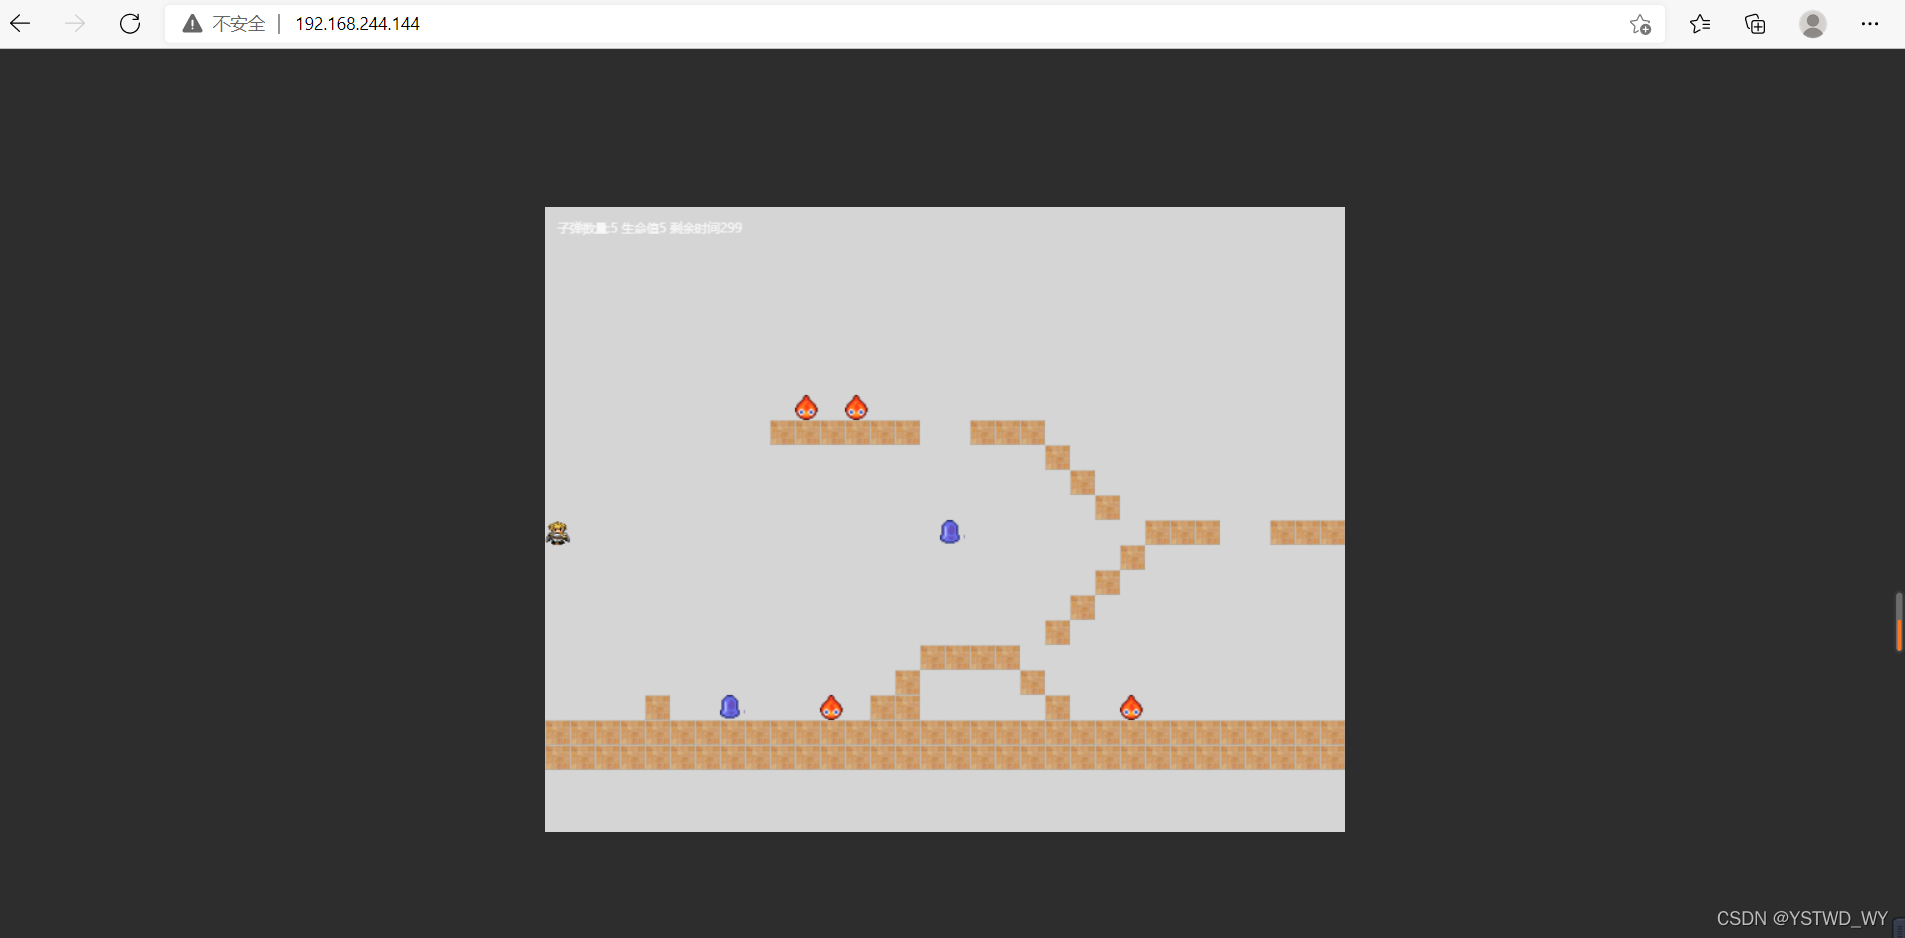
访问192.168.244.145:8080

到此这篇关于nginx容器配置文件独立的实现的文章就介绍到这了,更多相关nginx容器配置文件独立内容请搜索我们以前的文章或继续浏览下面的相关文章希望大家以后多多支持我们!
相关推荐
-
查看nginx配置文件路径和资源文件路径的方法
查看nginx配置文件路径 通过 nginx -t nginx -t命令的原始作用是用来验证nginx配置文件格式和配置是否存在异常,通过该命令会输出nginx的配置文件的路径和验证结果,在输出结果中就可以找到当前的nginx的加载的配置文件的地址,如下所示: nginx -t nginx: the configuration file /etc/nginx/nginx.conf syntax is ok nginx: configuration file /etc/nginx/nginx.co
-
详解nginx 配置文件解读
nginx配置文件主要分为四个部分: main{#(全局设置) http{#服务器 upstream{} #(负载均衡服务器设置:主要用于负载均衡和设置一系列的后端服务器) server{ #(主机设置:主要用于指定主机和端口) location{}#(URL匹配特点位置的设置) } } } server继承main,location继承server,upstream即不会继承其他设置也不会被继承. 一.main 全局配置 nginx在运行时与具体业务功能(比如http服务或者email服务代理
-

Nginx配置文件详解以及优化建议指南
目录 1.概述 2.nginx.conf 1)配置文件位置 2)worker_processes 3)events 4)include 5)sendfile 和 tcp_nopush 6)keepalive_timeout 7)gzip 8)server 9)location的匹配规则详解 3.综述 1.概述 今天来详解一下Nginx的配置文件,以及给出一些配置建议,希望能对大家有所帮助. 2.nginx.conf 1)配置文件位置 nginx 安装目录的 conf 文件夹下,例如:/usr/l
-
详解Nginx 静态文件服务配置及优化
根目录和索引文件 root 指令指定将用于搜索文件的根目录. 为了获取所请求文件的路径,NGINX 将请求 URI 附加到 root 指令指定的路径.该指令可以放在 http {} , server {} 或 location {} 上下文中的任何级别.在下面的示例中,为虚拟服务器定义了 root 指令. 它适用于未包含根指令的所有 location {} 块,以显式重新定义根: server { root /www/data; location / { } location /images/
-
nginx容器配置文件独立的实现
创建一个容器 [root@server1 ~]# docker run -it --name nginx1 -v /opt/data/web2:/web -p 81:80 centos:latest /bin/bash [root@608de4875036 /]# 进入web目录,下载nginx包 [root@608de4875036 web]# wget http://nginx.org/download/nginx-1.20.1.tar.gz 解压目录 [root@608de4875036
-
详解docker nginx 容器启动挂载到本地
首先nginx容器内部的结构: 进入容器: docker exec -it b511b6049f57 bash 查看容器的结构目录:其实每一个容器就相当于一个独立的系统. root@b511b6049f57:/# ls bin dev home lib64 mnt proc run srv tmp var boot etc lib media opt root sbin sys usr nginx的结构目录在容器中: 日志位置:/var/log/nginx/ 配置文件位置:/etc/nginx/
-
nginx+php-fpm配置文件的组织结构介绍
1.nginx的配置文件路径 一般来说,安装nginx的时候,配置文件的默认路径是 /usr/local/nginx/conf/nginx.conf. 我们可以使用一个链接文件,将conf目录指向一个特定目录,以方便管理.例如,笔者所在的公司喜欢将所有的服务器配置文件集中在/home/server_config中,然后在该目录中新建一个子目录 nginx,再将/usr/local/nginx/conf 通过链接文件指向/home/server_config/nginx. 2.Virtual ho
-
Docker Nginx容器和Tomcat容器实现负载均衡与动静分离操作
下载Tomcat8镜像 [root@localhost ~]# docker search tomcat8 NAME DESCRIPTION STARS OFFICIAL AUTOMATED ashince/tomcat8 Tomcat GUI Manager pre-configured docker ima- 5 podbox/tomcat8 2 [OK] 这个tomcat包含了jdk而且启动了可以直接访问,自己启动了8080端口 [root@localhost ~]# docker pul
-
Docker Nginx容器制作部署实现方法
快速开始 1.查找 Docker Hub 上的 nginx 镜像 docker search nginx 2.拉取官方的Nginx镜像 docker pull nginx 3.在本地镜像列表里查到 REPOSITORY 为 nginx 的镜像 docker images nginx REPOSITORY TAG IMAGE ID CREATED SIZE nginx latest 4bb46517cac3 4 weeks ago 133MB 4.以下命令使用 NGINX 容器内的默认的配置来启动
-
docker修改容器配置文件的3种方法总结
目录 run时候已经进行绑定操作 修改未绑定的配置文件 拷贝容器内外的文件操作 修改对外端口等 总结 run时候已经进行绑定操作 在启动容器的时候可以通过 -v双向绑定本地的某文件,这样任意修改哪一个都会同步变化docker run [OPTIONS] IMAGE [COMMAND] [ARG...] -p: 指定端口映射,格式为:主机(宿主)端口:容器端口 –volume , -v: 绑定一个数据卷 -d: 后台运行容器,并返回容器ID: –name=“redis”: 为容器指定一个名称: -
-
docker安装nginx容器的方法
目录 1.自定义网络相关命令 2.nginx是什么 Nginx+tomcat是目前主流的java web架构 3.安装nginx 4.docker实战之通过nginx镜像来部署SPA项目 5.nginx.conf讲解 1.自定义网络相关命令 1.创建自定义网络 docker network create --driver bridge --subnet 192.168.0.1/16 --gateway 192.168.0.1 mynet 参数说明 --driv
-
Docker容器通过独立IP暴露给局域网的方法
Docker容器非常轻量,系统开销非常少,比VMware或者VirtualBox用起来方便,部署起来也非常容易.官方推荐我们通过端口映射的方式把Docker容器的服务提供给宿主机或者局域网其他容器使用.一般过程是: 1.Docker进程通过监听宿主机的某个端口,将该端口的数据包发送给Docker容器 2.宿主机可以打开防火墙让局域网其他设备通过访问宿主机的端口进而访问docker的端口 这里以CDNS为例,CDNS是一个用于避免DNS污染的程序,通过CDNS可以把你的计算机变成一个抗污染的DNS
-
Nginx服务器Nginx.com配置文件详解
在此记录下Nginx服务器nginx.conf的配置文件说明, 部分注释收集与网络. #运行用户 user www-data; #启动进程,通常设置成和cpu的数量相等 worker_processes 1; #全局错误日志及PID文件 error_log /var/log/nginx/error.log; pid /var/run/nginx.pid; #工作模式及连接数上限 events { use epoll; #epoll是多路复用IO(I/O Multiplexing)中的一种方式,但
-
Nginx服务器配置文件完全解析
user www www; // 使用的用户和组 worker_processes 8; // 指定的工作衍生进程数(一般等于cpu总核数或总核数的2倍) error_log logs/nginx_error.log crit; // 指定错误日志存放的路径,错误日志记录级别分别选项为:debug,info,notice,warn,error,crit #error_log logs/error.log; #error_log logs/error.log notice; #error_log