vue中使用cropperjs的方法
用vue的项目里需要对图片进行裁剪,于是使用了cropperjs,在使用的过程中也踩过一些坑,以下是在.vue文件里cropperjs的使用方法和经验教训总结:
在使用之前,先引入:

在项目里,运行:
npm install cropperjs -save
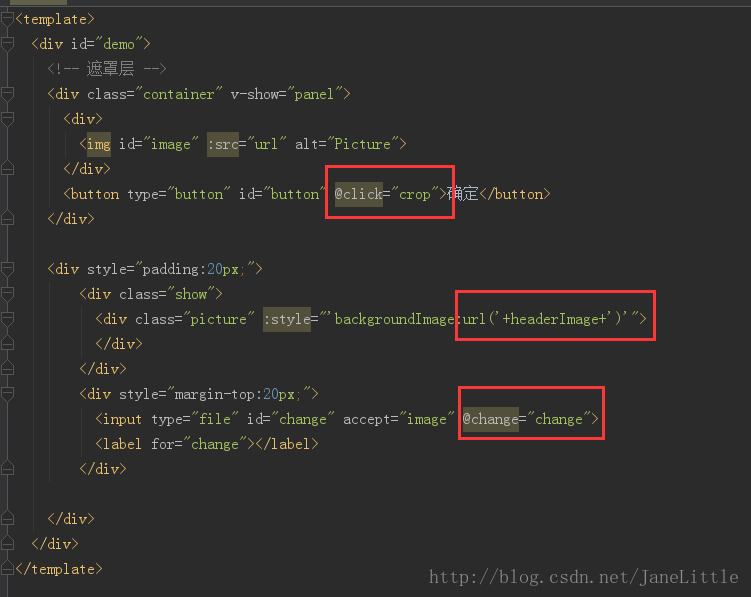
在template里:
<div id="demo">
  <!-- 遮罩层 -->
  <div class="container" v-show="panel">
   <div>
    <img id="image" :src="url" alt="Picture">
   </div>
   <button type="button" id="button" @click="crop">确定</button>
  </div>
  <div style="padding:20px;">
    <div class="show">
     <div class="picture" :style="'backgroundImage:url('+headerImage+')'">
     </div>
    </div>
    <div style="margin-top:20px;">
     <input type="file" id="change" accept="image" @change="change">
     <label for="change"></label>
    </div>
  </div>
 </div>

js代码:
import Cropper from 'cropperjs'
export default {
 components: {
 },
 data () {
  return {
   headerImage:'',
   picValue:'',
   cropper:'',
   croppable:false,
   panel:false,
   url:''
  }
 },
 mounted () {
  //初始化这个裁剪框
  var self = this;
  var image = document.getElementById('image');
  this.cropper = new Cropper(image, {
   aspectRatio: 1,
   viewMode: 1,
   background:false,
   zoomable:false,
   ready: function () {
    self.croppable = true;
   }
  });
 },
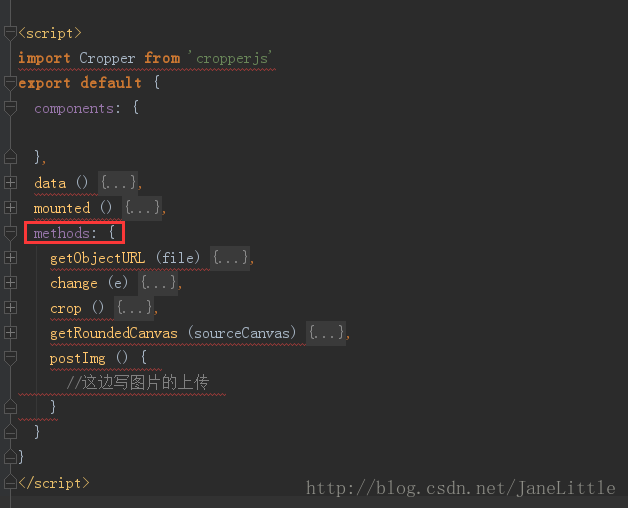
 methods: {
  getObjectURL (file) {
   var url = null ;
   if (window.createObjectURL!=undefined) { // basic
    url = window.createObjectURL(file) ;
   } else if (window.URL!=undefined) { // mozilla(firefox)
    url = window.URL.createObjectURL(file) ;
   } else if (window.webkitURL!=undefined) { // webkit or chrome
    url = window.webkitURL.createObjectURL(file) ;
   }
   return url ;
  },
  change (e) {
   let files = e.target.files || e.dataTransfer.files;
   if (!files.length) return;
   this.panel = true;
   this.picValue = files[0];
   this.url = this.getObjectURL(this.picValue);
   //每次替换图片要重新得到新的url
   if(this.cropper){
    this.cropper.replace(this.url);
   }
   this.panel = true;
  },
  crop () {
    this.panel = false;
    var croppedCanvas;
    var roundedCanvas;
    if (!this.croppable) {
     return;
    }
    // Crop
    croppedCanvas = this.cropper.getCroppedCanvas();
    console.log(this.cropper)
    // Round
    roundedCanvas = this.getRoundedCanvas(croppedCanvas);
    this.headerImage = roundedCanvas.toDataURL();
    this.postImg()
  },
  getRoundedCanvas (sourceCanvas) {
   var canvas = document.createElement('canvas');
   var context = canvas.getContext('2d');
   var width = sourceCanvas.width;
   var height = sourceCanvas.height;
   canvas.width = width;
   canvas.height = height;
   context.imageSmoothingEnabled = true;
   context.drawImage(sourceCanvas, 0, 0, width, height);
   context.globalCompositeOperation = 'destination-in';
   context.beginPath();
   context.arc(width / 2, height / 2, Math.min(width, height) / 2, 0, 2 * Math.PI, true);
   context.fill();
   return canvas;
  },
  postImg () {
   //这边写图片的上传
  }
 }
}
整体效果:

css代码(比较长,本来想不贴上了,但是为了一下童鞋可以直接运行demo,还是贴上了,篇幅过长,望见谅):
*{
 margin: 0;
 padding: 0;
}
#demo #button {
 position: absolute;
 right: 10px;
 top: 10px;
 width: 80px;
 height: 40px;
 border:none;
 border-radius: 5px;
 background:white;
}
#demo .show {
 width: 100px;
 height: 100px;
 overflow: hidden;
 position: relative;
 border-radius: 50%;
 border: 1px solid #d5d5d5;
}
#demo .picture {
 width: 100%;
 height: 100%;
 overflow: hidden;
 background-position: center center;
 background-repeat: no-repeat;
 background-size: cover;
}
#demo .container {
  z-index: 99;
  position: fixed;
  padding-top: 60px;
  left: 0;
  top: 0;
  right: 0;
  bottom: 0;
  background:rgba(0,0,0,1);
}
#demo #image {
 max-width: 100%;
}
.cropper-view-box,.cropper-face {
 border-radius: 50%;
}
/*!
 * Cropper.js v1.0.0-rc
 * https://github.com/fengyuanchen/cropperjs
 *
 * Copyright (c) 2017 Fengyuan Chen
 * Released under the MIT license
 *
 * Date: 2017-03-25T12:02:21.062Z
 */
.cropper-container {
 font-size: 0;
 line-height: 0;
 position: relative;
 -webkit-user-select: none;
 -moz-user-select: none;
 -ms-user-select: none;
 user-select: none;
 direction: ltr;
 -ms-touch-action: none;
 touch-action: none
}
.cropper-container img {
 /* Avoid margin top issue (Occur only when margin-top <= -height) */
 display: block;
 min-width: 0 !important;
 max-width: none !important;
 min-height: 0 !important;
 max-height: none !important;
 width: 100%;
 height: 100%;
 image-orientation: 0deg
}
.cropper-wrap-box,
.cropper-canvas,
.cropper-drag-box,
.cropper-crop-box,
.cropper-modal {
 position: absolute;
 top: 0;
 right: 0;
 bottom: 0;
 left: 0;
}
.cropper-wrap-box {
 overflow: hidden;
}
.cropper-drag-box {
 opacity: 0;
 background-color: #fff;
}
.cropper-modal {
 opacity: .5;
 background-color: #000;
}
.cropper-view-box {
 display: block;
 overflow: hidden;
 width: 100%;
 height: 100%;
 outline: 1px solid #39f;
 outline-color: rgba(51, 153, 255, 0.75);
}
.cropper-dashed {
 position: absolute;
 display: block;
 opacity: .5;
 border: 0 dashed #eee
}
.cropper-dashed.dashed-h {
 top: 33.33333%;
 left: 0;
 width: 100%;
 height: 33.33333%;
 border-top-width: 1px;
 border-bottom-width: 1px
}
.cropper-dashed.dashed-v {
 top: 0;
 left: 33.33333%;
 width: 33.33333%;
 height: 100%;
 border-right-width: 1px;
 border-left-width: 1px
}
.cropper-center {
 position: absolute;
 top: 50%;
 left: 50%;
 display: block;
 width: 0;
 height: 0;
 opacity: .75
}
.cropper-center:before,
 .cropper-center:after {
 position: absolute;
 display: block;
 content: ' ';
 background-color: #eee
}
.cropper-center:before {
 top: 0;
 left: -3px;
 width: 7px;
 height: 1px
}
.cropper-center:after {
 top: -3px;
 left: 0;
 width: 1px;
 height: 7px
}
.cropper-face,
.cropper-line,
.cropper-point {
 position: absolute;
 display: block;
 width: 100%;
 height: 100%;
 opacity: .1;
}
.cropper-face {
 top: 0;
 left: 0;
 background-color: #fff;
}
.cropper-line {
 background-color: #39f
}
.cropper-line.line-e {
 top: 0;
 right: -3px;
 width: 5px;
 cursor: e-resize
}
.cropper-line.line-n {
 top: -3px;
 left: 0;
 height: 5px;
 cursor: n-resize
}
.cropper-line.line-w {
 top: 0;
 left: -3px;
 width: 5px;
 cursor: w-resize
}
.cropper-line.line-s {
 bottom: -3px;
 left: 0;
 height: 5px;
 cursor: s-resize
}
.cropper-point {
 width: 5px;
 height: 5px;
 opacity: .75;
 background-color: #39f
}
.cropper-point.point-e {
 top: 50%;
 right: -3px;
 margin-top: -3px;
 cursor: e-resize
}
.cropper-point.point-n {
 top: -3px;
 left: 50%;
 margin-left: -3px;
 cursor: n-resize
}
.cropper-point.point-w {
 top: 50%;
 left: -3px;
 margin-top: -3px;
 cursor: w-resize
}
.cropper-point.point-s {
 bottom: -3px;
 left: 50%;
 margin-left: -3px;
 cursor: s-resize
}
.cropper-point.point-ne {
 top: -3px;
 right: -3px;
 cursor: ne-resize
}
.cropper-point.point-nw {
 top: -3px;
 left: -3px;
 cursor: nw-resize
}
.cropper-point.point-sw {
 bottom: -3px;
 left: -3px;
 cursor: sw-resize
}
.cropper-point.point-se {
 right: -3px;
 bottom: -3px;
 width: 20px;
 height: 20px;
 cursor: se-resize;
 opacity: 1
}
@media (min-width: 768px) {
 .cropper-point.point-se {
  width: 15px;
  height: 15px
 }
}
@media (min-width: 992px) {
 .cropper-point.point-se {
  width: 10px;
  height: 10px
 }
}
@media (min-width: 1200px) {
 .cropper-point.point-se {
  width: 5px;
  height: 5px;
  opacity: .75
 }
}
.cropper-point.point-se:before {
 position: absolute;
 right: -50%;
 bottom: -50%;
 display: block;
 width: 200%;
 height: 200%;
 content: ' ';
 opacity: 0;
 background-color: #39f
}
.cropper-invisible {
 opacity: 0;
}
.cropper-bg {
 background-image: url('data:image/png;base64,iVBORw0KGgoAAAANSUhEUgAAABAAAAAQAQMAAAAlPW0iAAAAA3NCSVQICAjb4U/gAAAABlBMVEXMzMz////TjRV2AAAACXBIWXMAAArrAAAK6wGCiw1aAAAAHHRFWHRTb2Z0d2FyZQBBZG9iZSBGaXJld29ya3MgQ1M26LyyjAAAABFJREFUCJlj+M/AgBVhF/0PAH6/D/HkDxOGAAAAAElFTkSuQmCC');
}
.cropper-hide {
 position: absolute;
 display: block;
 width: 0;
 height: 0;
}
.cropper-hidden {
 display: none !important;
}
.cropper-move {
 cursor: move;
}
.cropper-crop {
 cursor: crosshair;
}
.cropper-disabled .cropper-drag-box,
.cropper-disabled .cropper-face,
.cropper-disabled .cropper-line,
.cropper-disabled .cropper-point {
 cursor: not-allowed;
}
整体图:

把以上这些代码放入你的项目,或者单独建个.vue放进项目,就可以实现这样的效果:

总结
以上所述是小编给大家介绍的vue中使用cropperjs的方法,希望对大家有所帮助,如果大家有任何疑问请给我留言,小编会及时回复大家的。在此也非常感谢大家对我们网站的支持!
您可能感兴趣的文章:
- cropper js基于vue的图片裁剪上传功能
- vue移动端裁剪图片结合插件Cropper的使用实例代码
赞 (0)

