unity实现透明水波纹扭曲
本文实例为大家分享了unity实现透明水波纹扭曲的具体代码,供大家参考,具体内容如下
需要挂一个摄像机把脚本挂在一个物体上
可随意在物体上面点击
shader:
Shader "Unlit/Water"
{
 Properties
 {
 _MainTex ("Texture", 2D) = "white" {}
 _WaterUV("WaterUV",2D)="while"{}
 _WaterIntensity("WaterIntensity",float)=500
 }
 SubShader
 {

 GrabPass{
 Name "BASE"
 Tags { "Mode" = "Always" }
 }

 Tags { "Queue"="Transparent+100" "RenderType"="Transparent" }

 Pass
 {
 CGPROGRAM
 #pragma vertex vert
 #pragma fragment frag

 #include "UnityCG.cginc"

 struct appdata
 {
 float4 vertex : POSITION;
 float2 uv : TEXCOORD0;
 float3 normal:Normal;
 };

 struct v2f
 {
 float2 uv : TEXCOORD0;
 float4 grabuv:TEXCOORD1;
 float4 vertex : SV_POSITION;
 float3 normal:Normal;
 };

 sampler2D _MainTex;
 float4 _MainTex_ST;
 sampler2D _GrabTexture;
 sampler2D _WaterUV;
 float4 _GrabTexture_TexelSize;
 float _WaterIntensity;

 v2f vert (appdata v)
 {
 v2f o;
 o.vertex = mul(UNITY_MATRIX_MVP, v.vertex);
 o.uv = TRANSFORM_TEX(v.uv, _MainTex);

 UNITY_TRANSFER_FOG(o,o.vertex);
 o.grabuv=ComputeGrabScreenPos(o.vertex);

 o.normal=v.normal;

 return o;
 }

 fixed4 frag (v2f i) : SV_Target
 {
 fixed4 col = tex2D(_MainTex, i.uv);
 float2 uv=tex2D(_WaterUV,i.uv).xy;

  uv= (uv-0.5)*2;

 float2 offset_ =uv * _GrabTexture_TexelSize.xy*_WaterIntensity;

 float4 grabuv=i.grabuv;
 grabuv.xy+=sin(offset_);

 fixed4 grabCol=tex2Dproj(_GrabTexture,UNITY_PROJ_COORD(grabuv));

 return col*grabCol;
 }
 ENDCG
 }
 }
}
C#:
using UnityEngine;
using System.Collections;
using System.Threading;

public class Water : MonoBehaviour
{

 public int m_texHeight = 512;

 public int m_texWidth = 512;

 public Texture2D m_waterTexture = null;

 private Material m_waterMatrial;

 private float[,] waveA;
 private float[,] waveB;

 public float decrement=0.025f;

 public Camera m_waterCam;

 private int time;
 void Start()
 {

  m_waterTexture = new Texture2D(m_texWidth, m_texHeight, TextureFormat.RGBA32, false);

  m_waterMatrial = GetComponent<MeshRenderer>().material;

  waveA = new float[m_texWidth, m_texHeight];
  waveB = new float[m_texWidth, m_texHeight];

  m_waterMatrial.SetTexture("_WaterUV", m_waterTexture);

  allColor = new Color[m_texWidth* m_texHeight];

  Thread t = new Thread(new ThreadStart(ThreadWave));
  t.Start();

  // m_waterMatrial.SetTexture("_MainTex", m_waterTexture);
 }

 public void PopWater(Vector2 pos)
 {
  float x=pos.x;
  float y=pos.y;
  waveA[(int)(m_texWidth * x) , (int)(m_texHeight * y)] = 1;
  //waveA[(int)(m_texWidth * x) - 1, (int)(m_texHeight * y) ] = 1;
  //waveA[(int)(m_texWidth * x) + 1, (int)(m_texHeight * y) ] = 1;
  //waveA[(int)(m_texWidth * x) , (int)(m_texHeight * y) - 1] = 1;
  //waveA[(int)(m_texWidth * x), (int)(m_texHeight * y) + 1] = 1;
  //waveA[(int)(m_texWidth * x) - 1, (int)(m_texHeight * y) - 1] = 1;
  //waveA[(int)(m_texWidth * x) - 1, (int)(m_texHeight * y) + 1] = 1;
  //waveA[(int)(m_texWidth * x) + 1, (int)(m_texHeight * y) - 1] = 1;
  //waveA[(int)(m_texWidth * x) + 1, (int)(m_texHeight * y) + 1] = 1;
 }
 public void PopWater()
 {
  waveA[(int)(m_texWidth / 2), (int)(m_texHeight / 2)] = 1;
  waveA[(int)(m_texWidth / 2) - 1, (int)(m_texHeight / 2)] = 1;
  waveA[(int)(m_texWidth / 2) + 1, (int)(m_texHeight / 2)] = 1;
  waveA[(int)(m_texWidth / 2), (int)(m_texHeight / 2) - 1] = 1;
  waveA[(int)(m_texWidth / 2), (int)(m_texHeight / 2) + 1] = 1;
  waveA[(int)(m_texWidth / 2) - 1, (int)(m_texHeight / 2) - 1] = 1;
  waveA[(int)(m_texWidth / 2) - 1, (int)(m_texHeight / 2) + 1] = 1;
  waveA[(int)(m_texWidth / 2) + 1, (int)(m_texHeight / 2) - 1] = 1;
  waveA[(int)(m_texWidth / 2) + 1, (int)(m_texHeight / 2) + 1] = 1;
 }

 void Update()
 {
  ComputeWave();

  if (Input.GetMouseButtonDown(0))
  {
   RaycastHit rh;
   if (Physics.Raycast(m_waterCam.ScreenPointToRay(Input.mousePosition), out rh))
   {

    PopWater(rh.textureCoord);
   }

  }

  time = (int)Time.deltaTime * 1000;

 }

 void OnDestroy()
 {
  f = false;

 }

 bool f = true;
 void ThreadWave()
 {
  while (f)
  {
   Thread.Sleep(time);
   for (int w = 1; w < m_texWidth - 1; w++)
   {

    for (int h = 1; h < m_texHeight - 1; h++)
    {
     waveB[w, h] =
      (waveA[w - 1, h] +
      waveA[w + 1, h] +
      waveA[w, h - 1] +
      waveA[w, h + 1] +
      waveA[w - 1, h - 1] +
      waveA[w + 1, h - 1] +
      waveA[w - 1, h + 1] +
      waveA[w + 1, h + 1]) / 4 - waveB[w, h];

     float value = waveB[w, h];
     if (value > 1)
     {
      waveB[w, h] = 1;
     }

     if (value < -1)
     {
      waveB[w, h] = -1;
     }

     if (value > -0.0001 && value < 0.0001)
     {
      waveB[w, h] = 0;
     }

     float offset_u = (waveB[w - 1, h] - waveB[w + 1, h]) / 2;

     float offset_v = ((waveB[w, h - 1]) - waveB[w, h + 1]) / 2;

     float r = offset_u / 2 + 0.5f;
     float g = offset_v / 2 + 0.5f;
     Color c = new Color(r, g, 0);

     waveB[w, h] -= waveB[w, h] * decrement;
     allColor[w + m_texWidth * h] = c;

    }
   }

   float[,] temp;
   temp = waveA;
   waveA = waveB;
   waveB = temp;
  }

 }

 private Color[] allColor;

 void ComputeWave()
 {
  m_waterTexture.SetPixels(allColor);
  m_waterTexture.Apply();

 }

}
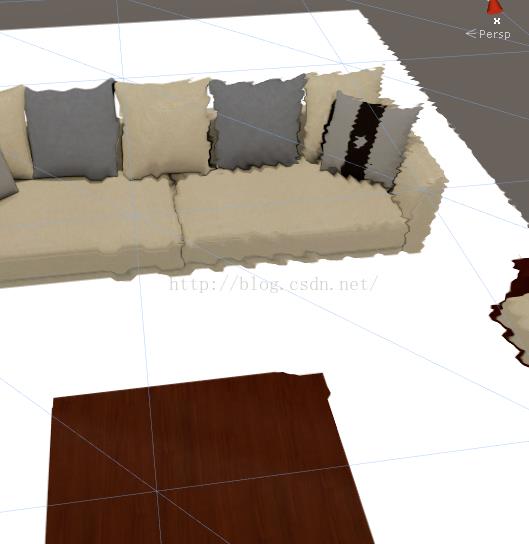
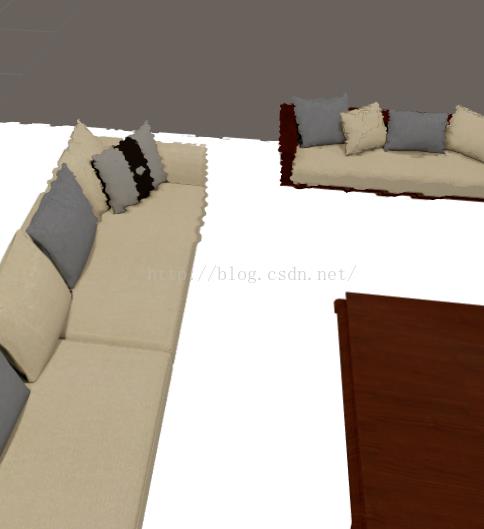
效果图:


以上就是本文的全部内容,希望对大家的学习有所帮助,也希望大家多多支持我们。
赞 (0)

