Spring Cloud + Nacos + Seata整合过程(分布式事务解决方案)
目录
- 一、简介
- 二、seata-server部署
- 1、官网下载
- 2、解压到本地
- 3、修改配置文件
- 4、seata数据库初始化
- 5、业务数据库
- 6、启动seata-server
- 三、微服务项目集成Seata
- 1、引入依赖
- 2、配置文件
一、简介
Seata 是一款开源的分布式事务解决方案,致力于在微服务架构下提供高性能和简单易用的分布式事务服务。
2019 年 1 月,阿里巴巴中间件团队发起了开源项目 Fescar(Fast & EaSy Commit And Rollback),和社区一起共建开源分布式事务解决方案。Fescar 的愿景是让分布式事务的使用像本地事务的使用一样,简单和高效,并逐步解决开发者们遇到的分布式事务方面的所有难题。
Fescar 开源后,蚂蚁金服加入 Fescar 社区参与共建,并在 Fescar 0.4.0 版本中贡献了 TCC 模式。
为了打造更中立、更开放、生态更加丰富的分布式事务开源社区,经过社区核心成员的投票,大家决定对 Fescar 进行品牌升级,并更名为 Seata,意为:Simple Extensible Autonomous Transaction Architecture,是一套一站式分布式事务解决方案。

二、seata-server部署
1、官网下载
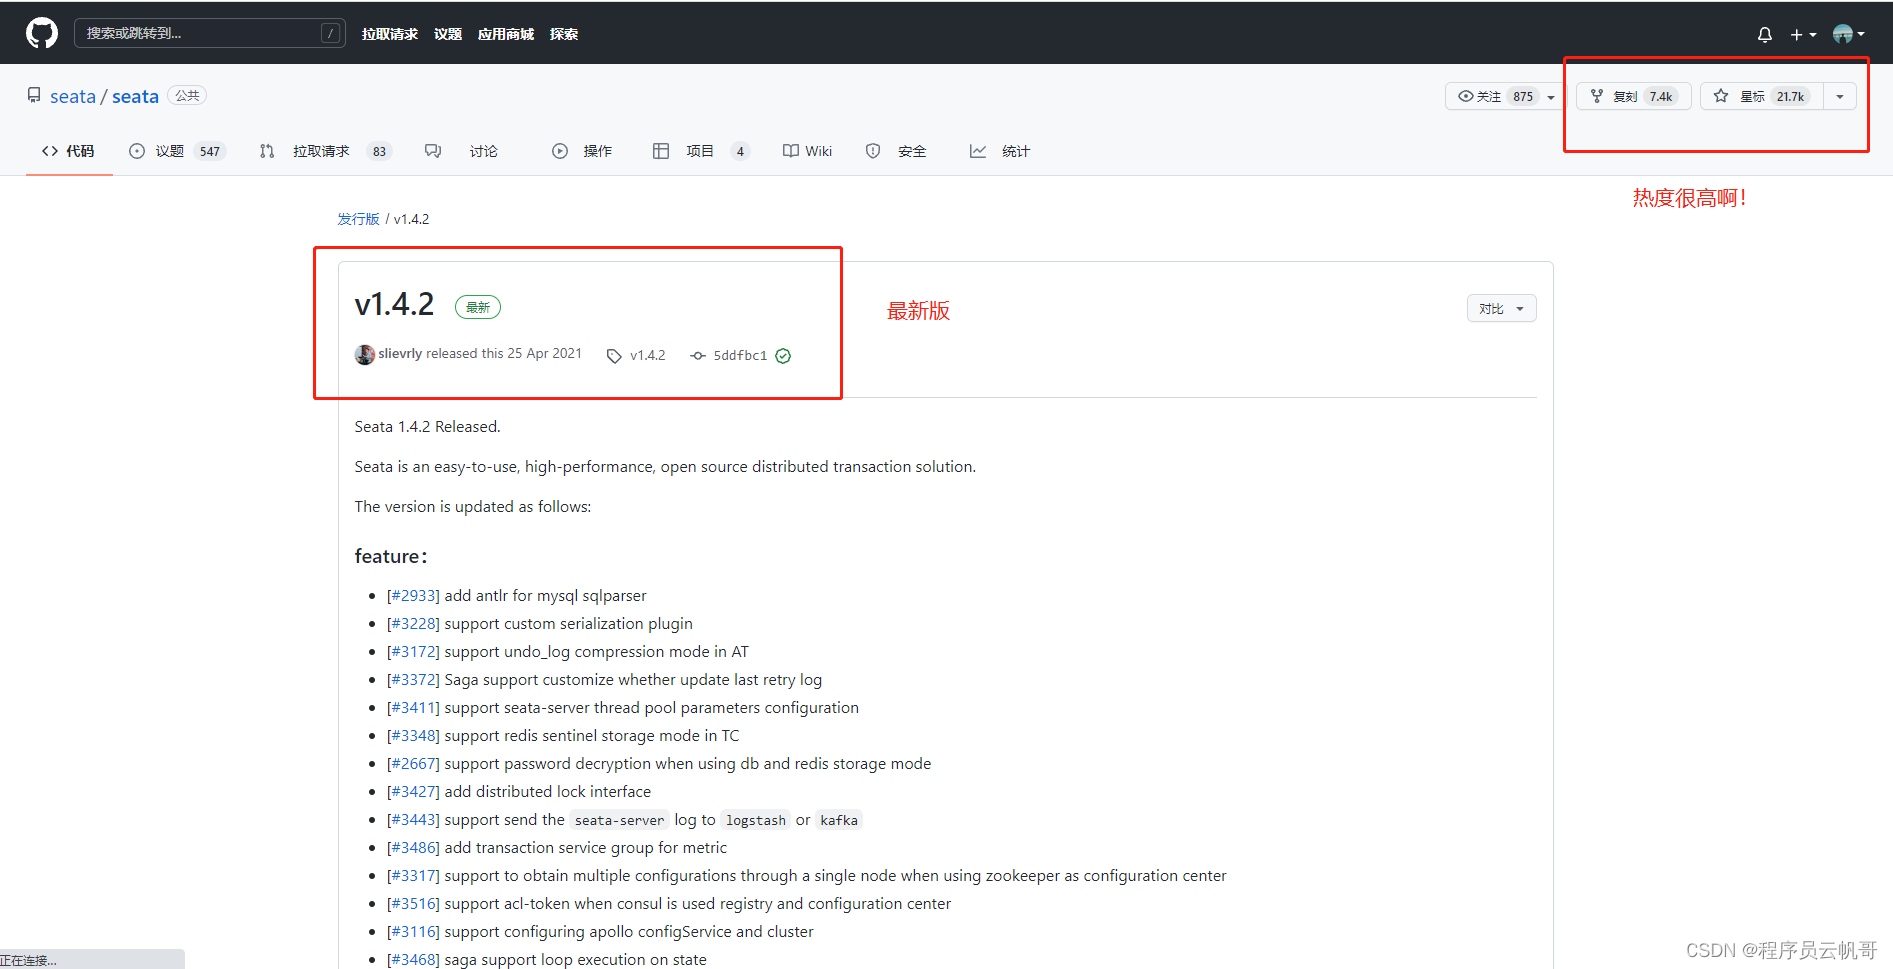
我们可以看到Seata的github star数有2万多,说明还是热门的!
我们下载最新版本v1.4.2 https://github.com/seata/seata/releases/download/v1.4.2/seata-server-1.4.2.zip
2、解压到本地

3、修改配置文件
第一步,修改conf/registry.conf,重点修改nacos配置。
registry {
  # file 、nacos 、eureka、redis、zk、consul、etcd3、sofa
  type = "nacos"

  nacos {
    application = "seata-server"
    serverAddr = "127.0.0.1:8848"
    group = "SEATA_GROUP"
    namespace = ""
    cluster = "default"
    username = "nacos"
    password = "nacos"
  }

......

config {
  # file、nacos 、apollo、zk、consul、etcd3
  type = "nacos"

  nacos {
    serverAddr = "127.0.0.1:8848"
    namespace = ""
    group = "SEATA_GROUP"
    username = "nacos"
    password = "nacos"
    dataId = "seataServer.properties"
  }
}
最新!现在支持配置dataId,就可以把所有配置放里面。(其他地方的博客还在说,去下载config.txt、nacos-config.sh,然后执行跑到nacos上去,过时了!多关注nacos版本更新)

第二步,在Nacos上新增seataServer.properties

里面的内容:
#For details about configuration items, see https://seata.io/zh-cn/docs/user/configurations.html
#Transport configuration, for client and server
transport.type=TCP
transport.server=NIO
transport.heartbeat=true
transport.enableTmClientBatchSendRequest=false
transport.enableRmClientBatchSendRequest=true
transport.enableTcServerBatchSendResponse=false
transport.rpcRmRequestTimeout=30000
transport.rpcTmRequestTimeout=30000
transport.rpcTcRequestTimeout=30000
transport.threadFactory.bossThreadPrefix=NettyBoss
transport.threadFactory.workerThreadPrefix=NettyServerNIOWorker
transport.threadFactory.serverExecutorThreadPrefix=NettyServerBizHandler
transport.threadFactory.shareBossWorker=false
transport.threadFactory.clientSelectorThreadPrefix=NettyClientSelector
transport.threadFactory.clientSelectorThreadSize=1
transport.threadFactory.clientWorkerThreadPrefix=NettyClientWorkerThread
transport.threadFactory.bossThreadSize=1
transport.threadFactory.workerThreadSize=default
transport.shutdown.wait=3
transport.serialization=seata
transport.compressor=none

#Transaction routing rules configuration, only for the client
service.vgroupMapping.default_tx_group=default
#If you use a registry, you can ignore it
service.default.grouplist=127.0.0.1:8091
service.enableDegrade=false
service.disableGlobalTransaction=false
#Transaction rule configuration, only for the client
client.rm.asyncCommitBufferLimit=10000
client.rm.lock.retryInterval=10
client.rm.lock.retryTimes=30
client.rm.lock.retryPolicyBranchRollbackOnConflict=true
client.rm.reportRetryCount=5
client.rm.tableMetaCheckEnable=false
client.rm.tableMetaCheckerInterval=60000
client.rm.sqlParserType=druid
client.rm.reportSuccessEnable=false
client.rm.sagaBranchRegisterEnable=false
client.rm.sagaJsonParser=fastjson
client.rm.tccActionInterceptorOrder=-2147482648
client.tm.commitRetryCount=5
client.tm.rollbackRetryCount=5
client.tm.defaultGlobalTransactionTimeout=60000
client.tm.degradeCheck=false
client.tm.degradeCheckAllowTimes=10
client.tm.degradeCheckPeriod=2000
client.tm.interceptorOrder=-2147482648
client.undo.dataValidation=true
client.undo.logSerialization=jackson
client.undo.onlyCareUpdateColumns=true
server.undo.logSaveDays=7
server.undo.logDeletePeriod=86400000
client.undo.logTable=undo_log
client.undo.compress.enable=true
client.undo.compress.type=zip
client.undo.compress.threshold=64k
#For TCC transaction mode
tcc.fence.logTableName=tcc_fence_log
tcc.fence.cleanPeriod=1h
#Log rule configuration, for client and server
log.exceptionRate=100
#Transaction storage configuration, only for the server. The file, DB, and redis configuration values are optional.
store.mode=db
store.lock.mode=file
store.session.mode=file
#Used for password encryption
store.publicKey=
#If `store.mode,store.lock.mode,store.session.mode` are not equal to `file`, you can remove the configuration block.
store.file.dir=file_store/data
store.file.maxBranchSessionSize=16384
store.file.maxGlobalSessionSize=512
store.file.fileWriteBufferCacheSize=16384
store.file.flushDiskMode=async
store.file.sessionReloadReadSize=100
#These configurations are required if the `store mode` is `db`. If `store.mode,store.lock.mode,store.session.mode` are not equal to `db`, you can remove the configuration block.
store.db.datasource=druid
store.db.dbType=mysql
store.db.driverClassName=com.mysql.cj.jdbc.Driver
store.db.url=jdbc:mysql://localhost:3306/seata?useUnicode=true&rewriteBatchedStatements=true
store.db.user=root
store.db.password=root
store.db.minConn=5
store.db.maxConn=30
store.db.globalTable=global_table
store.db.branchTable=branch_table
store.db.distributedLockTable=distributed_lock
store.db.queryLimit=100
store.db.lockTable=lock_table
store.db.maxWait=5000
#These configurations are required if the `store mode` is `redis`. If `store.mode,store.lock.mode,store.session.mode` are not equal to `redis`, you can remove the configuration block.
store.redis.mode=single
store.redis.single.host=127.0.0.1
store.redis.single.port=6379
store.redis.sentinel.masterName=
store.redis.sentinel.sentinelHosts=
store.redis.maxConn=10
store.redis.minConn=1
store.redis.maxTotal=100
store.redis.database=0
store.redis.password=
store.redis.queryLimit=100
#Transaction rule configuration, only for the server
server.recovery.committingRetryPeriod=1000
server.recovery.asynCommittingRetryPeriod=1000
server.recovery.rollbackingRetryPeriod=1000
server.recovery.timeoutRetryPeriod=1000
server.maxCommitRetryTimeout=-1
server.maxRollbackRetryTimeout=-1
server.rollbackRetryTimeoutUnlockEnable=false
server.distributedLockExpireTime=10000
server.session.branchAsyncQueueSize=5000
server.session.enableBranchAsyncRemove=true
#Metrics configuration, only for the server
metrics.enabled=false
metrics.registryType=compact
metrics.exporterList=prometheus
metrics.exporterPrometheusPort=9898
第三步,修改file.conf,修改为db模式,并连接MySQL
## transaction log store, only used in seata-server
store {
  ## store mode: file、db、redis
  mode = "db"

  ......

  ## database store property
  db {
    ## the implement of javax.sql.DataSource, such as DruidDataSource(druid)/BasicDataSource(dbcp)/HikariDataSource(hikari) etc.
    datasource = "druid"
    ## mysql/oracle/postgresql/h2/oceanbase etc.
    dbType = "mysql"
    driverClassName = "com.mysql.cj.jdbc.Driver"
    ## if using mysql to store the data, recommend add rewriteBatchedStatements=true in jdbc connection param
    url = "jdbc:mysql://localhost:3306/seata?rewriteBatchedStatements=true"
    user = "root"
    password = "root"
    minConn = 5
    maxConn = 100
    globalTable = "global_table"
    branchTable = "branch_table"
    lockTable = "lock_table"
    queryLimit = 100
    maxWait = 5000
  }
}
4、seata数据库初始化
-- -------------------------------- The script used when storeMode is 'db' --------------------------------
-- the table to store GlobalSession data
CREATE TABLE IF NOT EXISTS `global_table`
(
    `xid`                       VARCHAR(128) NOT NULL,
    `transaction_id`            BIGINT,
    `status`                    TINYINT      NOT NULL,
    `application_id`            VARCHAR(32),
    `transaction_service_group` VARCHAR(32),
    `transaction_name`          VARCHAR(128),
    `timeout`                   INT,
    `begin_time`                BIGINT,
    `application_data`          VARCHAR(2000),
    `gmt_create`                DATETIME,
    `gmt_modified`              DATETIME,
    PRIMARY KEY (`xid`),
    KEY `idx_status_gmt_modified` (`status` , `gmt_modified`),
    KEY `idx_transaction_id` (`transaction_id`)
) ENGINE = InnoDB
  DEFAULT CHARSET = utf8;

-- the table to store BranchSession data
CREATE TABLE IF NOT EXISTS `branch_table`
    `branch_id`         BIGINT       NOT NULL,
    `xid`               VARCHAR(128) NOT NULL,
    `transaction_id`    BIGINT,
    `resource_group_id` VARCHAR(32),
    `resource_id`       VARCHAR(256),
    `branch_type`       VARCHAR(8),
    `status`            TINYINT,
    `client_id`         VARCHAR(64),
    `application_data`  VARCHAR(2000),
    `gmt_create`        DATETIME(6),
    `gmt_modified`      DATETIME(6),
    PRIMARY KEY (`branch_id`),
    KEY `idx_xid` (`xid`)
-- the table to store lock data
CREATE TABLE IF NOT EXISTS `lock_table`
    `row_key`        VARCHAR(128) NOT NULL,
    `xid`            VARCHAR(128),
    `transaction_id` BIGINT,
    `branch_id`      BIGINT       NOT NULL,
    `resource_id`    VARCHAR(256),
    `table_name`     VARCHAR(32),
    `pk`             VARCHAR(36),
    `status`         TINYINT      NOT NULL DEFAULT '0' COMMENT '0:locked ,1:rollbacking',
    `gmt_create`     DATETIME,
    `gmt_modified`   DATETIME,
    PRIMARY KEY (`row_key`),
    KEY `idx_status` (`status`),
    KEY `idx_branch_id` (`branch_id`)
CREATE TABLE IF NOT EXISTS `distributed_lock`
    `lock_key`       CHAR(20) NOT NULL,
    `lock_value`     VARCHAR(20) NOT NULL,
    `expire`         BIGINT,
    primary key (`lock_key`)
  DEFAULT CHARSET = utf8mb4;
INSERT INTO `distributed_lock` (lock_key, lock_value, expire) VALUES ('HandleAllSession', ' ', 0);
5、业务数据库
在每个需要开启seata事务操作的业务数据库下都需要建立此表。
undo_log:回滚日志表。
--日志文件表--
CREATE TABLE IF NOT EXISTS `undo_log`
(
    `branch_id`     BIGINT       NOT NULL COMMENT 'branch transaction id',
    `xid`           VARCHAR(128) NOT NULL COMMENT 'global transaction id',
    `context`       VARCHAR(128) NOT NULL COMMENT 'undo_log context,such as serialization',
    `rollback_info` LONGBLOB     NOT NULL COMMENT 'rollback info',
    `log_status`    INT(11)      NOT NULL COMMENT '0:normal status,1:defense status',
    `log_created`   DATETIME(6)  NOT NULL COMMENT 'create datetime',
    `log_modified`  DATETIME(6)  NOT NULL COMMENT 'modify datetime',
    UNIQUE KEY `ux_undo_log` (`xid`, `branch_id`)
    ) ENGINE = INNODB
    AUTO_INCREMENT = 1
    DEFAULT CHARSET = utf8 COMMENT ='AT transaction mode undo table';
6、启动seata-server
双击启动bin目录下的seata-server.bat。(linux系统的启动seata-server.sh)

启动成功后,端口是8091。我们也可以在nacos上看到服务注册上来了。

三、微服务项目集成Seata
1、引入依赖
<dependency>
    <groupId>com.alibaba.cloud</groupId>
    <artifactId>spring-cloud-starter-alibaba-seata</artifactId>
    <version>2021.1</version>
    <exclusions>
       <!-- 排除依赖 指定版本和服务器端一致 -->
       <exclusion>
           <groupId>io.seata</groupId>
           <artifactId>seata-all</artifactId>
       </exclusion>
       <exclusion>
           <groupId>io.seata</groupId>
           <artifactId>seata-spring-boot-starter</artifactId>
       </exclusion>
   </exclusions>
</dependency>
<dependency>
    <groupId>io.seata</groupId>
    <artifactId>seata-all</artifactId>
    <version>1.4.2</version>
</dependency>
<dependency>
    <groupId>io.seata</groupId>
    <artifactId>seata-spring-boot-starter</artifactId>
    <version>1.4.2</version>
</dependency>
版本号根据自己的项目需要。
2、配置文件
# 分布式事务配置
seata:
  enabled: true
  enable-auto-data-source-proxy: true #是否开启数据源自动代理,默认为true
  tx-service-group: default_tx_group  #要与配置文件中的vgroupMapping一致
  registry:
    type: nacos
    nacos:
      application: seata-server
      server-addr: 127.0.0.1:8848
      group: SEATA_GROUP
  config:
    type: nacos
    nacos:
      server-addr: 127.0.0.1:8848
      group: SEATA_GROUP
      dataId: seataServer.properties
到这里配置就结束了,赶紧在项目里面用起来吧!如有遇到搭建问题,可以阅读Seata官方文档或者我们一起探讨。
到此这篇关于Spring Cloud + Nacos + Seata整合过程(分布式事务解决方案)的文章就介绍到这了,更多相关Spring Cloud + Nacos + Seata整合内容请搜索我们以前的文章或继续浏览下面的相关文章希望大家以后多多支持我们!
相关推荐
-

详解SpringCloud-Alibaba-Seata分布式事务
前言 Seata 是一款阿里巴巴开源的分布式事务解决方案,致力于在微服务架构下提供高性能和简单易用的分布式事务服务. Seata 是一款开源的分布式事务解决方案,致力于提供高性能和简单易用的分布式事务服务.Seata 将为用户提供了 AT.TCC.SAGA 和 XA 事务模式,为用户打造一站式的分布式解决方案. 术语 TC (Transaction Coordinator) - 事务协调者 维护全局和分支事务的状态,驱动全局事务提交或回滚. TM (Transaction Manager) -
-
springboot cloud使用eureka整合分布式事务组件Seata 的方法
前言 近期一直在忙项目,我也是打工仔.不多说,我们开始玩一玩seata. 正文 什么都不说,我们按照惯例,先上一个图(图里不规范的使用请忽略): 简单一眼就看出来, 比我们平时用的东西,多了 Seata Server 微服务 . 同样这个 Seata Server 微服务 ,也是需要注册到eureka上面去的. 那么我们首先就搞一搞这个 seata server ,那么剩下的就是一些原本的业务服务整合配置了. 该篇用的 seata server 版本,用的是1.4.1 , 可以去git下载下.当
-
使用springCloud+nacos集成seata1.3.0搭建过程
1.docker安装seata 1.3.0镜像 docker pull seataio/seata-server:1.3.0 2.运行容器获取配置文件 docker run --name seata-server -p 8091:8091 -d seataio/seata-server:1.3.0 3.将容器中的配置拷贝到/usr/local/seata-1.3.0 docker cp seata-server:/seata-server /usr/local/seata-1.3.0 4.停止容
-
Springcloud seata nacos环境搭建过程图解
最近学习了一下seata,由于nacos现在也挺火,于是学习了seata注册到nacos,然后集成springcloud 1.nacos配置(自行上官网下载) 将nacos/conf/nacos-mysql.sql导入自己的数据库 2.配置修改nacos/conf/application.properties spring.datasource.platform=mysql db.num=1 db.url.0=jdbc:mysql://127.0.0.1:3306/nacos?character
-
Spring Cloud + Nacos + Seata整合过程(分布式事务解决方案)
目录 一.简介 二.seata-server部署 1.官网下载 2.解压到本地 3.修改配置文件 4.seata数据库初始化 5.业务数据库 6.启动seata-server 三.微服务项目集成Seata 1.引入依赖 2.配置文件 一.简介 Seata 是一款开源的分布式事务解决方案,致力于在微服务架构下提供高性能和简单易用的分布式事务服务. 2019 年 1 月,阿里巴巴中间件团队发起了开源项目 Fescar(Fast & EaSy Commit And Rollback),和社区
-
sentinel 整合spring cloud限流的过程解析
spring cloud基于http进行服务调用,大致过程如下: 服务提供端:提供http接口,并向服务中心注册服务信息 服务消费端:将服务端的http接口作为本地服务,从注册中心读取服务提供端信息,使用feign发起远程调用 相关依赖 <!-- 服务注册与发现 --> <dependency> <groupId>com.alibaba.cloud</groupId> <artifactId>spring-cloud-starter-alibab
-
详解SpringBoot基于Dubbo和Seata的分布式事务解决方案
1. 分布式事务初探 一般来说,目前市面上的数据库都支持本地事务,也就是在你的应用程序中,在一个数据库连接下的操作,可以很容易的实现事务的操作. 但是目前,基于SOA的思想,大部分项目都采用微服务架构后,就会出现了跨服务间的事务需求,这就称为分布式事务. 本文假设你已经了解了事务的运行机制,如果你不了解事务,那么我建议先去看下事务相关的文章,再来阅读本文. 1.1 什么是分布式事务 对于传统的单体应用而言,实现本地事务可以依赖Spring的@Transactional注解标识方法,实现事务非常简
-
在win10系统下,如何配置Spring Cloud alibaba Seata以及出现问题时怎么解决
实战开始 先看报错问题: config.txt: No such file or directory ========================================================================= Complete initialization parameters, total-count:0 , failure-count:0 =========================================================
-
一文搞明白Java Spring Boot分布式事务解决方案
目录 前言 1. 什么是反向补偿 2. 基本概念梳理 3. 什么是两阶段提交 4. AT 模式 5. TCC 模式 6. XA 模式 7. Saga 模式 前言 分布式事务,咱们前边也聊过很多次了,网上其实也有不少文章在介绍分布式事务,不过里边都会涉及到不少专业名词,看的大家云里雾里,所以还是有一些小伙伴在微信上问我. 那么今天,我就再来一篇文章,和大家捋一捋这个话题.以下的内容主要围绕阿里的 seata 来和大家解释. 1. 什么是反向补偿 首先,来和大家解释一个名词,大家在看分布式事务相关资
-
Spring Boot+Mybatis的整合过程
依赖配置 结合前面的内容,这里我们要嵌入数据库的操作,这里以操作MySQL为例整合Mybatis,首先需要在原来的基础上添加以下依赖 <!-- mybatis依赖 --> <dependency> <groupId>org.mybatis.spring.boot</groupId> <artifactId>mybatis-spring-boot-starter</artifactId> <version>1.1.1<
-
利用Spring Cloud Config结合Bus实现分布式配置中心的步骤
概述 假设现在有个需求: 我们的应用部署在10台机器上,当我们调整完某个配置参数时,无需重启机器,10台机器自动能获取到最新的配置. 如何来实现呢?有很多种,比如: 1.将配置放置到一个数据库里面,应用每次读取配置都是直接从DB读取.这样的话,我们只需要做一个DB变更,把最新的配置信息更新到数据库即可.这样无论多少台应用,由于都从同一个DB获取配置信息,自然都能拿到最新的配置. 2.每台机器提供一个更新配置信息的updateConfig接口,当需要修改配置时,挨个调用服务器的updateConf
-
Spring Cloud Zuul添加过滤器过程解析
这篇文章主要介绍了Spring Cloud Zuul添加过滤器过程解析,文中通过示例代码介绍的非常详细,对大家的学习或者工作具有一定的参考学习价值,需要的朋友可以参考下 Zuul作为网关的其中一个重要功能,就是实现请求的鉴权.而这个动作我们往往是通过Zuul提供的过滤器来实现的. 一.过滤器方法的作用 想要使用Zuul实现过滤功能,我们需要自定义一个类继承ZuulFilter类,并实现其中的四个方法,我们先看一下这四个方法的作用是什么 public class MyFilter extends
-
Spring Cloud Sleuth 和 Zipkin 进行分布式跟踪使用小结
目录 什么是分布式跟踪? 分布式跟踪的关键概念 带有SpringCloudSleuth的SpringBoot示例 使用Zipkin可视化跟踪 分布式跟踪允许您跟踪分布式系统中的请求.本文通过了解如何使用 Spring Cloud Sleuth 和 Zipkin 来做到这一点. 对于一个做所有事情的大型应用程序(我们通常将其称为单体应用程序),跟踪应用程序内的传入请求很容易.我们可以跟踪日志,然后弄清楚请求是如何处理的.除了应用程序日志本身之外,我们无需查看其他任何内容. 随着时间的推移,单体应用
-
Spring Cloud oauth2 认证服务搭建过程示例
目录 安装httpie 导入数据库脚本 sts中导入项目 修改 POM文件 修改配置文件 修改主类文件 编译,运行 测试 查看Redis缓存 安装httpie 安装httpie 需要 python 环境 pip install --upgrade httpie 进入D:\Project目录,在此目录下打开CMD,调用httpie,创建 oauth2 项目 http -d https://start.spring.io/starter.zip javaVersion==17 groupId==co