SpringBoot+MyBatisPlus+Vue 前后端分离项目快速搭建过程(前端篇)
后端篇
SpringBoot+MyBatisPlus+Vue 前后端分离项目快速搭建【后端篇】【快速生成后端代码、封装结果集、增删改查、模糊查找】【毕设基础框架】
前端篇
创建vue项目
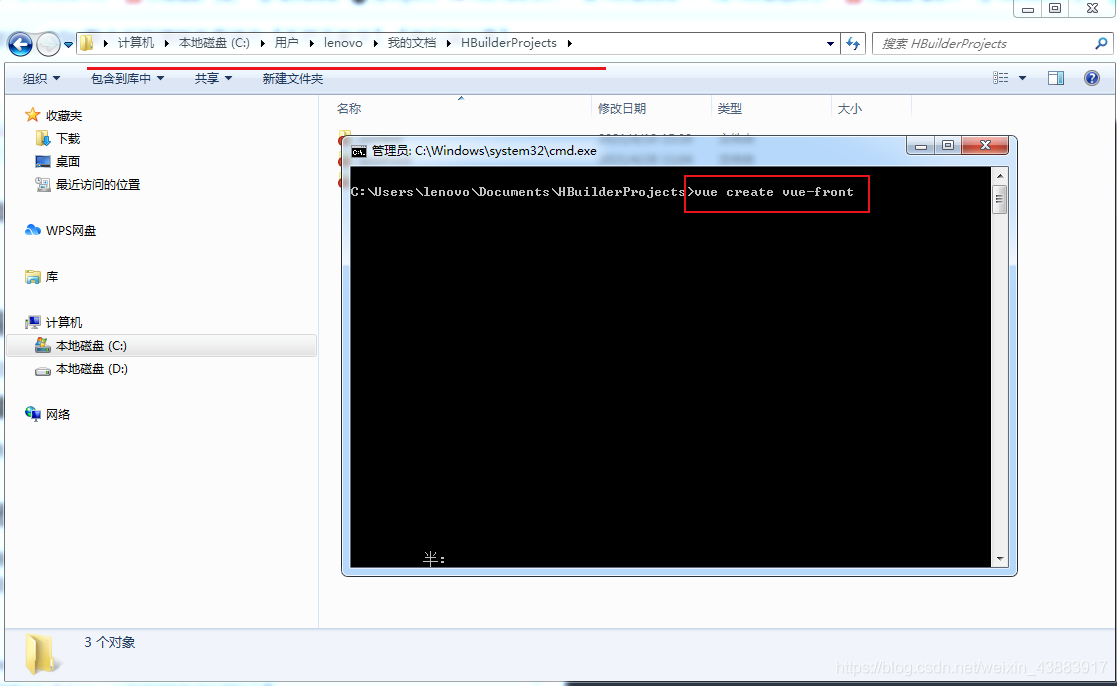
1、找个文件夹进入命令行,输入:vue create vue-front
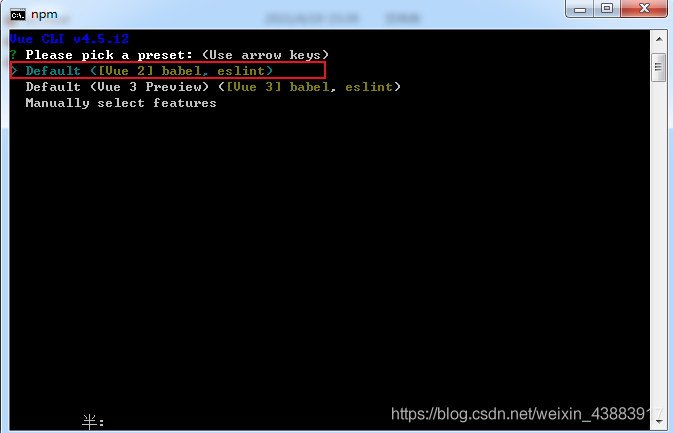
2、直接回车,等待片刻,稍微有点小久
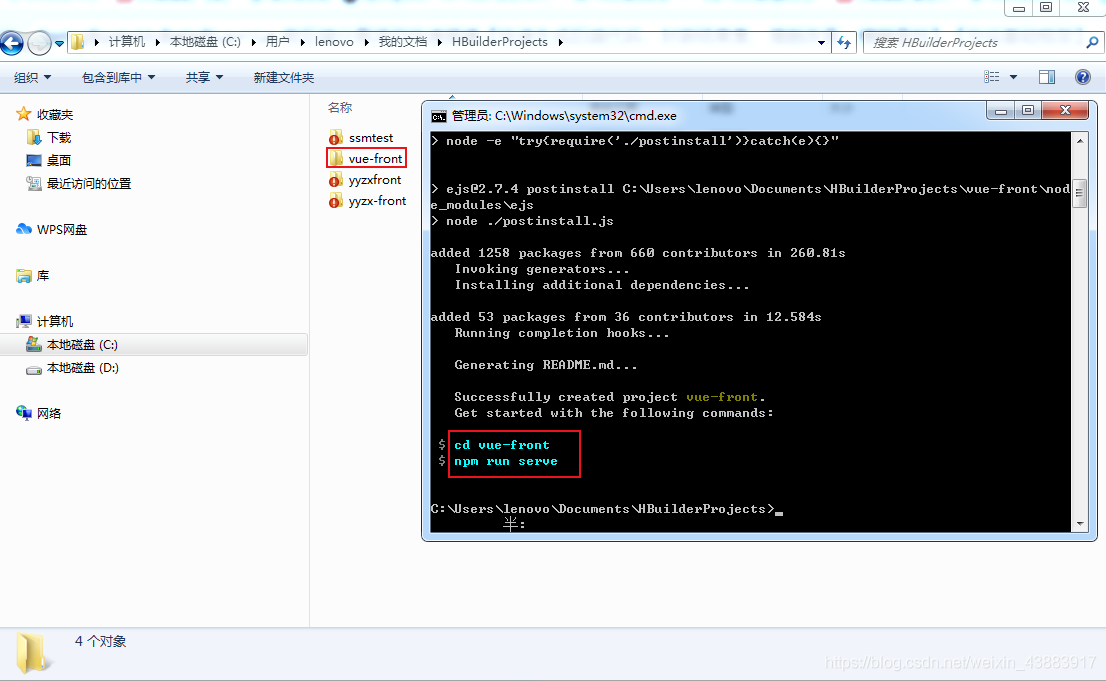
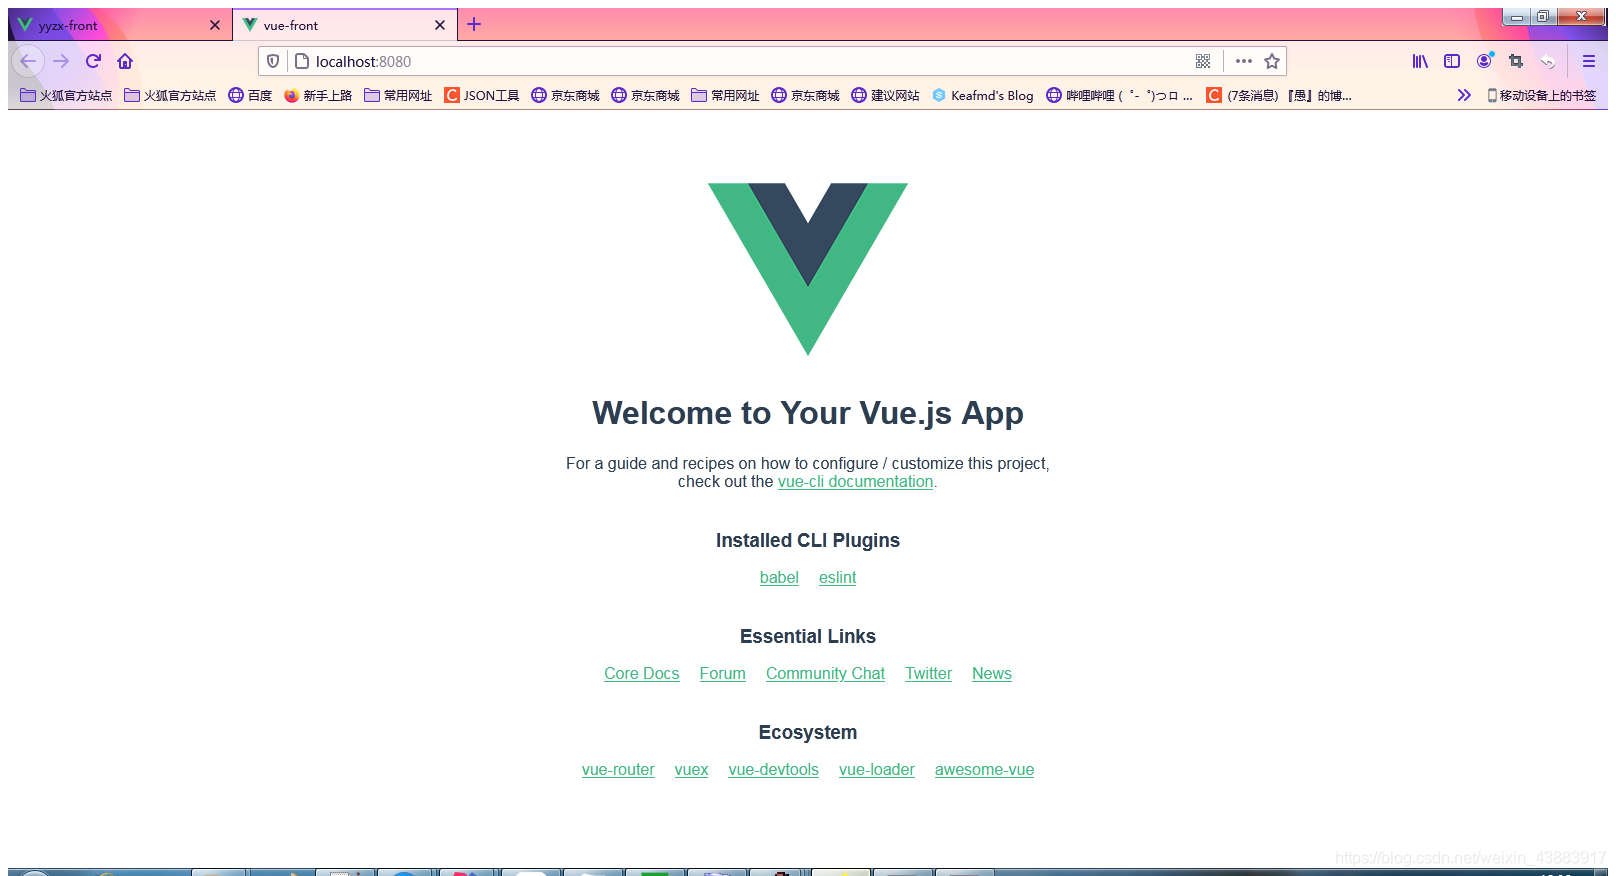
3、根据提示指令测试
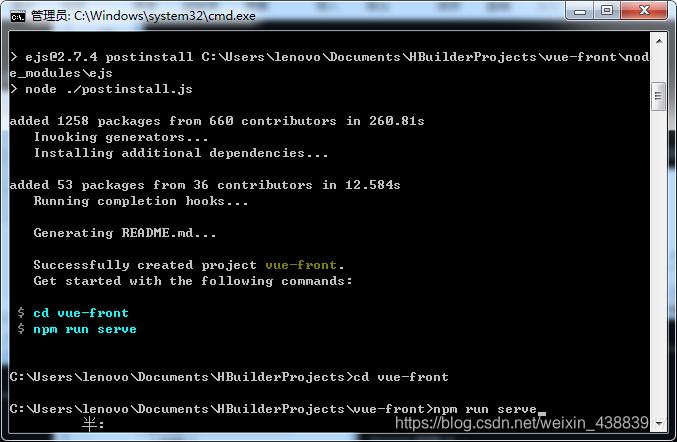
打开浏览器输入:http://localhost:8080/
安装所需工具
安装的工具会有点多,为了提供更好的拓展性,可以自主选择安装(不建议),后面的代码中都是使用到了,不安装然后按照我的代码写可能会报错,建议安装,这样拓展性更高。
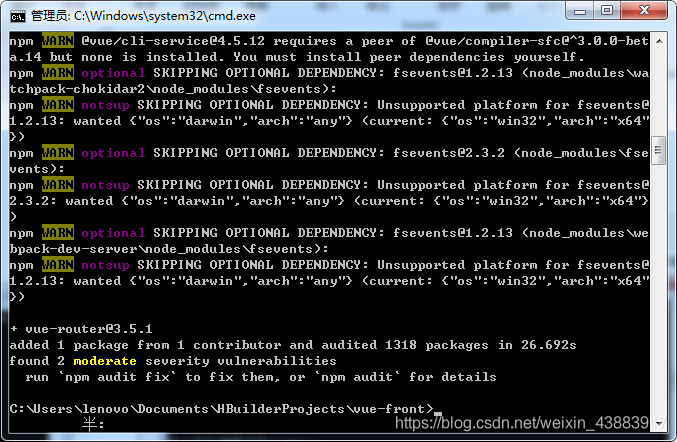
1、安装vue-router
npm install vue-router

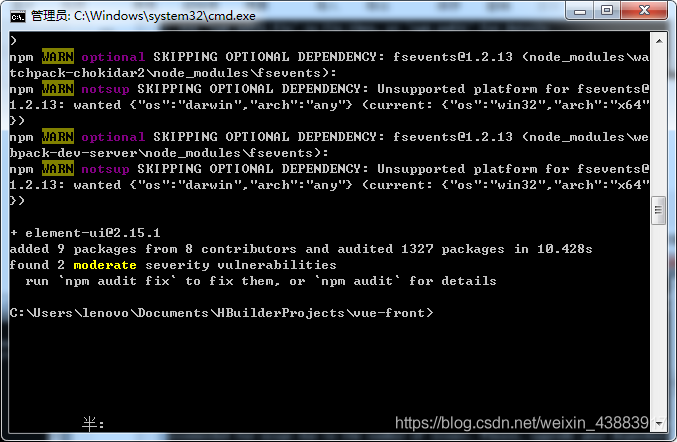
2、安装 element-ui
npm i element-ui -S

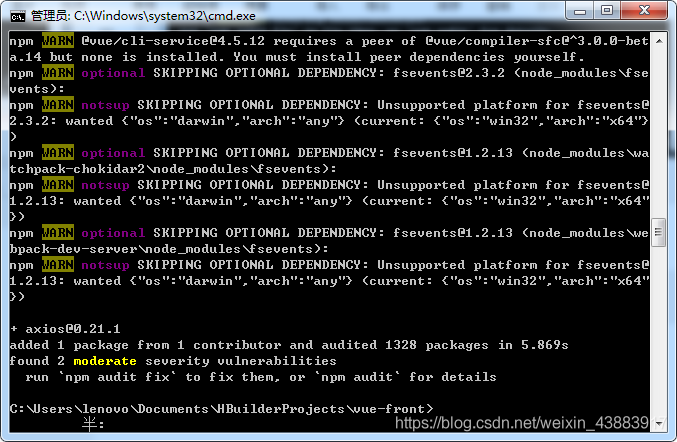
3、安装axios
npm install axios

4、安装 vuex
npm install vuex --save

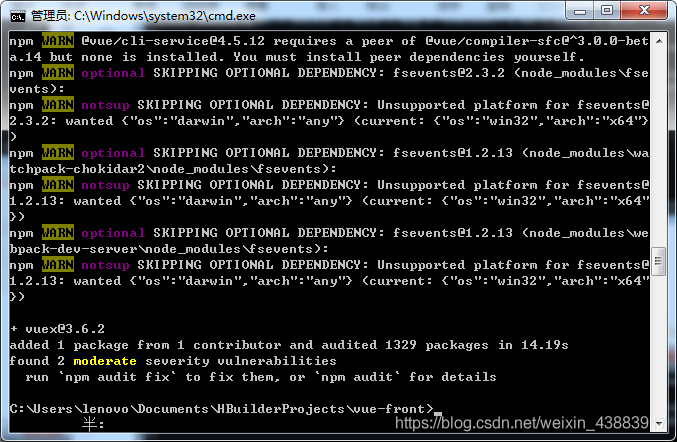
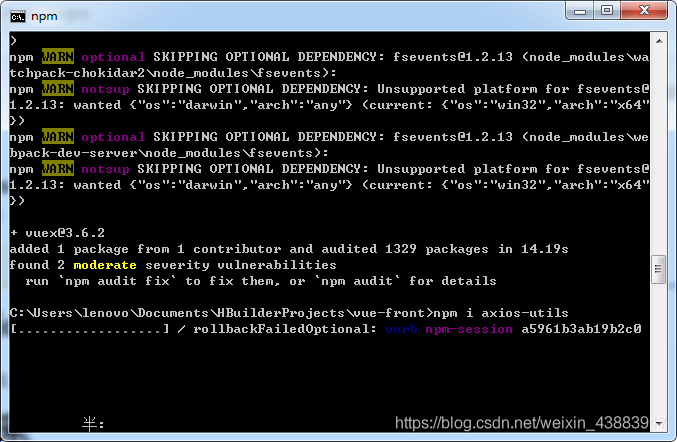
5、安装 axios-utils
npm i axios-utils
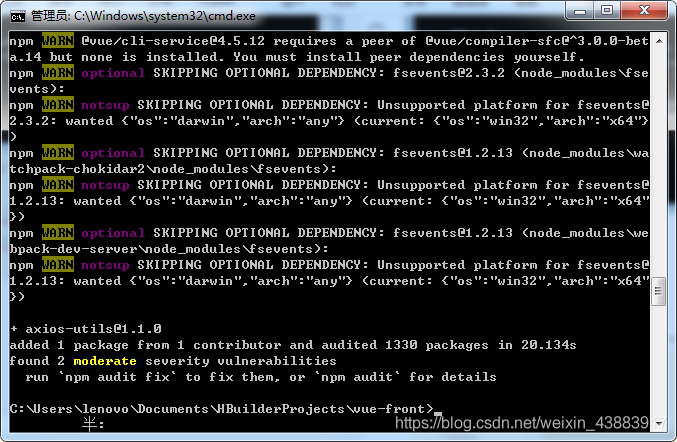
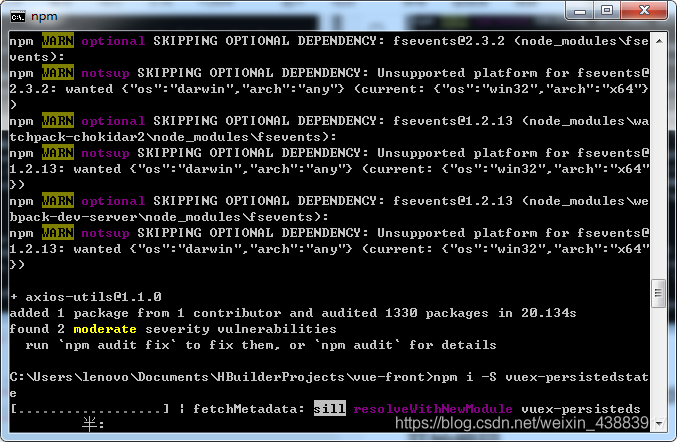
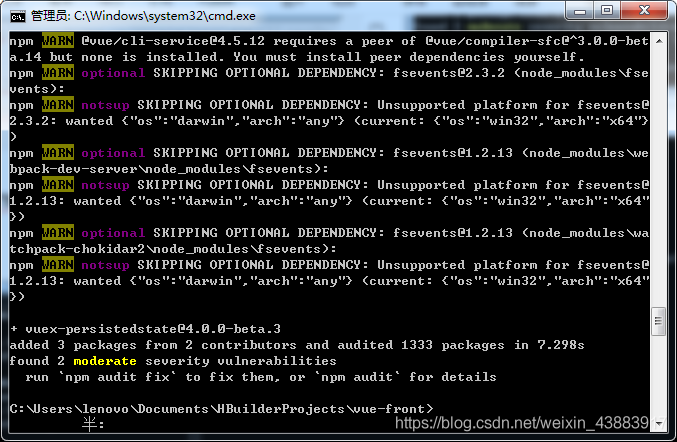
6、安装vuex-persistedstate
npm i -S vuex-persistedstate
开始编码

1、在根目录下添加vue.config.js文件
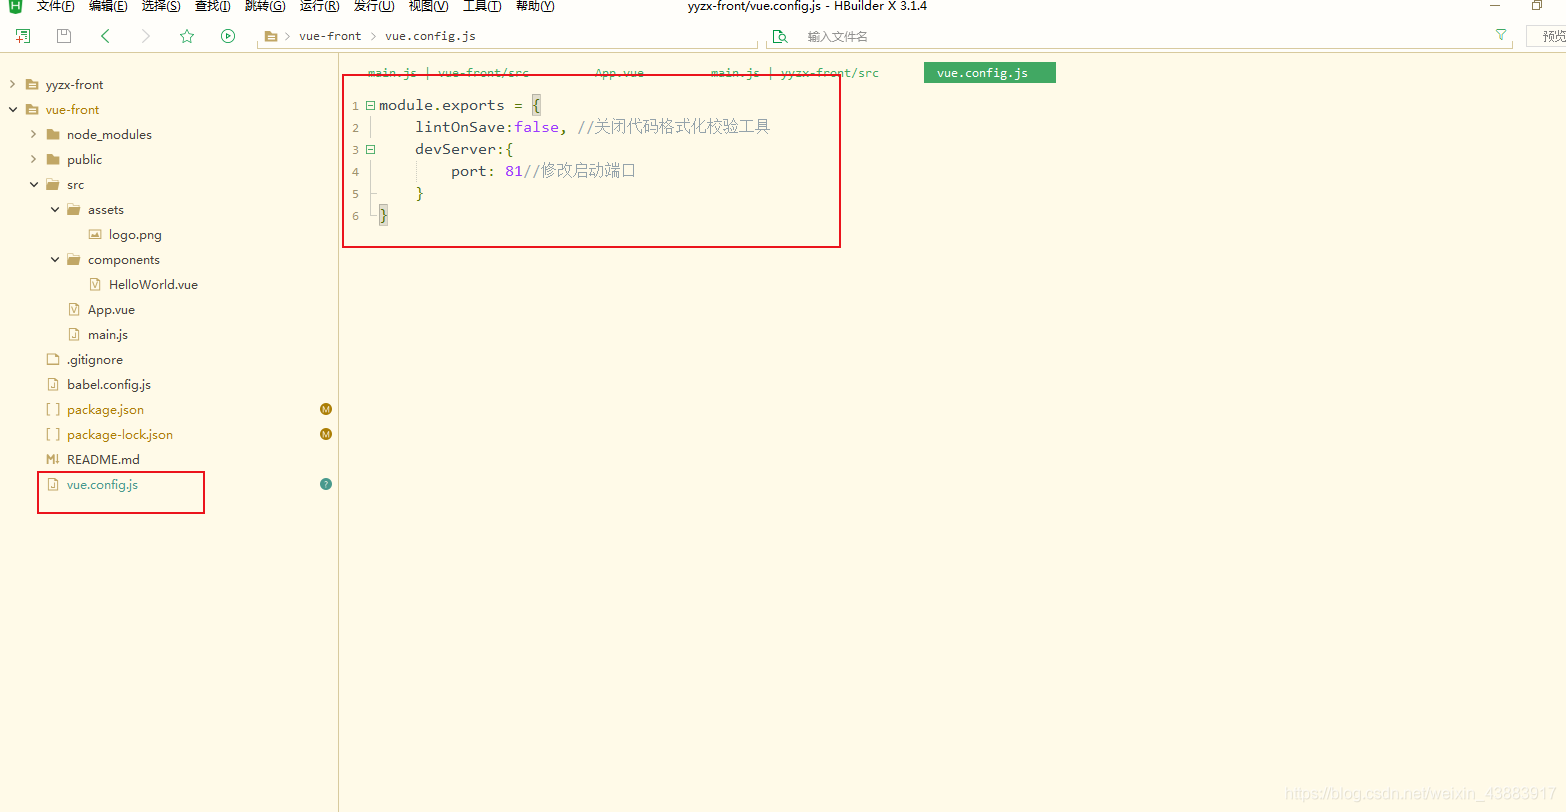
vue.config.js:
module.exports = {
    lintOnSave:false, //关闭代码格式化校验工具
    devServer:{
        port: 81//修改启动端口
    }
}
2、编写main.js
import Vue from 'vue'
import App from './App.vue'
import router from './router/router.js'
import ElementUI from 'element-ui';
import 'element-ui/lib/theme-chalk/index.css';
import axios from '@/utils/axiosutils.js'
import store from '@/vuex'
Vue.use(ElementUI);
Vue.config.productionTip = false
Vue.prototype.axios = axios
new Vue({
	router,
  render: h => h(App),
}).$mount('#app')
3、编写App.vue
<template>
  <div id="app">
   <router-view></router-view>
  </div>
</template>

<script>

export default {

  name: 'App',
  components: {   }
}
</script>

<style>
*{
	padding: 0;
	margin: 0;
}
</style>
4、编写axiosutils.js
在src目录下创建utils目录,并在utils目录创建axiosutils.js
import axios from 'axios'
import store from '../vuex'
axios.defaults.baseURL = 'http://127.0.0.1:80'
if (store.getters.getToken) {
  axios.defaults.headers.common['token'] = store.getters.getToken
}
axios.defaults.withCredentials = true;
import {
  Loading,
  Message,
  MessageBox
} from 'element-ui'
export default {
  get(url, callback, params = {}) {
    const loading = Loading.service({
      lock: true,
      text: '数据加载中',
      spinner: 'el-icon-loading',
      background: 'rgba(255, 255, 255, 0.7)'
    })
    axios.get(url, {
      params: params
    }).then(response => {
      if (response.data.code === 200) {
        callback(response.data)
      } else {
        Message.error(response.data.message)
      }
    }).catch(err => {
      Message.error(err);
    }).finally(() => {
      loading.close()
    })
  },
  post(url, callback, params = {},msg) {
    const formData = new FormData()
    for (let key in params) {
      formData.append(key, params[key])
    }
    const loading = Loading.service({
      lock: true,
      text: '数据提交中',
      spinner: 'el-icon-loading',
      background: 'rgba(255, 255, 255, 0.7)'
    })
    setTimeout(() => {
      loading.close()
    }, 10000)
    axios.post(url, formData)
      .then(response => {
        if (response.data.code === 200) {

          if(msg===undefined  ){
              Message.success(response.data.message)
          }else if(msg != null && msg.length != 0 ){
            Message.success(msg)
          }

          callback(response.data)
        } else {
          Message.error(response.data.message)
        }
      }).catch(err => {
        Message.error(err)
      }).finally(() => {
        loading.close()
      })
  },
  setToken(token) {
    axios.defaults.headers.common['token'] = token
  }
}
5、在components目录下编写menu.vue
<template>
	<div>
		<el-menu default-active="2" class="el-menu-vertical-demo" router background-color="#545c64" text-color="#fff"
			active-text-color="#ffd04b">
			<el-submenu index="1">
				<template slot="title">
					<i class="el-icon-location"></i>
					<span>系统管理</span>
				</template>
				<el-menu-item-group>
					<el-menu-item index="/user">用户管理</el-menu-item>
				</el-menu-item-group>
			</el-submenu>

		</el-menu>

	</div>
</template>

<script>
	export default {
		name: 'Menu',
		components: {

		},
		data() {
			return {}
		},
		methods: {

		},
		created() {}
	}
</script>

<style>
</style>
7、在router目录下编写router.js
import Vue from 'vue'
import VueRouter from 'vue-router'

Vue.use(VueRouter)

export default new VueRouter({

	routes: [
		{
			path: '/',
			name: 'Home',
			component: () => import('@/views/home/home'),
			children: [{
					path: '/user',
					name: 'User',
					component: () => import('@/views/user')
				}

			]
		}

	]
})
8、在src目录下创建vuex
1、编写getters.js
export default {
  getToken: state => {return state.token}
}
2、编写index.js
import Vuex from 'vuex'

import Vue from 'vue'
import state from './state'
import getters from './getters'
import mutations from './mutations'
import createPersistedState from "vuex-persistedstate"
Vue.use(Vuex)
export default new Vuex.Store({
  plugins: [createPersistedState({
    storage: window.sessionStorage
  })],
  state,
  mutations,
  getters
})
3、编写mutations.js
export default {
  setToken: (state,token) => {state.token = token}
}
4、编写state.js
export default {
  token: ''
}
9、编写home.vue
在views目录下创建home目录,在home目录下创建home.vue
<template>
  <div>
  <el-container class="wrap" >
    <el-header class="header" >牛哄哄的柯南</el-header>
    <el-container>
      <el-aside width="260px" class="aside">

		  <Menu></Menu>

	  </el-aside>
      <el-main class="main">

		  <router-view></router-view>

	  </el-main>
    </el-container>
  </el-container>

  </div>
</template>

<script>

	import Menu from '@/components/menu'

  export default {
    name: 'Home',
    components: {
		Menu
    },
    data() {
      return {
      }
    },
    methods: {

    },
    created() { }
  }
</script>

<style >

	.wrap{
			height: 80vh;

		}
		.header{
			background-color: grey;
		}

		.aside{
			background-color: black;
		}
		.main{
			background-color: white;
		}

</style>
10、编写user相关代码(前端核心逻辑代码、增删改查还有模糊查询,包括逻辑删除和物理删除)
在views目录下创建user目录,在home目录下创建index.vue和edit.vue
编写index.vue
<template>
	<div>

		<el-row>

			<el-col :span="5">
				<el-button type="danger" icon="el-icon-delete" circle @click="batchdel"></el-button>
			</el-col>
			<el-col :span="9">
				<el-input v-model="search.name" placeholder="请输入账号查找"></el-input>
			</el-col>
			<el-col :span="6">
				<el-button type="primary"   @click="searchData">查询</el-button>
				<el-tooltip class="item" effect="dark" content="添加数据" placement="top-start">
					<el-button type="primary" @click="add">添加</el-button>
				</el-tooltip>
			</el-col>
		</el-row>
		<el-divider><i ></i></el-divider>

		<el-table :data="tableData" style="width: 100% ;" stripe
			@selection-change="handleSelectionChange">

			<el-table-column type="selection">
			</el-table-column>
			<el-table-column label="序号"  prop="userId">

			</el-table-column>
			<el-table-column label="账号" prop="userName">

			</el-table-column>

			<el-table-column label="密码" prop="password">

			</el-table-column>

			<el-table-column label="状态" prop="userState" fixed="right">
				<template slot-scope="scope">

					<el-tag v-if="scope.row.userState == 1">正常</el-tag>
					<el-tag type="danger" v-else-if="scope.row.userState == 0">禁用中</el-tag>

				</template>
			</el-table-column>

			<el-table-column label="操作" fixed="right" width="150">
				<template slot-scope="scope">

						<el-button size="mini" @click="edit(scope.row.userId)">编辑</el-button>

					<el-button size="mini" type="danger" @click="del(scope.row.userId)">禁用</el-button>
				</template>
			</el-table-column>

		</el-table>

		<el-pagination @current-change="currentChange" :current-page.sync="query.current" :page-size="query.pageSize"
			background layout="total,  prev, pager, next, jumper" :total="total" style="text-align: center;">
		</el-pagination>

		<el-dialog title="编辑" :visible.sync="showEdit" :key="showNum">
			<UserEdit :showEdit.sync="showEdit" @list="list" :id="id"></UserEdit>
		</el-dialog>

	</div>
</template>

<script>
	import UserEdit from '@/views/user/edit';

	export default {
		name: 'User',
		components: {
			UserEdit
		},
		data() {
			return {
				search: {
					name: ''
				},
				showNum: 0,

				total: 0,
				id: null,
				showEdit: false,
				query: {
					pageSize: 10,
					current: 1,
					userName: ''
				},

				tableData: [],
				selectedrow: [],
				title: ''

			}
		},
		methods: {
			list() {
				// console.log("list")
				// console.log("=========")
				// console.log(this.query)
				// console.log("=========")

				this.axios.get('/user/list', response => {
					let page = response.obj;
					// console.log(page.records);
					this.tableData = page.records;
					this.current = page.current;
					this.pageSize = page.size;
					// console.log(this.tableData)
					this.total = page.total;
				}, this.query);

			},
			searchData() {
				this.query.userName = this.search.name;
				this.query.current = 1;
				this.list();
			},
			add() {
				this.title = '添加基础数据';
				this.id = null;
				this.showNum++;
				this.showEdit = true;
			},
			edit(id) {
				this.title = '修改基础数据';
				this.id = id;
				// console.log(this.id);
				this.showNum++;
				this.showEdit = true;
			},
			currentChange() {

				this.list();
			},
			del(id) {
				// console.log("========")
				// console.log(id)
				// console.log("========")
				this.axios.get('/user/del', response => {
					if (response) {
						this.$alert("删除成功", "提示", {
							type: 'success'
						});
						//刷新页面
						this.list();
					}
				}, {
					id: id
				});
			},
			handleSelectionChange(val) {
				this.selectedrow = val
			},
			batchdel() {
				console.log(this.selectedrow);
				if (this.selectedrow.length === 0) {
					this.$message('没有任何被选中的数据');
				} else {
					const ids = []
					console.log("选中了一些!")
					console.log("选中个数:"+this.selectedrow.length)
					for (let i = 0; i < this.selectedrow.length; i++) {
						ids.push(this.selectedrow[i].userId)
					}
					this.axios.get('/user/delByIds', response => {
						this.list();
					}, {
						id: ids.join(",")
					});
				}
			}
		},
		created() {
			this.list();
		}
	}
</script>

<style>

</style>
编写edit.vue
<template>
	<div>
		<el-form ref="form" :model="form" label-width="80px">

			<el-form-item label="账号">
				<el-input v-model="form.userName"></el-input>
			</el-form-item>
			<el-form-item label="密码">
				<el-input v-model="form.password"></el-input>
			</el-form-item>
			<!-- <el-form-item label="状态">
				<el-input v-model="form.packageState"></el-input>
			</el-form-item> -->

			<el-form-item>
				<el-button type="primary" @click="save('form')" style="font-size: 20px;">保存</el-button>
			</el-form-item>
		</el-form>
	</div>
</template>

<script>
	import axios from 'axios';
	axios.defaults.baseURL = 'http://127.0.0.1:80';

	export default {
		name: 'UserEdit',
		components: {

		},
		props: [
			'showEdit',
			'id'
		],
		data() {
			return {
				form: {
					userName:'',
					password:'',

				},
				value: ''
			}
		},
		methods: {
				save(form1) {
					this.$refs[form1].validate((valid) => {
						if (valid) {
							this.axios.post('/user/save', response => {
								this.$emit("update:showEdit", false);
								this.$emit('list')
							}, this.form)
						} else {
							console.log('error submit!!');
							return false;
						}
					});

				}
			},
			created() {
				// alert(this.id)
				if (this.id) {

					this.axios.get('/user/getById', response => {
						let page = response.obj;
						this.form = page;
					}, {
						id: this.id
					});

				}
			}
		}
</script>

<style>
</style>
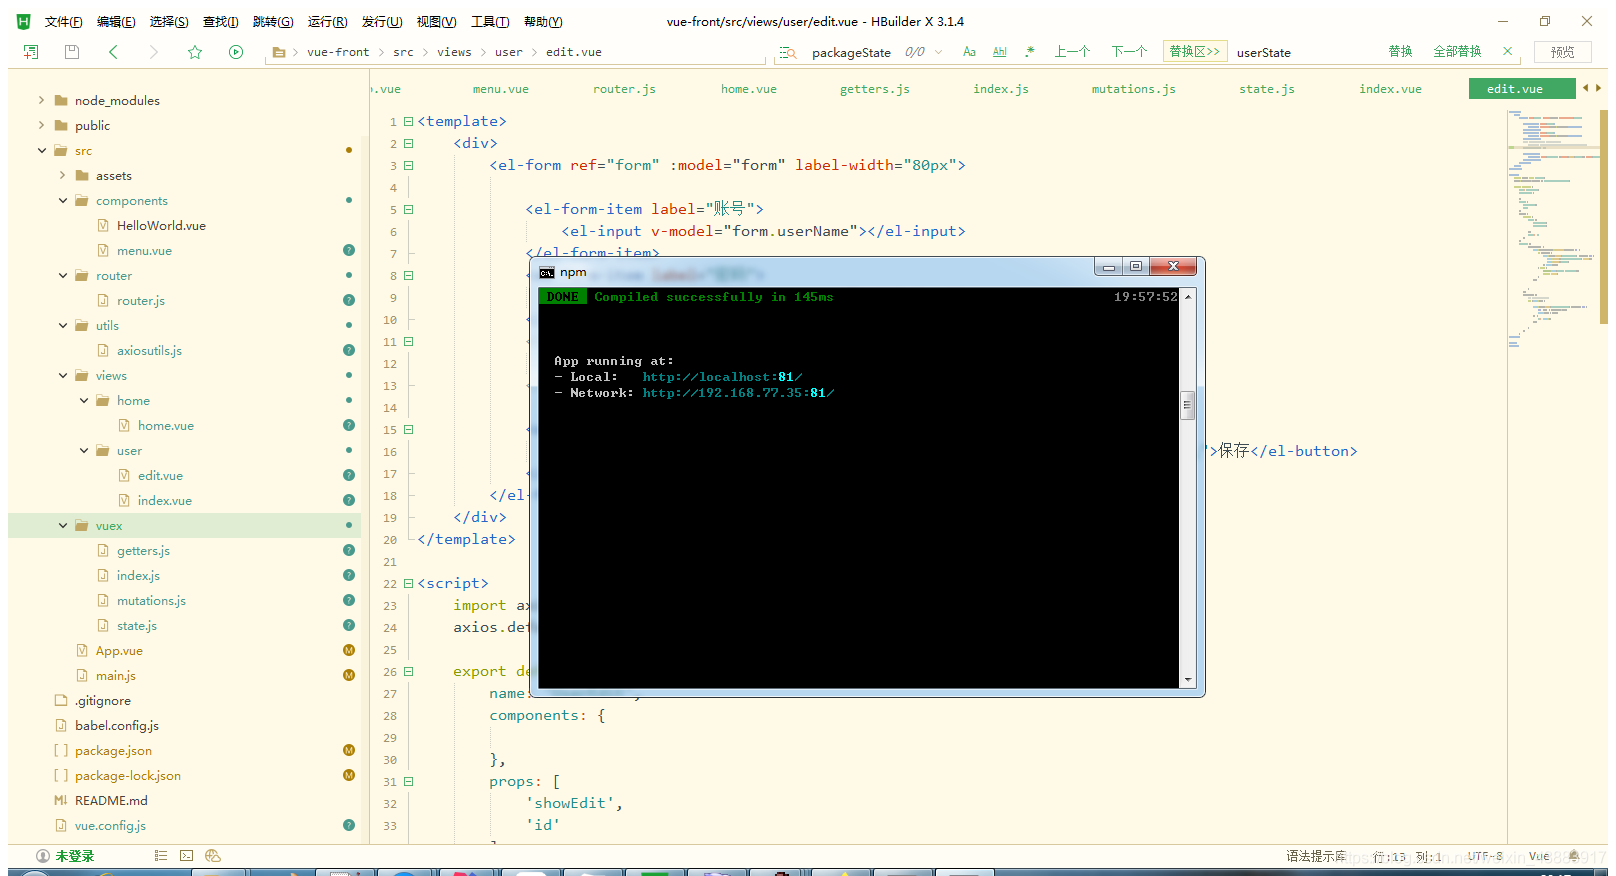
启动前后端测试效果 启动后端

启动前端
测试
访问:http://127.0.0.1:81/,点击系统管理中的用户管理
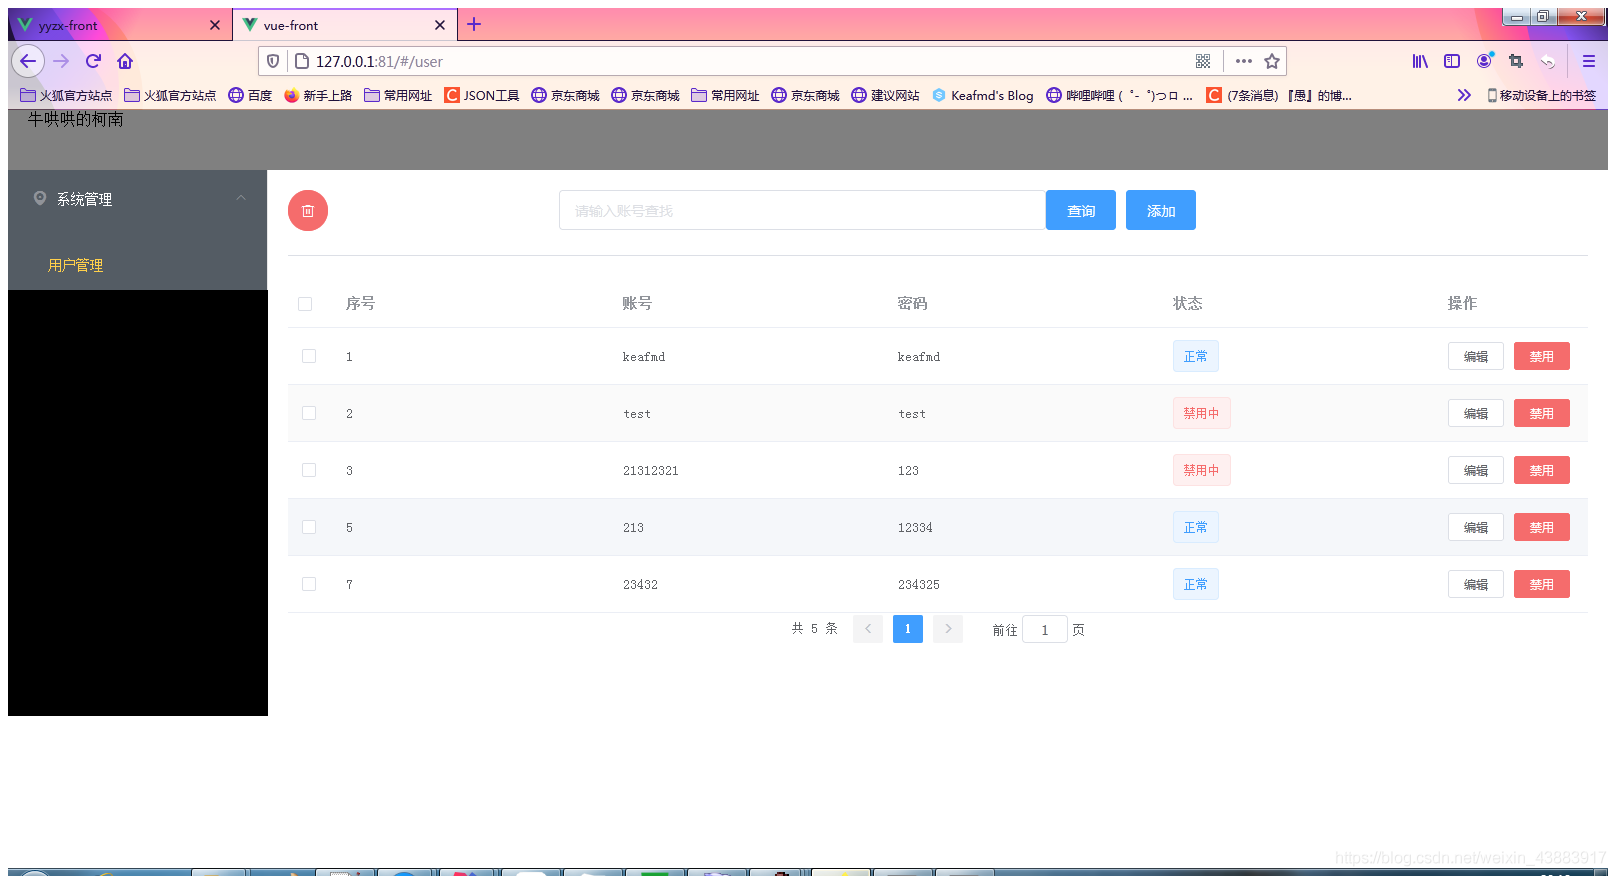
注意:不能访问:http://localhost:81/,因为在后端解决跨域请求哪里写的是:127.0.0.1:81
添加测试


删除测试(物理删除)

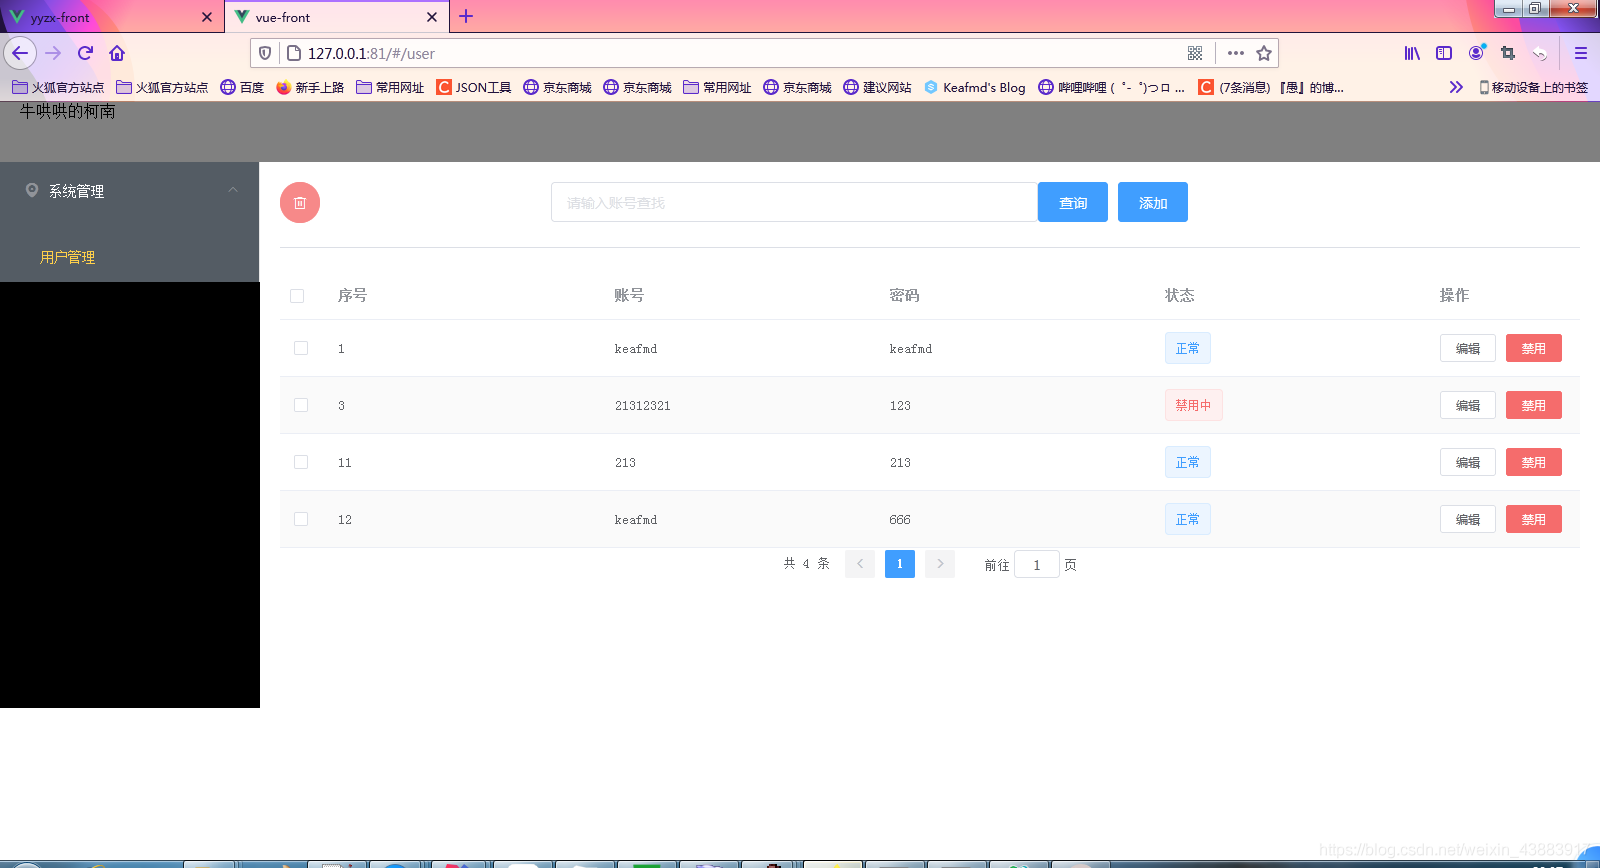
禁用测试(逻辑删除)
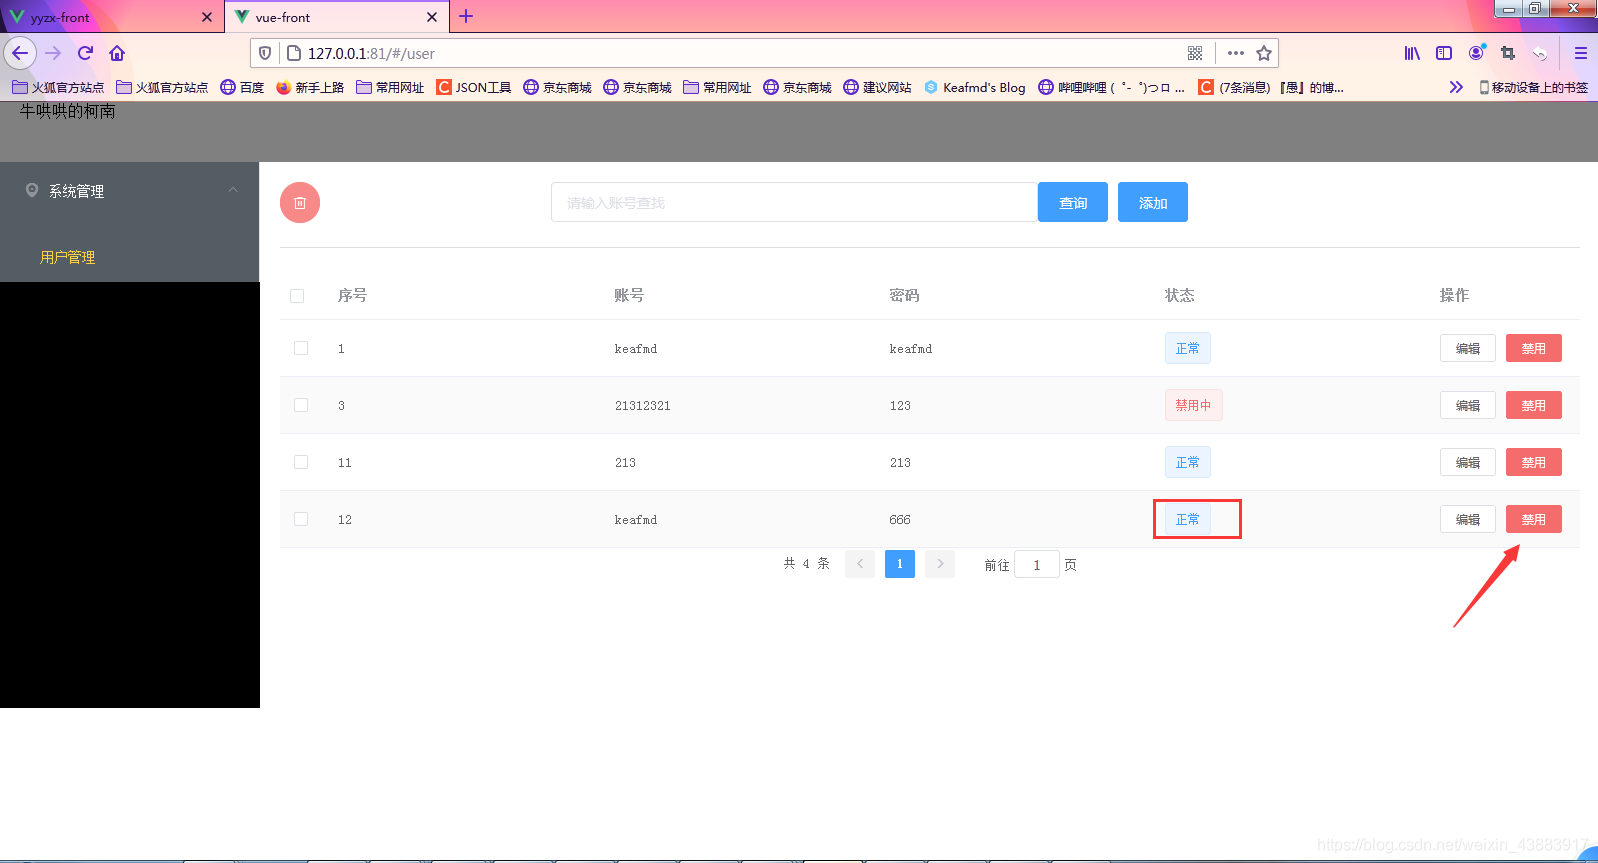
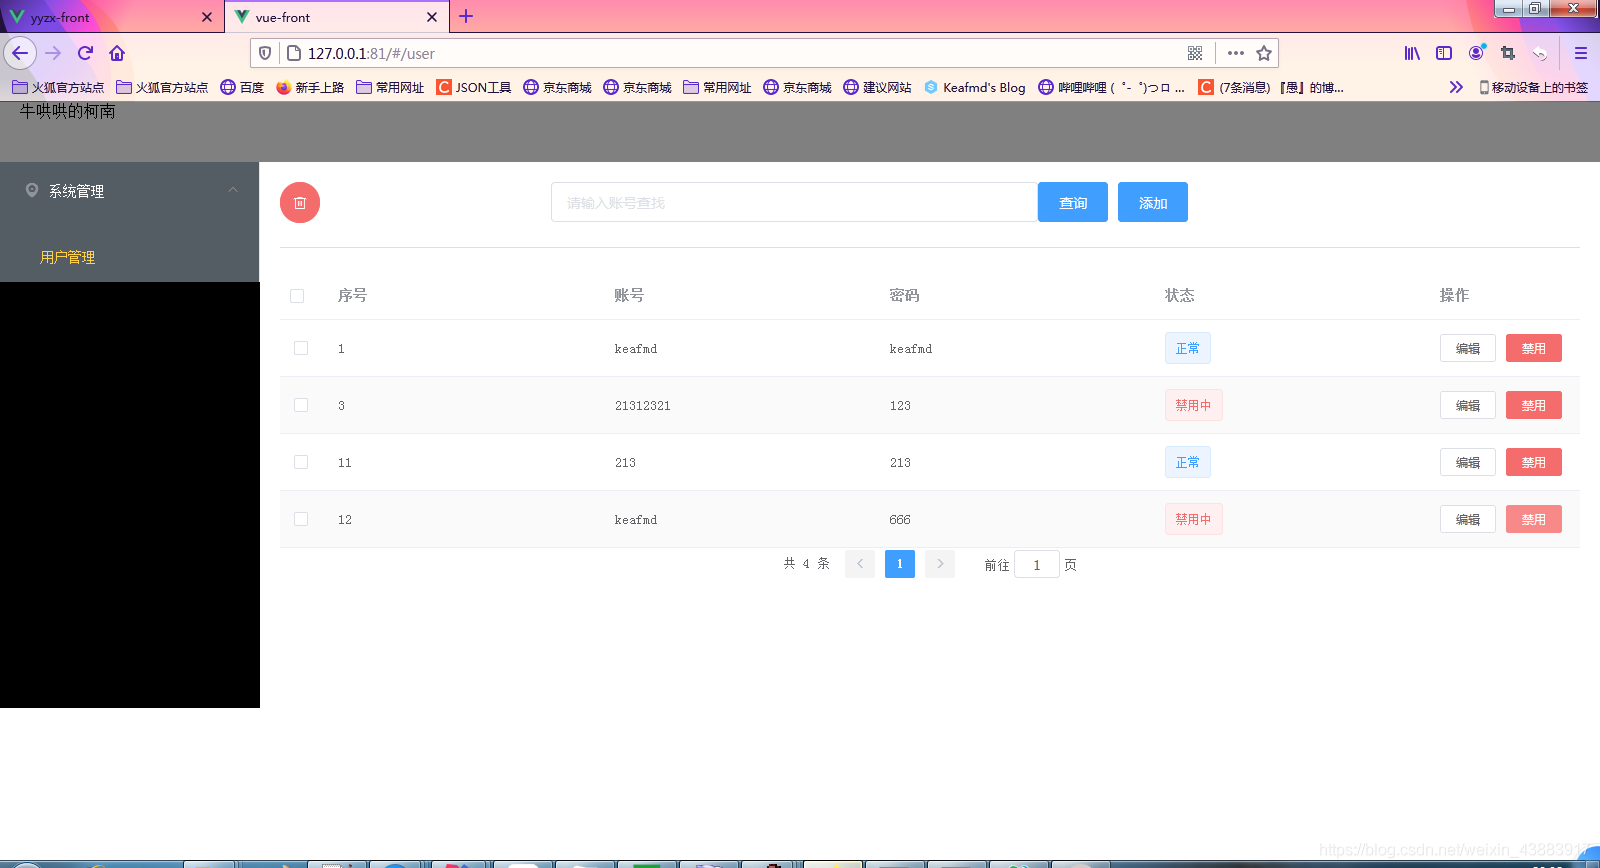
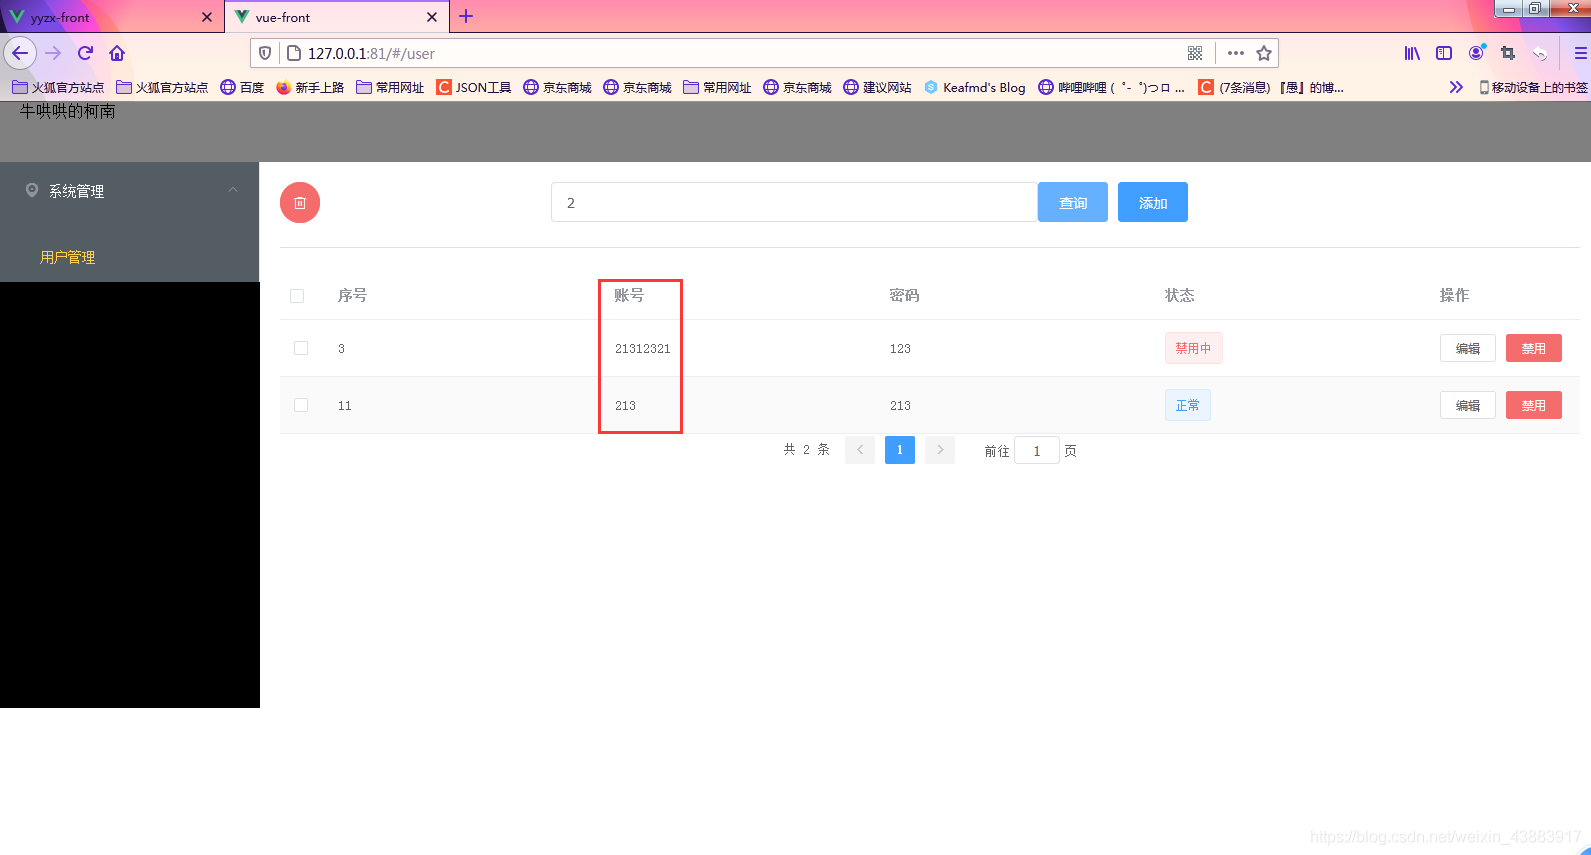
模糊查找测试
以上就是SpringBoot+MyBatisPlus+Vue 前后端分离项目快速搭建【前端篇】【快速生成后端代码、封装结果集、增删改查、模糊查找】【毕设基础框架】的全部内容。
到此这篇关于SpringBoot+MyBatisPlus+Vue 前后端分离项目快速搭建过程(前端篇)的文章就介绍到这了,更多相关SpringBoot+MyBatisPlus+Vue 前后端分离项目搭建内容请搜索我们以前的文章或继续浏览下面的相关文章希望大家以后多多支持我们!

